Table of Contents
Advertisement
Quick Links
Advertisement
Table of Contents

Subscribe to Our Youtube Channel
Related Manuals for EFG Solo


Summary of Contents for EFG Solo
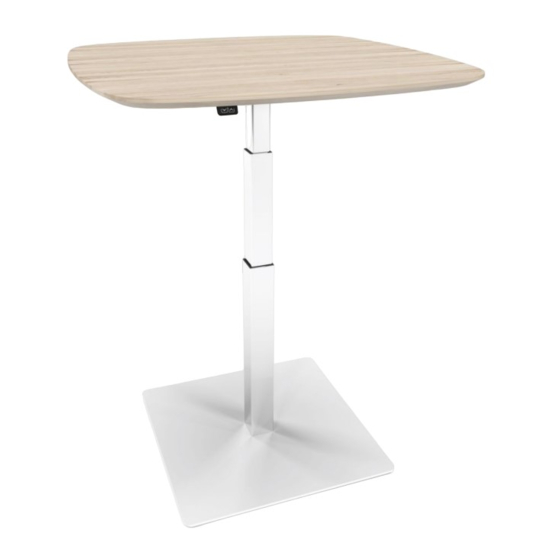
- Page 1 Solo Height- adjustable table frame...
- Page 2 CAUTION & INFORMATION Make sure no obstacles are in the desk’s path. Make sure the desktop is not touching any walls. Make sure all cords are appropriate length to accommodate the change in height. Keep children away from electric height-adjustable desks, control units and handsets. There is a risk of injury and electric shock. Keep all electrical components away from liquids.
- Page 3 ASSEMBLY TOOLS PARTS LIST...
- Page 4 ASSEMBLY Lay out all components and hardware to ensure that you have all the components and hardware listed on the parts page. Place the Top Mounting Bracket (part 7) to the unedrsid of the desktop. If you would like the Leg (part 4)centered in the desktop front to back,place the back edge of the Top Moun- ting Bracket (part 7)2.95”behind the desktop center.(see inset) Using the supplied Allen Wrench,install the leg (part 4) to the Foot (part 3) with four (4)M6x20 Screws (part 2) as shown.Rotate each screw just a few turns until all have been installed;then...
- Page 5 Make sure no obstacles are in the desk’s path. Make sure the desktop is not touching any walls. Make sure all cords are appropriate length lo accommodate the change in height. IMPORTANT: You must RESET the desk prior to use. RESET PROCEDURE: Press and hold the DOWN button on the Handset (part 3) until the desk reaches ils lowest height.
- Page 6 PROGRAMMING (some models) Press the DOWN button on the handset (part 7) until the base reaches its lowest position. Press and hold the DOWN button again until the LED display reads ”RST”. Press and hold the 1 button (about 5 seconds) while the LED flashes ”RST” and then switches to either: 10.1 = One-Touch 10.2 = Constant-Touch Release the l button.
- Page 7 SETTING THE UPPER & LOWER LIMITS (some models) A RESET procedure requires the desk base to full retract (beyond any lower limit set). Please ensure that you have the proper clearance below the desk base. After the upper and lower limits are set, the previous memory positions ( l , 2, 3, 4) may be outside the new range of movement. lf so, simply reset the memory positions.
- Page 8 efg.se...
Need help?
Do you have a question about the Solo and is the answer not in the manual?
Questions and answers