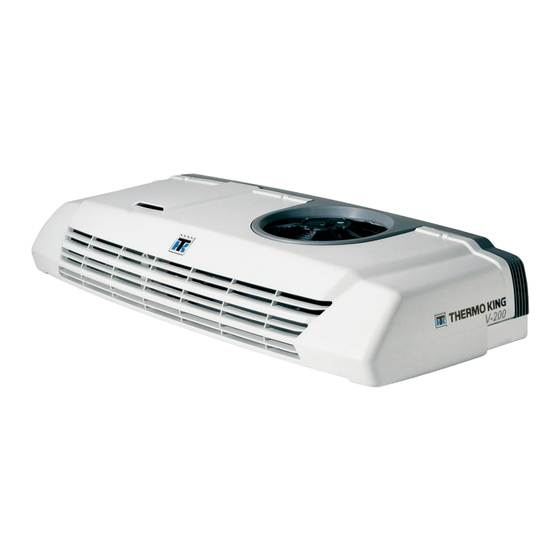
Do you have a question about the V-200 Series and is the answer not in the manual?
Questions and answers
David
February 27, 2025
The chiller works with engine running but not on stand by 120v ac supply
2 comments:
Mr. Anderson
February 27, 2025
The Thermo King V-200 Series chiller may not work on the standby 120V AC supply due to several possible reasons:
1. Compressor Operation Differences: The system has both an engine-driven compressor and an electric standby compressor. If the electric standby compressor or its motor is faulty, the unit will not operate on standby power.
2. Thermostat Control: The thermostat controls compressor operation by energizing the clutch during engine operation or starting the electric motor on standby. If the thermostat is not functioning correctly or not set properly, the standby operation may not engage.
3. Power Relay and Contactors: The standby mode relies on the power relay and electric relays to energize the fan relay, motor contactor, and electric standby compressor clutch. If these components are faulty or not receiving power, the standby system will not start.
4. Refrigeration System Protection: The system includes high and low-pressure cutout switches. If a pressure switch is triggered, it could prevent the standby compressor from operating.
5. Electrical Supply Issues: If the 120V AC supply is inadequate, unstable, or improperly connected, the electric standby compressor may not receive the necessary power to function.
Checking these components and connections can help diagnose why the unit is not working on standby power.
This answer is automatically generated
stephen thomas
March 17, 2025
@David I have the opposite issue.
Will run and refrigerate while plugged into power source.
When driven will not refrigerate


Need help?
Do you have a question about the V-200 Series and is the answer not in the manual?
Questions and answers
The chiller works with engine running but not on stand by 120v ac supply
The Thermo King V-200 Series chiller may not work on the standby 120V AC supply due to several possible reasons:
1. Compressor Operation Differences: The system has both an engine-driven compressor and an electric standby compressor. If the electric standby compressor or its motor is faulty, the unit will not operate on standby power.
2. Thermostat Control: The thermostat controls compressor operation by energizing the clutch during engine operation or starting the electric motor on standby. If the thermostat is not functioning correctly or not set properly, the standby operation may not engage.
3. Power Relay and Contactors: The standby mode relies on the power relay and electric relays to energize the fan relay, motor contactor, and electric standby compressor clutch. If these components are faulty or not receiving power, the standby system will not start.
4. Refrigeration System Protection: The system includes high and low-pressure cutout switches. If a pressure switch is triggered, it could prevent the standby compressor from operating.
5. Electrical Supply Issues: If the 120V AC supply is inadequate, unstable, or improperly connected, the electric standby compressor may not receive the necessary power to function.
Checking these components and connections can help diagnose why the unit is not working on standby power.
This answer is automatically generated
@David I have the opposite issue. Will run and refrigerate while plugged into power source. When driven will not refrigerate