Makita GF600 Instruction Manual
Cordless brad nailer
Hide thumbs
Also See for GF600:
- Instruction manual (85 pages) ,
- Instruction manual (69 pages) ,
- Instruction manual (19 pages)
Table of Contents
Advertisement
Quick Links
Advertisement
Table of Contents

Related Manuals for Makita GF600


Summary of Contents for Makita GF600
- Page 1 INSTRUCTION MANUAL Cordless Brad Nailer GF600 Read before use.
-
Page 2: Specifications
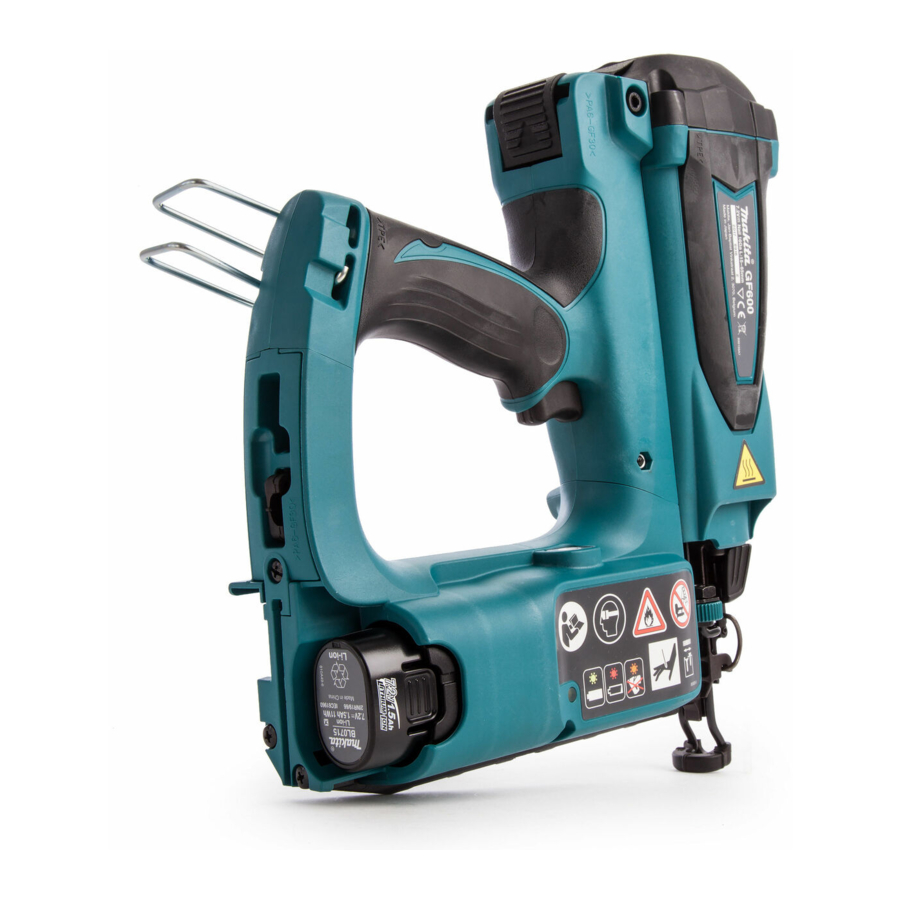
SPECIFICATIONS Model GF600 Nail length Nail Gauge 16Ga :15 mm - 65 mm Nail capacity 100 nails (2strip) Dimensions (L X W X H) 266 mm X 90 mm X 305 mm Net weight 2.2 kg Rated voltage D.C. 7.2 V •... -
Page 3: Ec Declaration Of Conformity
when loading and unloading, as the fasteners WARNING: The vibration emission during actual have sharp points which could cause injury. use of the power tool can differ from the declared 12. Always check the tool before use for broken, emission value depending on the ways in which the misconnected or worn parts. - Page 4 qualified health professional regarding overall operator. activities. Be careful with tools without workpiece con- tact as they can be fired unintentionally and The continuous use of the tool may cause repetitive strain injury due to recoil produced injure operator and/or bystander. by the tool.
- Page 5 Make sure all safety systems are in working Additional safety instructions for gas tools order before operation. The tool must not oper- Use the tool only with the Makita genuine gas ate if only the trigger is pulled or if only the contact container.
-
Page 6: Functional Description
MISUSE or failure to follow the safety causing fires, personal injury and damage. It will rules stated in this instruction manual may cause also void the Makita warranty for the Makita tool and serious personal injury. charger. Tips for maintaining maximum... -
Page 7: Installing Or Removing Battery Cartridge
Installing or removing battery Lighting up the lamp cartridge CAUTION: • Do not look in the light or see the source of light CAUTION: directly. • Always switch off the tool before installing or removing of the battery cartridge. Hold the tool and the battery cartridge firmly •... -
Page 8: Adjusting The Nailing Depth
Push in the rear edge until it seats. Insert the jet nozzle into the small hole of the adapter properly. Inserting the fuel cell Put the fuel cover over the metering valve and push it down to latch. Push up and pull the fuel cover to open. Adjusting the nailing depth CAUTION: •... -
Page 9: Loading The Nailer
Blinking orange after blinking green and red alter- nately: Fault detection is running. Remove and reinsert the battery cartridge to reset. If fault detection is running again, it is malfunction condition. Ask your local Makita service center to repair it. Installing the hook Insert a strip of nails into the slit in the rear of the magazine. -
Page 10: Operation
Nose adapter ► 1. Short nail adapter 2. Bolt Attach the short nail adapter to prevent the short nails ► 1. Nose adapter from being jammed when you use nails shorter than 25 mm (1 "). The nose adapter prevents the surface of workpiece Insert the short nail adapter into the slit in the rear of the from being scratched or damaged. -
Page 11: Maintenance
Driving nails ► 1. Latch 2. Door Open the latch and release the door, then remove the jammed nail. To drive a nail, place the contact element against the workpiece. The fan motor is activated, fuel gas is injected into com- bustion chamber and mixed with air by the fan. -
Page 12: Optional Accessories
Cleaning the air filter If you need any assistance for more details regard- ing these accessories, ask your local Makita Service Center. • Nails • Safety goggles • Fuel cell • Cleaning kit • Makita genuine battery and charger NOTE: •... - Page 14 Makita Corporation 3-11-8, Sumiyoshi-cho, Anjo, Aichi 446-8502 Japan 885078D228 20190129 www.makita.com...
Need help?
Do you have a question about the GF600 and is the answer not in the manual?
Questions and answers