
Related Manuals for Calimet CM6-ACFP


Summary of Contents for Calimet CM6-ACFP
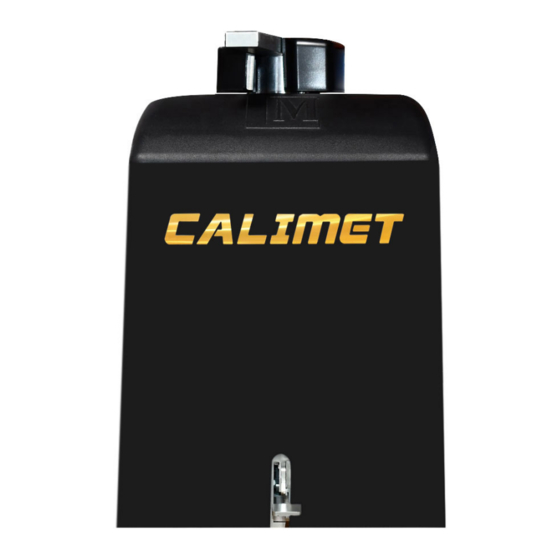
- Page 1 Instruction Manual CM6-ACFP Swing Gate Operator www.calimetco.com 9949 Hayward Way South El Monte, CA, 91733 Tel: (626) 452-9009...
- Page 2 Product Specs PRODUCT SPECS Voltage Input: 110V Maximum Output Current: 15 amp, Fuse: AC 110V 15 amp Remote Control Distance: >150 Feet (50 meters) Maximum Gate Weight: 1000 lbs Maximum Gate Length: 18 Feet LANGUAGES To download this user manual in a different language, visit calimetco.com/manuals Para descargar este manual de usuario en otro idioma, visite calimetco.com/manuals 下载其他语言版本用户手册,请访问...
-
Page 3: Step 1: Installing The Base
Installation Step 1: Installing the Base The base, also known as a pad is a raised platform. We recommend using a concrete base. Lay out position of 6 wedge anchors by measuring clearance between anchors and inside edge of gate. Figure 1 Install underground conduits in area for conduits. - Page 4 Installation Step 2: Door arm installation Figure 3 After you're satisfied with testing the arm in the full open and closed positions, weld gate bracket and arm. Figure 4 Should be at least 1/4 the gate length. NOTE: Uphill or heavy gates should be at least 1/3 gate length.
- Page 5 Installation Figure 5 A. DO NOT allow the arm to touch the gate operator's hood when the gate is in the open position. Too much stress is put on the arm in this position during gate operation. Figure 6 Preferred arm position is 90° from the open gate. NOTE: If dimension between open gate and wall is 20"...
- Page 6 Installation Figure 7 Support bar should be installed at the gate bracket height across the entire gate to keep the gate pickets from bending.
-
Page 7: Step 3: Connecting The Power
Installation Figure 8 Figure 9 Step 3: Connecting the Power MUST use UL approved power wires, power wires MUST have minimum capacity for 15 amp current. 2. All operators MUST be properly grounded in order to prevent an electrical charge. Must use a dedicated circuit for power supply. - Page 8 Installation Step 4: Open Position Open Direction Choose whether your gate opens left or right. Dip Switch #6 (Figure 10) on the bottom of the gate operator circuit board controls the open direction. On = opens right, Off = opens left Figure 10 Step 5: Installing the Photo Eye Plug photo eye...
- Page 9 Installation Step 6: Gate Travel Limit This controls the position of where the gate stops when it opens and closes. 1. Use a screwdriver to loosen the nails on the top and bottom limit cams 2. Turn left or right on both limit cams to adjust the position of where the gate opens and closes. Figure 9 TIP: Use the OPEN, CLOSE, STOP buttons on the gate operator circuit board for faster testing 3.
- Page 10 Features EMERGENCY RELEASE The emergency release allows you to open the gate manually, such as in cases where there is a power outage and there is no electricity. Opening the gate Disconnect power. Push release pedal downward and move slightly to the right until it is locked in. Hold and push gate to desired direction.
-
Page 11: Entrapment Protection
Features Entrapment Protection Safety and Exit Loop This is an optional step. If you wish to install a exit loop detector, see figure 15 for the position of the safety and exit loops. Figure 15... - Page 12 Features Dual Gates Setup - Master/Slave This setup is for dual swing gates. A single button press of the remote control can open both gates. This requires 2 swing gate operators. One gate operator is the "Master", and the other is the "Slave". 1.
-
Page 13: Control Board Layout
Features Control Board Layout This is a picture of the control board. Use this for reference. Youtube Circuit board Programming Guide: https://youtu.be/_7iBuKr1ZtY Figure 16... - Page 14 Features Connecting Additional Remote Controls By default, the remote controls are already connected to the gate operator. You do not need to do any of the following steps unless you are adding more remote controls. There are two ways to connect your remote control: Study Mode & Numeric Mode. Study Mode Study mode can fit up to 60 different remote controls.
-
Page 15: Dip Switch Features
Features DIP Switch Features Figure 18 DIP switch 1. CL-DELAY: Gate Closing delay, switch to ON position, turn timer to 1- 6 seconds. 2.TIMER: 1-60 Timer: Auto activated to close gate upon set time ( 1~ 60 seconds). 3. OSC: Remote control priority. Allow remote control to direct gate movement whenever gate is moving in any direction. -
Page 16: External Receiver
Features External Receiver External connectors are installed on the rear side of mainboard protector box. Figure 20... - Page 17 Features Sensitivity The sensitivity has to do with the weight of the gate, and also other factors. A heavier gate will require less sensitivity, and a lighter gate will require more sensitivity. If a gate is too sensitive, the gate may stop or reverse by itself. It it's not sensitive enough, it might not stop or reverse.
- Page 18 9949 Hayward Way South El Monte, CA 91733 Tel: 626-452-9009 Alternate: 626-482-3066 Fax: 626-452-9010 Email: info@calimetco.com www.calimetco.com...
Need help?
Do you have a question about the CM6-ACFP and is the answer not in the manual?
Questions and answers