Advertisement
Quick Links
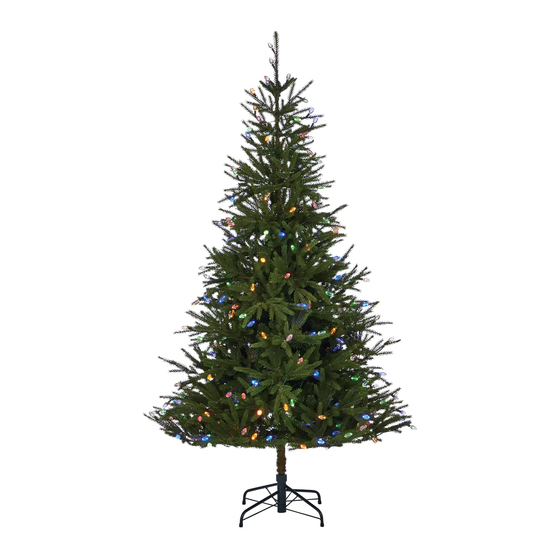
6 ½' PRE-LIT CHRISTMAS TREE
model no. 151-8408-4 | Toll-free number: 1-866-827-4985
IMPORTANT: Please read this manual carefully before assembly and save it for reference.
TREE ASSEMBLY INSTRUCTIONS
Carefully follow the instructions below to quickly and easily set up your tree.
1. Before you start to assemble your tree, choose an appropriate location near a wall outlet. Do not plug the adaptor into the wall
outlet until all of the steps below are completed.
2. First assemble the tree stand and place on a level surface. (See Fig. A)
Fig. A - Tree Stand Assembly
Fig. B - Tree and Light Assembly
3. Each tree section is numbered with a sticker. Please identify all sections before assembling.
4. Assemble the tree from the bottom to the top. Start with the bottom section. Remove the protective cap before inserting it into the
already pre-assembled stand. Before proceeding to the next step, make sure the pole is firmly inserted and secured into the stand.
5. Continue by inserting the upper tree section(s) into the lower section(s) until inserting the tree top.
Click
Tree top
50S
Section 2
100S
100S
Section 1
Instruction Manual
For indoor use only
Retain carton for storage purposes
Swivel the legs of the stand until they snap
into position. The legs should be evenly
spaced once this step is complete. Place the
tree stand on a level surface.
To close the stand, press the metal button
and fold the legs together.
*Electrical Rating For The Tree
(For Indoor Use Only.)
Input: 120 V, 60 Hz, 0.16 A
Output: 28 V DC, 0.28 A
Insert Red Label
Plugs Into Red
Labelled Extension Cord
Adaptor
To Be Plugged
Into Wall
Outlet
Foot Pedal
On/Off Switch
Advertisement

Related Manuals for NOMA 151-8408-4


Summary of Contents for NOMA 151-8408-4
- Page 1 For indoor use only Retain carton for storage purposes 6 ½' PRE-LIT CHRISTMAS TREE model no. 151-8408-4 | Toll-free number: 1-866-827-4985 IMPORTANT: Please read this manual carefully before assembly and save it for reference. TREE ASSEMBLY INSTRUCTIONS Carefully follow the instructions below to quickly and easily set up your tree.
- Page 2 6. Allow branches to fall into place or gently pull up and out. When adjusting branches, be sure that all wires are free of branch hinges. 7. Connect the light strings as per the colour labels indicated in Fig. B and insert adaptor plug into the wall outlet. Your entire tree should now be lit.
- Page 3 Do not mount or support strings in a manner that can cut or damage wire insulation. This product carries a five (5) year warranty against defects in workmanship and materials. Noma Canada agrees to replace a defective product, within the stated warranty period, when returned to the place of purchase with proof of purchase. This product is not guaranteed against wear or breakage due to misuse and/or abuse.
Need help?
Do you have a question about the 151-8408-4 and is the answer not in the manual?
Questions and answers