Table of Contents
Advertisement
Quick Links
Advertisement
Table of Contents

Related Manuals for Westinghouse WRI514BB


Summary of Contents for Westinghouse WRI514BB
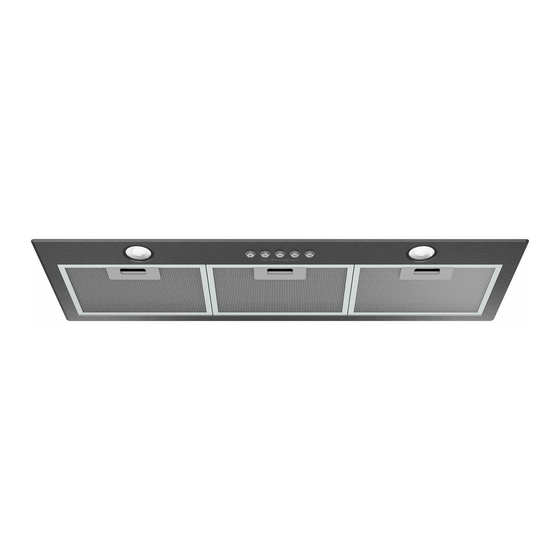
- Page 1 INSTALLATION & USER MANUAL INTEGRATED RANGEHOOD WRI514BB, WRI814BB...
- Page 2 • Staff kitchen areas in shops, offices and other result in personal injury, property damage and affect working environments your ability to make a claim under the Westinghouse manufacturer’s warranty provided with your product. • Farm houses Products must be used, installed and operated in •...
- Page 3 SAFETY INSTRUCTIONS Please read this manual carefully prior to installing and CAUTION using the rangehood in order to avoid damage or injury. The manufacturer will not accept liability for damage • Accessible parts may become hot when used with cooking appliance. caused from not following these instructions.
- Page 4 2 x self tapping screws 3.5 x 12mm Parts to be purchased • Aluminium tape or cable ties to secure flue pipe Fixing point dimensions – WRI514BB • Ducting accessories Cutting the cabinet Cut the slot in the cabinet according to the fixing point dimension.
- Page 5 INSTALLATION Fastening the fasteners Ducting accessories Fasten the fasteners by turning the screw clock-wise. For best performance Ø 150mm ducting is recommended (Ø 125mm ducting can be used, but will reduce the airflow of the rangehood). oof cowl AR150RC (AR125RC) Warning: Do not over tighten screws or fascia panel will deform.
- Page 6 OPERATION & MAINTENANCE Control operation • Use both hands for removing and re-fitting the filter to avoid accidentally dropping the filter on to your cooktop or kitchen bench. • Take care of sharp edges during installation, maintenance and cleaning. When the filters, 1 Lamp on/off 4 Speed 2 light cover or fascia panel are removed,...
- Page 7 (c) ‘ASC’ means Electrolux’s authorised serviced centres; the Appliance; (d) ‘Westinghouse’ is the brand controlled by Electrolux Home Products In addition, Electrolux is not liable under this warranty if: Pty Ltd of 163 O’Riordan Street, Mascot NSW 2020, ABN 51 004...
- Page 8 NEW ZEALAND phone: 0800 10 66 10 email: customercare@electrolux.co.nz web: westinghouse.co.nz and WESTINGHOUSE are trademarks of Westinghouse Electric Corporation. Used under license. All Rights Reserved. © 2019 Electrolux Home Products Pty Ltd. ABN 51 004 762 341 WMAN_WRI514BB_WRI814B_TAS_Dec 19...
Need help?
Do you have a question about the WRI514BB and is the answer not in the manual?
Questions and answers