Advertisement
Table of Contents
- 1 Table of Contents
- 2 Important Safety Instructions
- 3 Description of Your Rangehood
- 4 Technical Specifications
- 5 Components List
- 6 Rangehood Dimensions
- 7 Installation
- 8 Control Panel
- 9 Using Your Rangehood
- 10 Care & Maintenance
- 11 Troubleshooting
- 12 Optional Ducting Accessories
- 13 Warranty
- Download this manual
Advertisement
Table of Contents

Related Manuals for Westinghouse WRC313S


Summary of Contents for Westinghouse WRC313S
- Page 1 INSTALLATION AND USER MANUAL WRC313S Rangehood WRCG933S Canopy Rangehood WRFG943S Canopy Rangehood...
-
Page 2: Table Of Contents
CONGRATULATIONS CONTENTS Congratulations and thank you for choosing our canopy Important safety instructions ....3 rangehood. We are sure you will find your new rangehood Description of your rangehood . -
Page 3: Important Safety Instructions
Always switch off gas burners before you remove pots This manual explains the proper use of your new or pans. Westinghouse canopy rangehood. Please read this manual Do not leave lit gas burners exposed due to the risk carefully before using the product. This manual should be of fire. -
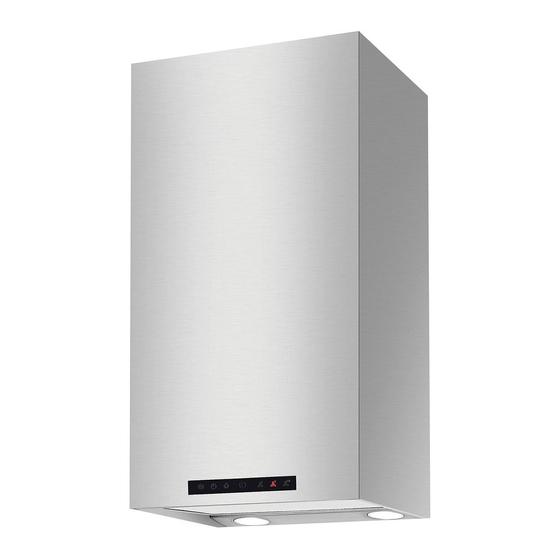
Page 4: Description Of Your Rangehood
5. Main body and fan housing assembly • Ducting accessories - - - - - - - - - 6. Glass (not applicable to WRC313S) - - - - - - - - - 7. Grease filter - - - - - - - - - - - - - - - - - - - - - - Technical specification •... -
Page 5: Rangehood Dimensions
RANGEHOOD DIMENSIONS WRC313S Fig. 4... - Page 6 RANGEHOOD DIMENSIONS WRCG933S WRFG943S Fig. 5 Fig. 6...
-
Page 7: Installation
INSTALLATION PRE-INSTALLATION Before installing the cooker hood, peel off any protective coating. LOCATION The hood is to be mounted on the wall. When installed, the hood must be not less than 60cm above electric burners or 65cm above gas or mixed-fuel burners. Distance from hood base to top of hob hob type minimum*... - Page 8 INSTALLATION 3. Install flue cover wall mounting brackets with suitable 5. Fix exhaust transition duct using screws supplied (Fig. 10). fixings. Install suitable screws for rangehood mounting points (to support a total weight of 30kg) to the wall as marked (Fig. 7). Fig.
- Page 9 INSTALLATION Depending on the preferred installation/ducting mode, follow step 7a or 7b below. 7a.Recirculating mode (Fig. 12). Using the centre line, secure the recirculating T-piece to the wall with suitable screws/fixings (optional kit AR910RK). Install flexible pipe between T-piece and the exhaust transition duct. Use cable ties or suitable duct tape to secure flexible pipe to T-piece and transition duct (Fig.
- Page 10 To complete the rangehood installation, insert the filters to the underside of the hood body. Place back edge of filter into position and push up front edge so that the filter clips into place. Fig. 16 Your Westinghouse rangehood is now ready to use.
-
Page 11: Using Your Rangehood
CONTROL PANEL CARE & MAINTENENCE • Best results are obtained by using a low speed for normal conditions and a high speed when odours are CAUTION more concentrated. External surfaces are susceptible to scratches and • Turn the hood on for a few minutes before you abrasions, so please follow the cleaning instructions start cooking. - Page 12 CARE & MAINTENENCE Hand washing CAUTION Soak grease filters for about one hour in hot water with a IMPORTANT: The hood must always be disconnected grease-loosening cleaner, then rinse off thoroughly with hot from the electricity supply before beginning any water.
-
Page 13: Troubleshooting
TROUBLESHOOTING GUIDE PROBLEM REMEDY Check that the hood is connected to an electrical supply The cooker hood will not start Check that a fan speed has been selected Check that the fan speed is set high enough for the task The grease filters are clean The kitchen is adequately vented to allow the entry of fresh air The cooker hood is not working... -
Page 14: Optional Ducting Accessories
OPTIONAL DUCTING ACCESSORIES AR150RC AR150F AR610FS AR150WV AR910RK AR610CF Part Numbers Description AR150RC 150mm G/Bond Roof Cowl AR150F 150mm G/Bond Flue 1200mm AR150WV 150mm Wall Vent & duct AR910RK Recirculating Kit (150-120mm reducer, T-piece & carbon filters AR610CF Replacement carbon filter AR610FS Stainless steel exhaust cover extension 1200mm... -
Page 15: Warranty
Warranty FOR SALES IN AUSTRALIA AND NEW ZEALAND APPLIANCE: RANGEHOOD This document sets out the terms and conditions of the product 6. Proof of purchase is required before you can make a claim under warranties for Electrolux Appliances. It is an important document. this warranty. - Page 16 Top Service encompasses the after sales service provided by The Electrolux Group to consumers including delivery, home service and spare parts. Westinghouse. We are part of the Electrolux family. Share more of our thinking at www.electrolux.com Part number: 0342001598 Issue A ©...
Need help?
Do you have a question about the WRC313S and is the answer not in the manual?
Questions and answers