
Subscribe to Our Youtube Channel
Related Manuals for Piazzetta MARCELLA 2.0


Summary of Contents for Piazzetta MARCELLA 2.0
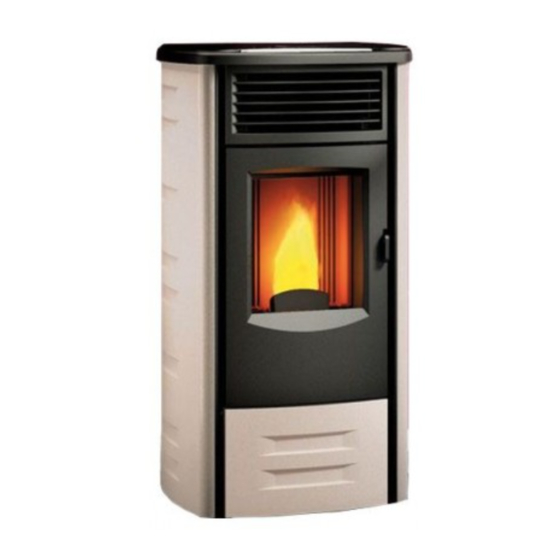
- Page 1 Cladding Revêtement MARCELLA 2.0 INSTRUCTIONS FOR THE INSTALLER INSTRUCTIONS POUR L’INSTALLATEUR H07029460 / DT2001065-01...
- Page 2 Dear Customer, Thank you for having chosen one of our products, which is the result of years of experience and continuous research aimed at making a superior product in terms of safety, reliability and performance. This booklet contains information and advice for safe and efficient use of your product. DT2010001-01 IMPORTANT INSTRUCTIONS DT2010002-02...
- Page 3 CONTENTS DT2010187-00 Sec. Title Page Dimensional diagrams Exploded view Preparations for installation Installation This booklet code H07029460 / DT2001065 rev. 01 - (12/2018) comprises 16 pages. H07029460 / DT2001065-01...
- Page 4 1.0 DIMENSIONS DT2011876-00 1,97" 50 mm 39" 991 mm 2,95" 75 mm 14,76" 375 mm 7" 178 mm 5,12" 2,44" 130 mm 62 mm 18,86" 479 mm 21,37" 543 mm Measurements in inches (mm). DT2034076-0 H07029460 / DT2001065-01...
- Page 5 2.0 EXPLODED VIEWS DT2011082-00 DT2032764-0 Description Description Top surround 01 Front panel 03 Side panel 02 Stove 3.0 PREPARATION FOR INSTALLATION DT2010108-03 - Unpack the cladding with all its relevant parts. If carrying out installation for the first time, we advise that - Unpack the stove with all its relevant parts.
- Page 6 4.0 INSTALLATION DT2011878-00 Fit the front panel [3] on the stove by inserting the two Fig. 1 threaded pins [P] through the relative holes in the side profiles and securing with the nuts [B] and washers [A] provided in the kit. (Fig. 1-2) DT2032765-0 Fig.
- Page 7 Take care during the fitting not to scratch Fig. 4 the enamel and not to knock or damage the electrical wiring or the electronic board of the stove. Check that the side panel is level and fits properly; if necessary shim with the fibreglass provided in the kit to ensure that it is level and there is contact between the parts.
- Page 8 Cher Client, Nous vous remercions d’avoir choisi l’un de nos produits. Cet appareil est le fruit d’une longue expérience et d’une recherche continue, afin d’améliorer sans cesse la sécurité, la fiabilité et les performances de nos produits. Dans ce manuel, vous trouverez toutes les informations et les conseils utiles pour pouvoir utiliser votre produit en toute sécurité...
- Page 9 TABLE DES MATIÈRES DT2010187-00 Chap. Titre Page Dimensions Vue éclatée Travaux avant l’installation Installation Ce manuel cod. H07029460 / DT2001065 rev. 01 - (12/2018) comprend 16 pages. H07029460 / DT2001065-01...
- Page 10 1.0 DIMENSIONS DT2011876-00 1,97" 50 mm 39" 991 mm 2,95" 75 mm 14,76" 375 mm 7" 178 mm 5,12" 2,44" 130 mm 62 mm 18,86" 479 mm 21,37" 543 mm Dimensions en pouces (mm). DT2034076-0 H07029460 / DT2001065-01...
- Page 11 VUE ÉCLATÉE DT2011877-00 DT2032764-0 Désignation Q.tè Désignation Q.tè Panneau 01 plaque Panneau 03 frontal Panneau 02 lateral Poêle 3.0 TRAVAUX AVANT L’INSTALLATION DT2010108-03 - Déballez le revêtement avec toutes ses pièces. Si le poêle est installé pour la première fois, il est - Déballez le poêle avec toutes ses pièces.
- Page 12 4.0 INSTALLATION DT2011878-00 Montez le panneau frontal [3] en engageant les deux Fig. 1 goujons filetés [P] dans les relatifs trous prévus sur les profilés latéraux et bloquez-le au moyen des écrous [B] et des rondelles [A] fournis en dotation (Fig. 1-2). DT2032765-0 Fig.
- Page 13 Pendant ces opérations, veillez à ne pas rayer Fig. 4 l’émail et à ne pas heurter ou endommager les fils électriques et la carte électronique du poêle. Assurez-vous de la planéité du panneau latéral et, s’il en est besoin, ajustez sa position en faisant un calage aux zones de contact en utilisant le ruban de fibre de verre fourni en dotation.
- Page 14 H07029460 / DT2001065-01...
- Page 15 H07029460 / DT2001065-01...
- Page 16 Via Montello, 22 31011 Casella d’Asolo (TV) - ITALY Tel. +39.04235271 - Fax +39.042355178 www.piazzetta.it e-mail: infopiazzetta@ piazzetta.it H07029460 / DT2001065-01...
Need help?
Do you have a question about the MARCELLA 2.0 and is the answer not in the manual?
Questions and answers