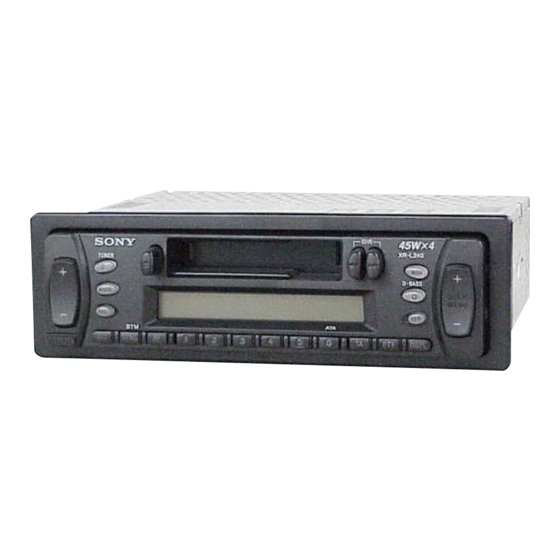
Sony XR-L240 Quick Start Quide
Casette car stereo
Hide thumbs
Also See for XR-L240:
- Operating instructions manual (92 pages) ,
- Service manual (36 pages) ,
- Service manual (7 pages)
Advertisement
Quick Links
Cautions
•Cautionary notice for handling the bracket 1.
Handle the bracket carefully to avoid injuring your fingers.
•Remove the protection collar 6 before installing.
Sicherheitshinweise
•Sicherheitshinweis zum Umgang mit der Halterung 1.
Seien Sie beim Umgang mit der Halterung vorsichtig, damit
Sie sich nicht die Hände verletzen.
•Nehmen Sie vor der Installation das Schutzmaterial 6 ab.
Avertissements
•Remarque importante pour la manipulation du support 1.
Manipulez précautionneusement le support pour éviter de vous blesser aux doigts.
•Déposez le collier de protection 6 avant l'installation.
Attenzione
•Avvertenza sulla manipolazione della staffa 1.
Maneggiare la staffa con cautela per evitare di ferirsi le mani.
•Rimuovere il collare di protezione 6 prima dell'installazione.
Opgelet
•Spring voorzichtig om met de beugel 1.
Houd de beugel voorzichtig vast zodat u uw vingers niet verwondt.
•Verwijder de beschermrand 6 voor het installeren.
6
1
Release the catch lock as illustrated.
Lösen Sie die Sperre der Arretierung, wie in der
Abbildung dargestellt.
Dégagez l'arrêt de fixation comme illustré.
Rilasciare il fermo come illustrato.
Maak de klem los zoals afgebeeld.
FM/MW/LW
Cassette
Car Stereo
Installation/Connections
Installation/Anschluß
Installation/Connexions
Installazione/Collegamenti
Montage/Aansluitingen
XR-L240
Sony Corporation © 2002
Parts list
Teileliste
Liste des composants
Elenco dei componenti
Onderdelenlijst
The numbers in the list are keyed to those in the instructions.
Die Nummern in der Liste sind dieselben wie im Erläuterungstext.
Les numéros de l'illustration correspondent à ceux des instructions.
I numeri nella lista corrispondono a quelli riportati nelle istruzioni.
De nummers in de afbeelding verwijzen naar die in de montage-aanwijzingen.
1
2
5
6
The release key 4 is used for dismounting the unit. See the operating instructions manual for details.
Zum Herausnehmen des Geräts wird der Löseschlüssel 4 benötigt. Einzelheiten entnehmen Sie bitte
der Bedienungsanleitung.
La clé de dégagement 4 est nécessaire pour démonter l'appareil. Consulter le mode d'emploi pour
plus de détails.
La chiave di rilascio 4 viene usata per smontare l'apparecchio. Per dettagli, fare riferimento al
manuale delle istruzioni.
De ontgrendelsleutel 4 dient om het apparaat te verwijderen. Zie de gebruiksaanwijzing voor meer
details.
3-236-757-11 (1)
Printed in Malaysia
3
4
7
Advertisement

Subscribe to Our Youtube Channel
Summary of Contents for Sony XR-L240
- Page 1 Installazione/Collegamenti Abbildung dargestellt. Dégagez l’arrêt de fixation comme illustré. Rilasciare il fermo come illustrato. Montage/Aansluitingen Maak de klem los zoals afgebeeld. XR-L240 Sony Corporation © 2002 Printed in Malaysia Parts list Teileliste Liste des composants Elenco dei componenti Onderdelenlijst The numbers in the list are keyed to those in the instructions.
- Page 2 Installation Installation Installation Installazione Montage Precautions Vorsichtsmaßnahmen Précautions Precauzioni Voorzorgsmaatregelen •Choose the installation location •Wählen Sie den Einbauort sorgfältig so •Choisir soigneusement l’emplacement •Scegliere con attenzione la posizione •Kies de installatieplaats zorgvuldig carefully so that the unit will not aus, daß das Gerät beim Fahren nicht de l’installation afin que l’appareil ne per l’installazione in modo che zodat het toestel de bestuurder niet...
- Page 3 Connections Anschluß Connexions Collegamenti Aansluitingen Cautions Vorsicht Précautions Attenzione Let op! •Dieses Gerät ist ausschließlich für den •Cet appareil est conçu pour •Questo apparecchio è stato progettato •This unit is designed for negative earth •Dit apparaat is ontworpen voor Betrieb bei 12 V Gleichstrom (negative fonctionner sur courant continu de per l’uso solo a 12 V CC con massa gebruik op gelijkstroom van een 12...
- Page 4 Connection diagram Anschlußdiagramm Schémas de connexion Diagramma di from a car aerial* von Autoantenne* collegamento de l’antenne de la voiture* dall’antenna dell’auto* Aansluitschema van een auto-antenne* Fuse (10A) Sicherung (10 A) Fusible (10 A) Fusibile (10 A) Zekering (10 A) See “Power connection diagram”...


Need help?
Do you have a question about the XR-L240 and is the answer not in the manual?
Questions and answers