
Related Manuals for Goodmans Micro 1002


Summary of Contents for Goodmans Micro 1002
- Page 1 1002 MICRO SYSTEM CD/PLL FM/MW RADIO INSTRUCTION MANUAL Before operating this unit, please read this Owners manual carefully. HELPLINE PHONE NUMBER 02392 391100 HELPLINE PHONE NUMBER 02392 391100...
-
Page 2: Table Of Contents
INTRODUCTION IMPORTANT NOTES This instruction manual is important to you. Please read it. In a short time it shows exactly how to connect, operate, and adjust this unit for best performance. Your hearing is very important to you and to us so please take care when operating this equipment. -
Page 3: Important Safeguards
CAUTION IMPORTANT SAFEGUARDS CLASS 1 LASER PRODUCT PRE FITTED MAINS PLUGS Use of contents or adjustments of performance of procedures other than those specified For your convenience a mains plug has been fitted to this appliance. For your safety please Herein may result in hazardous radiation exposure. -
Page 4: Location Of Controls
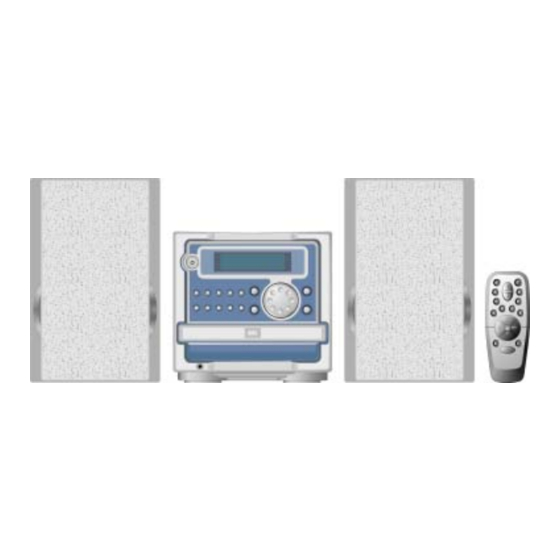
18. AC POWER CORD LOCATION OF CONTROLS 19. ANTENNA STOP/BAND Key • In the CD mode: to stop the 20. SPEAKER SOCKET compact disc or clear program. • In the Radio mode: to select 21. STEREO/MONO SELECTOR the receiving band. 10. - Page 5 CONNECTION REMOTE CONTROL DISPLAY • Do not switch the power to the unit on until all connections are made. • Do not place the FM aerial lead (B) on a metal desk or near a TV or personal computer. • Unravel and position the FM aerial lead away from the power and speaker cords as these could generate noise.
-
Page 6: Speaker Cord Connection
SETTING THE CLOCK TO REMOVE THE SPEAKER CORD SWITCHING THE UNIT ON SPEAKER GRILLES 1. Press DISPLAY to change to CONNECTION AND OFF Clock display. 2. Press and hold MEMORY/CLK 1. Insert your fingers at the top and Press the power button to turn the unit bottom of the grille and pull ADJ, the first second digit of "24H"... -
Page 7: Compact Discs
4. When you have found the correct COMPACT DISCS • Use a blower (available from time are shown on the track number, press MEMORY/ camera display. 1. Always use compact discs bearing CLK ADJ to store it in the stores) to blow dust off the lens. the mark as shown: 2. -
Page 8: Operation/Remain Function
1. Track elapsed time INTRO PLAY(Remote control only) TUNER OPERATION 7. Upto 10 FM & 10 MW stations 2. Clock time can be stored. Press INTRO during STOP mode the first 10 seconds of each track 3. Timer TUNING 4. Track elapsed time on the disc will be played. -
Page 9: Timer Operation
again to store the start time. SLEEP TIMER OPERATION 1. Press SLEEP, on the Remote 'SLEEP' appears in the display. WAKE TO CD 2. Press and hold the SLEEP Button to adjust the sleep time in the order of Before setting the timer, make sure Turn on the unit. -
Page 10: Troubleshooting Guide
TROUBLESHOOTING GUIDE TECHNICAL SPECIFICATIONS Please make these simple checks before calling our helpline. These tips can save you Power Supply : AC 230V, 50Hz time and money. Power Consumption : 70W NO POWER • Make sure the power cord is inserted fully into a 230V/50Hz outlet.
Need help?
Do you have a question about the Micro 1002 and is the answer not in the manual?
Questions and answers