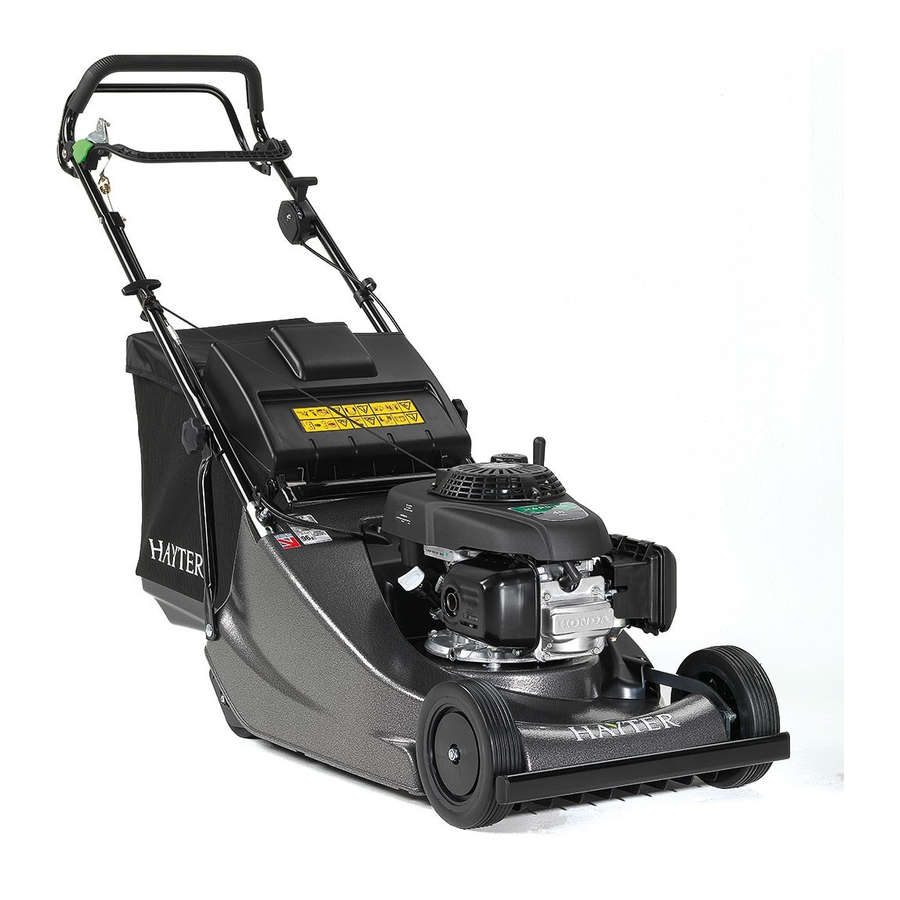
Hayter Harrier 48 PRO Owner's Handbook Manual
Hide thumbs
Also See for Harrier 48 PRO:
- Owner's handbook manual (44 pages) ,
- Owner's handbook manual (40 pages) ,
- Owner's handbook manual (40 pages)
Table of Contents
Advertisement
111-7895
Material No:
MANUAL OP HARRIER 48 PRO [496_566:EN]
Description:
HAYTER
Technical
Publications
Assembly
RELEASE TO PRODUCTION
Reason for Revision:
Comments
COVER PAGE FOR MANUAL OP HARRIER 48 PRO [496_566:EN]
C:\Windows\Temp\pdfg-LYNMS313_\bb\fbb6-3daf25-f5428f-6bbddd-354c8d-2870c4\111-7895.doc
A
Rev:
Release/Change Authorization Number:
THIS UNPUBLISHED DOCUMENT CONTAINS HAYTER CONFIDENTIAL AND PROPRIETARY INFORMATION. IT
MAY NOT BE WHOLLY OR PARTIALLY COPIED, DISCLOSED TO OTHERS, OR USED FOR ANY PURPOSE
WITHOUT WRITTEN PERMISSION FROM HAYTER. IF PUBLICATION OCCURS, THE FOLLOWING NOTICE
APPLIES:
"HAYTER ALL RIGHTS RESERVED".
5095416
10/14/2014
Issue Date :
Supersedes:
Created By :
LH
Scale :
None
Page 1 of 1
Advertisement
Table of Contents


Need help?
Do you have a question about the Harrier 48 PRO and is the answer not in the manual?
Questions and answers