Sign In
Upload
Download
Add to my manuals
Delete from my manuals
Share
URL of this page:
HTML Link:
Bookmark this page
Add
Manual will be automatically added to "My Manuals"
Print this page
×
Bookmark added
×
Added to my manuals
Manuals
Brands
Spa Electrics Manuals
Swimming Pool Lighting
RETRO Series
Installation & owner's manual
Spa Electrics RETRO Series Installation & Owner's Manual
Aqua/lamp replacement
Hide thumbs
1
2
3
4
5
6
7
8
9
10
11
12
13
14
15
16
17
18
19
20
page
of
20
Go
/
20
Bookmarks
Advertisement
Quick Links
Download this manual
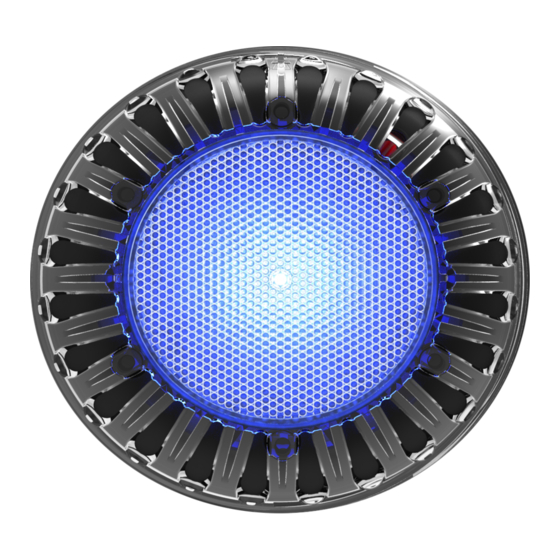
AQUA/LAMP REPLACEMENT
Previous
Page
Next
Page
1
2
3
4
5
Advertisement
Need help?
Do you have a question about the RETRO Series and is the answer not in the manual?
Ask a question
Questions and answers
Related Manuals for Spa Electrics RETRO Series
Underwater lighting Spa Electrics ATOM Installation & Owner's Manual
Ultra compact niche light (24 pages)
Spa Accessories Spa Electrics Atom Installation & Owner's Manual
Vinyl pools, ultra compact niche light (24 pages)
Lighting Equipment Spa Electrics Atom Installation & Owner's Manual
Pool light (24 pages)
Spa Accessories Spa Electrics atom Replacement
Bulb replacement (4 pages)
Swimming Pool Lighting Spa Electrics N1 Assembly Installation Manual
Plug (4 pages)
Swimming Pool Lighting Spa Electrics R6 Instructions
Light removal (2 pages)
Swimming Pool Lighting Spa Electrics retro R6 Installation & Owner's Manual
Pool light (universal) (28 pages)
Swimming Pool Lighting Spa Electrics retro R6 Installation & Owner's Manual
Pool light (universal) (32 pages)
Swimming Pool Lighting Spa Electrics RETRO AGRX R2 Installation & Owner's Manual
Universal mini niche retro fit replacement led pool light (20 pages)
Swimming Pool Lighting Spa Electrics retro R8 Installation & Owner's Manual
(29 pages)
Swimming Pool Lighting Spa Electrics retro R1 C1 Installation & Owner's Manual
Nicheless light (32 pages)
Swimming Pool Lighting Spa Electrics retro R10H Installation & Owner's Manual
Pool light universal (32 pages)
Swimming Pool Lighting Spa Electrics RETRO GKRX Installation & Owner's Manual
Universal surface mount retro install (16 pages)
Swimming Pool Lighting Spa Electrics retro T1 Installation & Owner's Manual
(30 pages)
Swimming Pool Lighting Spa Electrics Matrix LWB Series Instruction & Owner's Manual
Fibreglass waterblade (12 pages)
Swimming Pool Lighting Spa Electrics atom EMF Installation & Owner's Manual
(20 pages)
This manual is also suitable for:
Atom
Quantum
Atom-retro-w
Atom-retro-g
Print
Rename the bookmark
Delete bookmark?
Delete from my manuals?
Login
Sign In
OR
Sign in with Facebook
Sign in with Google
Upload manual
Upload from disk
Upload from URL


Need help?
Do you have a question about the RETRO Series and is the answer not in the manual?
Questions and answers