
Subscribe to Our Youtube Channel
Related Manuals for Extech Instruments RPM250W


Summary of Contents for Extech Instruments RPM250W
- Page 1 User Manual RPM250W Laser Tachometer Bluetooth® Connectivity with the ExView® Mobile App...
-
Page 2: Table Of Contents
Table of contents Introduction................1 Safety ................2 FCC Compliance ..............3 Product Description ............4 Meter Parts ............... 4 Function Buttons ............4 Display Symbols............5 Operation ................6 Powering the Meter ............. 6 Auto Power Off (APO)..........6 Tachometer (RPM) Measurements ......... 6 Counter Measurements (with illuminated objects) .... -
Page 3: Introduction
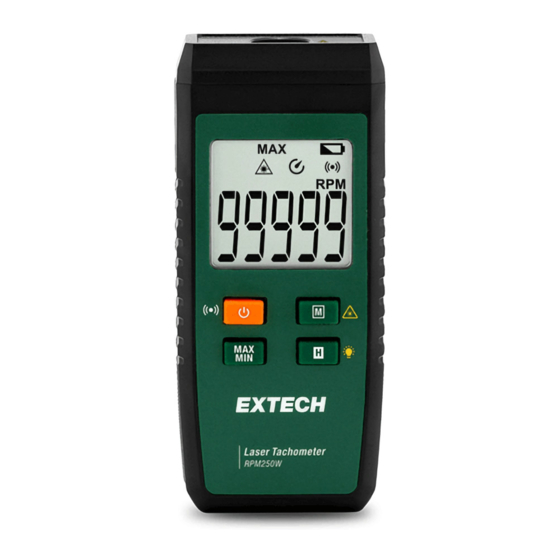
Thank you for selecting the Extech RPM250W Laser Tachometer. This meter measures rotations per minute on equipment such as fan blades, rotors, tur- bines, and similar machinery. The RPM250W is also a counter where items on a conveyor, for example, can be counted. Measurements are made using the built-in photo-electric sensor, situated at the top of the meter. -
Page 4: Safety
Safety Please read all safety information before using this device CAUTION • Check for damage to the device’s housing, sensor, display, and battery compartment before use. If obvious damage or abnormalities are noticed, please discontinue use and return the device for service. •... -
Page 5: Fcc Compliance
FCC Compliance This equipment has been tested and found to comply with the limits for a Class B digital device, pursuant to part 15 of the FCC Rules. These limits are designed to provide reasonable protection against harmful interference in a residential installation. -
Page 6: Product Description
Product Description 4.1 Meter Parts 1. Photo-electric sensor and Laser pointer lens 2. Backlit LCD (detailed below) 3. Function buttons (detailed below) 4. Tripod mount 5. Battery compartment 4.2 Function Buttons Power / Bluetooth button Long press to switch the device on. Short press to switch off. With the meter powered, long press to switch Bluetooth on/off. -
Page 7: Display Symbols
Product Description Tachometer/Counter and Laser button Short press to toggle Tachometer (RPM) and Count modes. Long press to switch the Laser pointer on/off. The Laser pointer symbol is shown when the Laser is on. APO ON/OFF With the meter on, long press the power and H buttons to switch APO on/off. -
Page 8: Operation
Operation 5.1 Powering the Meter The meter operates on three (3) 1.5 V (AAA) batteries, installed in the rear compartment. Long press the power button to switch the meter on. Short press the power button to switch the meter off. If the meter does not switch on, check the bat- teries for proper orientation. -
Page 9: Counter Measurements (With Illuminated Objects)
Operation 6. When the sensor detects a reflection from the tape, the monitor symbol appears on the LCD. 7. The five-digit LCD read-out shows the RPM measurement. 8. If the measurement is > 99,999 RPM, OL will appear on the display in place of a reading. -
Page 10: Data Hold Function
Operation 5.6 Data Hold Function Short press the Data Hold (H) button to freeze/unfreeze the displayed read- ings. While Data Hold is active, HOLD will appear on the LCD. 5.7 LCD Backlight Long press the backlight button to switch the display backlight on or off. Excessive use of the backlight will shorten battery life. -
Page 11: Maintenance
Maintenance CAUTION Warning: Do not open the meter. Service should only be performed by factory personnel, there are no user-serviceable components in this device. 6.1 General Cleaning Wipe the housing with a damp cloth as necessary to clean. Do not use abra- sives or solvents to clean this device. -
Page 12: Specifications
Specifications 7.1 General Specifications Display 5 digit (99999) backlit multifunction LCD Over range indication OL is displayed when measurements are out of range Low battery indication Battery symbol appears when batteries are low Photo-sensitive diode Sensor type Measurement distance 2 to 20 in. (50 to 500 mm) Meter power Three (3) 1.5 V (AAA) batteries Dimensions... -
Page 13: Connectivity Specifications
Specifications 7.4 Connectivity Specifications Connectivity Bluetooth (with ExView app) ExView app compatibility iOS 13.0 and Android 9.0 or higher Transmission distance Up to 295.3 ft. (90 m) with no line-of-sight obstruction #NAS100078; r. AA/78959/78963; en-US... -
Page 14: Two-Year Warranty
Two-year Warranty FLIR Systems, Inc. warrants this Extech brand instrument to be free of defects in parts and workmanship for two years from date of shipment (a six- month limited warranty applies to sensors and cables). To view the full war- ranty text please visit: http://www.extech.com/support/warranties. - Page 16 User Manual last page Website http://www.flir.com Customer support http://support.flir.com Copyright © 2021, FLIR Systems, Inc. All rights reserved worldwide. Disclaimer Specifications subject to change without further notice. Models and accessories subject to regional market considerations. License procedures may apply. Products described herein may be subject to US Export Regulations.
Need help?
Do you have a question about the RPM250W and is the answer not in the manual?
Questions and answers