Table of Contents
Advertisement
Quick Links
Download this manual
See also:
User Manual
Advertisement
Table of Contents

Related Manuals for Concord Camera Eye-Q 3132z


Summary of Contents for Concord Camera Eye-Q 3132z
-
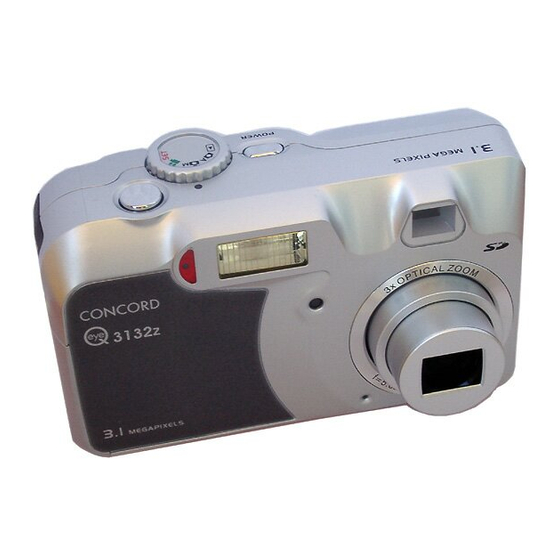
Page 2: Camera Nomenclature
Camera Nomenclature Front Self-timer lamp Exposure sensor Back Operation lamp Viewfinder Flash / Up button Self-timer / Left button Replay / Down button LCD Monitor screen Power button Viewfinder Flash Microphone Macro / Right button / Play / Pause button Shutter button Mode dial Quick Start Guide... -
Page 3: Battery Installation
Quick Start Guide Battery Installation Camera Working Mode You can select the camera’s working mode by using the Mode dial located on the top of the camera. There are 4 working modes in this camera. Auto Photo Mode ( In this mode, the camera will automatically set the exposure and white balance according to your shooting environment. -
Page 4: Taking Pictures
Manual Photo Mode ( You can manually set the exposure and white balance before shooting. Playback Mode ( Replay or delete images from the camera memory storage. Video Mode ( 1. Use this mode to record movies. 2. You can also manually set the exposure and white balance before recording the video. Set Mode ( By setting each item on the Set-up menu to your preference, you can customized your camera. -
Page 5: Using The Zoom Feature
Quick Start Guide Using the Zoom Feature You can zoom in the subject for a telephoto shot, or zoom out for a wide-angle shot. Digital Zoom Function This camera has a digital zoom function. Digital zoom enlarges the image by digital processing and it start to function when zoom exceeds 3x. -
Page 6: Changing The Picture Resolution And Quality (Compression)
Changing the Picture Resolution and Quality (Compression) You can change the resolution and quality setting of images you will record in manual mode. Please refer to page 22 of user’s manual. Display Icon Display Icon NOTE: In Auto Recording Mode, there are total 6 pre-settings of image quality and size. Please refer to page 21 of user’s manual. -
Page 7: Erasing Pictures
Quick Start Guide Erasing Pictures You can erase one or all images while in the Playback mode( Erasing a Single Image 1. Turn the Mode dial to Playback mode( 2. Press the MENU button. 3. Press the SET button to enter the “ERASE ONE” menu ( Use the LEFT/RIGHT buttons to toggle between the YES/NO options. - Page 8 Transfering Pictures(Windows Users) If your operating system is Windows 98/98SE, make sure that you install the USB driver and imaging software that comes on the bundled CD-ROM first. Please see above and refer to Page 44 and 45 of the user’s manual. If your operating system is Windows ME/2000 or XP installing the driver is unnecessary, however;...
-
Page 9: Installing The Driver & Software
Quick Start Guide Installing the Driver & Software Note: You do not need to install the drivers if you are running Windows ME, 2000 or XP. Please go to the "Installing the Software" section. Note to Mac users: You do not need to install drivers or software to transfer pictures. Please see "Downloading Images to a Computer"... - Page 10 Installing the Software (Windows Users) You may choose to skip the software installation procedure if you already have photo editing software loaded on your computer or if you would like to transfer pictures without editing them. Please refer to the Downloading Images section for instructions on transferring pictures to you computer.
- Page 11 Quick Start Guide 9. Wait while the software is installed. 10. Click Finish to complete the the setup. 11 . Click Continue. 12. Click Cancel if you would like to complete the registration at a later date. If you would like to register now, complete the registration form and click Register.
-
Page 12: Technical Suppor T Hot Line
Technical Suppor t Hot Line: Toll Free In the USA & Canada 1-866-522-6372 Toll Free In Europe UK: 0800-169-6482 BELGIUM: 0800-787-57 FRANCE: 0800-917-599 GERMANY: 0800-1800-563 SPAIN: 900-973-195 ITALY: 800-781-883 All Other Countries - Toll 31-53-482-9779...
Need help?
Do you have a question about the Eye-Q 3132z and is the answer not in the manual?
Questions and answers