Advertisement
Quick Links
Advertisement

Related Manuals for Fiamma Rubine FABIO Series


Summary of Contents for Fiamma Rubine FABIO Series
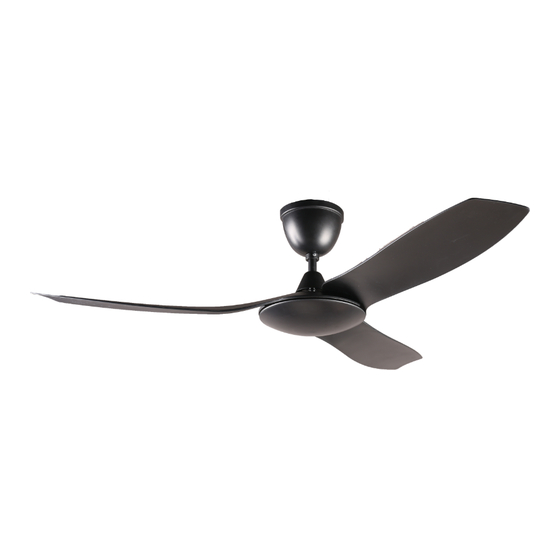
- Page 1 52" FABIO SERIES USER MANUAL/PANDUAN PENGGUNA/ 用户手册 MODEL / MODEL / RCF-FABIO52-3B...
- Page 2 CEILING FAN/ KIPAS SILING/吊扇 SUPPLIED PARTS / BAHAGIAN YANG DIBEKALKAN/ 提供零件 PART QUANTITY PART QUANTITY BAHAGIAN KUANTITI BAHAGIAN KUANTITI 零件 数量 零件 数量 REMOTE CONTROL HOLDER / HANGING TUBE / 吊杆 PEMEGANG ALAT KAWALAN/遥控发射器 ROD BESI / SCREW PACK,BALANCING KIT/ RECEIVER / x 1 set SKRU PEK, SET PENGAMANGAN /...
- Page 3 WARNING TO ENSURE YOUR PERSONAL SAFETY, PLEASE READ THROUGH THE INSTRUCTION MANUAL BEFORE OPERATING THE PRODUCT. 1) Do not bend the blade during installation, blades balancing or fan cleaning. 2) To prevent accidents, power switch must be OFF and electrical wiring must be disconnected before ceiling fan installation, dismantling, maintenance or cleaning.
- Page 4 SAFETY GUIDELINES 1) Please do not install the ceiling fan at high humidity areas. 2) Distance between fan blades and ground must be at least 2.5 meter and above. 3) Do not touch the ceiling fan while it is operating. 4) For safety purposes, all electrical connections must conform to the national electrical safety codes and earth wire must be installed correctly (suitable for power supply of 240VAC/50Hz).
- Page 5 INSTALLATION PROCEDURES / TATACARA PEMASANGAN / 安装步骤 STEP 1 (Refer diagram 1) Remove the bolt, R-pin, nut, flat washer, spring washer and rubber wheel from the hanging tube coupling plate . Place the rubber wheel onto the ceiling U-hook and reassemble the bolt, R-pin, nut, spring washer, flat washer in place.
- Page 6 STEP 2 (Refer diagram 2) • Unscrew the safety cable screw and washer from the hanging tube coupling plate. • Tie the safety cable across the U-hook as shown. • Firmly screw the safety cable with washer onto the handing tube coupling plate LANGKAH 2 (Rujuk gambar 2) •...
- Page 7 Diagram 3 / Gambar 3 / 图 3 STEP 3 (Refer diagram 3) Unscrew all “pre-assemble blade screw” from fan motor, and fix blade to fan motor by tighten the screw firmly. Repeat this step for all blade. Blade LANGKAH 3 (Rujuk gambar 3) Bilah Buka semua “skru bilah pra memasang”...
- Page 8 Diagram 5 / Gambar 5 / 图 5 STEP 5 (Refer diagram 5) Align and insert the convex clips of top Convex Clips Klip Cembung canopy (2 pieces) into the concave slot. Clip 凸形夹 it until it is fully fixed. LANGKAH 5 (Rujuk gambar 5) Selaraskan dan masukkan klip cembung sengkuap atas (2 keeping) ke dalam slot...
- Page 9 RF TRANSMITTER / PEMANCAR RF / 射频发射器 Function of Transmitter / Fungsi Pemancar/ 发射器功能 ① LED Indicator Light / Lampu Penunjuk LED / LED 指 示 灯 指 示 灯 LED Indicator Light / Lampu Penunjuk ② ③ Switch off the ceiling fan. Switch off the ceiling fan.
- Page 10 Note – In the event of Transmitter (Remote Control)/Receiver cannot be control, please follow the “Remote Control Pairing Procedure” as below : 1. Insert 2 units of AAA battery into the remote control. 2. Switch on the ceiling fan (Power Supply). 3.
- Page 11 IMPORTANT / PERKARA PENTING / 重要事项 DO NOT CONNECT THIS CEILING FAN REMOTE CONTROL TO DIMMER SWITCH OR WALL REGULATOR. JANGAN SAMBUNGKAN KAWALAN JAUH KIPAS SILING INI KEPADA SUIS DIMMER ATAU PENGAWAL DINDING. 请勿将此吊扇遥控器连接至调光器开关或墙壁调节器。 Ceil ing must mounted above 2.5m from the floor and 1m from the wall to the blade.
- Page 12 UNTUK MOTOR KIDAS SAHAJA 仅 限于风扇电机 UNTUK ALAT PENERIMA SAHAJA 仅 限于遥控接收 器 UNTUK SEMUA BAHAGIAN KIPAS KECUALI AKSESORI 所 有产品(不包 括 配 件 )...
Need help?
Do you have a question about the Rubine FABIO Series and is the answer not in the manual?
Questions and answers