Advertisement
en
USER MANUAL
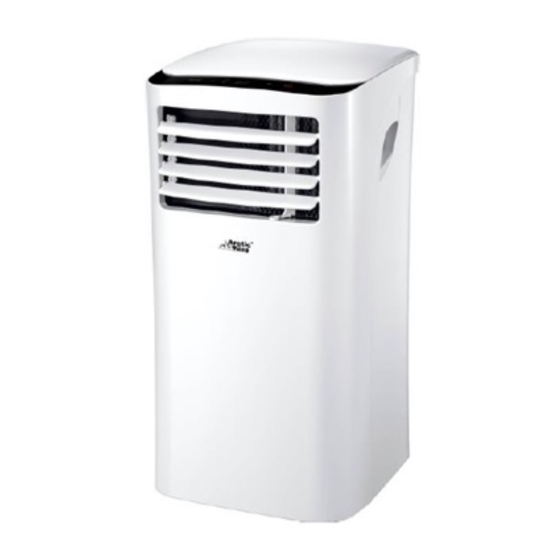
Portable
PH
Rated voltage: 115V
Frequency: 60Hz
WARNING
Before using this product,
please read this manual carefully
and keep it for future reference.
The design and specifications
are subject to change without
prior notice for product
improvement. Consult with
your dealer or the manufacturer
KAP09R1CWT
for details.
KAP10R1CWT
www.midea.com
Advertisement


Need help?
Do you have a question about the KAP09R1CWT and is the answer not in the manual?
Questions and answers
I need a replacement window kit with the exhaust hose. I need to know the size of the exhaust hose so I can order a new one. Fo you have the size, thank you
The exact size of the exhaust hose for the Arctic King KAP09R1CWT window kit is not provided in the context.
This answer is automatically generated