Table of Contents
Advertisement
Quick Links
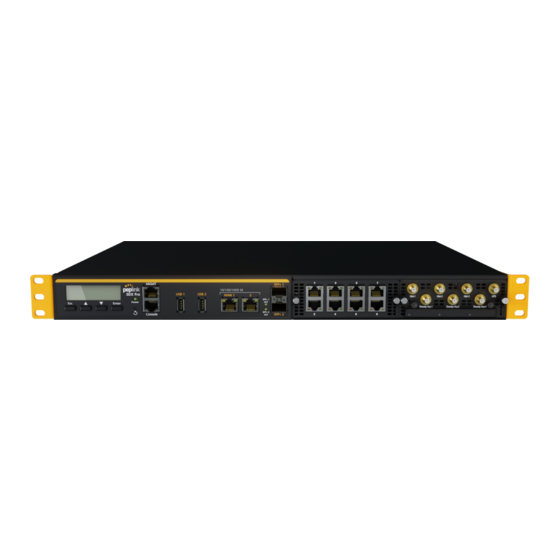
SDX Pro Module Upgrade
Jan 2021
Important Notes
Tools required
● Please take care with the connectors to not damage them.
● CAT12 FlexModules have 6x cellular antenna connections while CAT18 & CAT20 have
8x cellular antenna connections per FlexModule. So if you are upgrading from CAT12
to either CAT18 or CAT20, you will require additional antennas. The number of GPS
antennas remains the same at one.
● FlexModules are fully interchangeable between the different types of FlexModules, e.g.
ethernet, fibre, and cellular.
1x Screwdriver - Phillips Head #2 / PH2
Advertisement
Table of Contents

Summary of Contents for peplink PEPWAVE SDX Pro
- Page 1 SDX Pro Module Upgrade Jan 2021 Important Notes Tools required 1x Screwdriver - Phillips Head #2 / PH2 ● Please take care with the connectors to not damage them. ● CAT12 FlexModules have 6x cellular antenna connections while CAT18 & CAT20 have 8x cellular antenna connections per FlexModule.
- Page 2 Step 3 : There are two screws on the front of the FlexModule; both need to be loosened. The screws are spring loaded and will be held in place so as to not fall out. The screws remain with the FlexModule. https://www.peplink.com Copyright @ 2021 Peplink...
- Page 3 Step 5 : Install the new module. Make sure it is correctly aligned and press the module firmly into place. The FlexModule should sit flush with surrounding FlexModules or slightly countersunk (1-2mm) of the router chassis. https://www.peplink.com Copyright @ 2021 Peplink...
- Page 4 Step 6 : Tighten the screws until flush and tight with the collar. Step 7 : Reconnect antennas. Step 8 : Reconnect power. https://www.peplink.com Copyright @ 2021 Peplink...


Need help?
Do you have a question about the PEPWAVE SDX Pro and is the answer not in the manual?
Questions and answers