peplink PEPWAVE FlexModule Mini User Manual
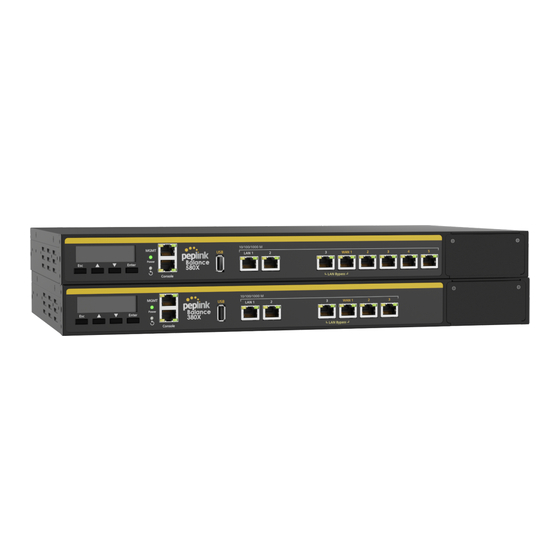
For balance 20x / 380x / 580x
For more information, please visit peplink.com
Advertisement
Quick Links
FlexModule Mini User Guide
For Balance 20X / 380X / 580X
Sep 2021
Important Notes
1. Please handle the connectors with care as to not damage them.
2. LTE-A (CAT-6) and LTE-A Pro (CAT-12) FlexModule Minis have 2x cellular antenna
connectors while LTE-A Pro (CAT-18) and 5G have 4x cellular antenna connectors. So if
you are upgrading from LTE-A (CAT-6) or LTE-A Pro (CAT-12) to either LTE-A Pro
(CAT-18) or 5G, you will require additional antennas.
3. FlexModule Minis are fully interchangeable with other FlexModule Minis, e.g. Ethernet,
and cellular.
Advertisement

Related Manuals for peplink PEPWAVE FlexModule Mini


Summary of Contents for peplink PEPWAVE FlexModule Mini
- Page 1 FlexModule Mini User Guide For Balance 20X / 380X / 580X Sep 2021 Important Notes 1. Please handle the connectors with care as to not damage them. 2. LTE-A (CAT-6) and LTE-A Pro (CAT-12) FlexModule Minis have 2x cellular antenna connectors while LTE-A Pro (CAT-18) and 5G have 4x cellular antenna connectors.
- Page 2 Step 1: Power off the router. The router MUST be disconnected from power before starting the upgrade. Step 2: Disconnect all antennas. Step 3: Loosen the screws on the cover or the installed FlexModule Mini. Step 4: Remove the cover or module by pulling them out directly. https://www.peplink.com Copyright @ 2021...
- Page 3 Step 6: Install the 380X/580X module cover and tighten the screws. Step 7: Install the new module. Make sure it is correctly aligned before pressing the module firmly into place. The FlexModule Mini should sit flush with the router chassis. https://www.peplink.com Copyright @ 2021...
- Page 4 Step 8: Tighten the screws until the FlexModule Mini sits flush and tight with the collar. Step 9: Reconnect the antennas. Step 10: Reconnect the power. https://www.peplink.com Copyright @ 2021...
- Page 5 B20X Step 1: Power off the router. The router MUST be disconnected from power before starting the upgrade. Step 2: Disconnect all antennas. Step 3: Loosen the screws on the cover or the installed FlexModule Mini. https://www.peplink.com Copyright @ 2021...
- Page 6 Step 5: Install the new module. Make sure it is correctly aligned before pressing the module firmly into place. The FlexModule Mini should sit flush with the router chassis. Step 6: Tighten the screws until the FlexModule Mini sits flush and tight with the collar. https://www.peplink.com Copyright @ 2021...
- Page 7 Step 7: Reconnect the antennas. Step 8: Reconnect the power. https://www.peplink.com Copyright @ 2021...
- Page 8 Any changes or modifications not expressly approved by the party responsible for compliance could void your authority to operate the equipment. https://www.peplink.com Copyright @ 2021...
- Page 9 CE Statement for Pepwave Product ( FlexModule Mini for MV31-W ) https://www.peplink.com Copyright @ 2021...
- Page 10 Copyright @ 2021...
- Page 11 This equipment complies with CE radiation exposure limits set forth for an uncontrolled environment. This equipment should be installed and operated with a minimum distance of 20cm between the radiator & your body. contact as: https://www.peplink.com/ https://www.peplink.com Copyright @ 2021...
- Page 12 CE Statement for Pepwave Product ( FlexModule Mini for MC7455 ) https://www.peplink.com Copyright @ 2021...
- Page 13 Copyright @ 2021...
- Page 14 This equipment complies with CE radiation exposure limits set forth for an uncontrolled environment. This equipment should be installed and operated with a minimum distance of 20cm between the radiator & your body. contact as: https://www.peplink.com/ https://www.peplink.com Copyright @ 2021...
Need help?
Do you have a question about the PEPWAVE FlexModule Mini and is the answer not in the manual?
Questions and answers