Advertisement
Quick Links
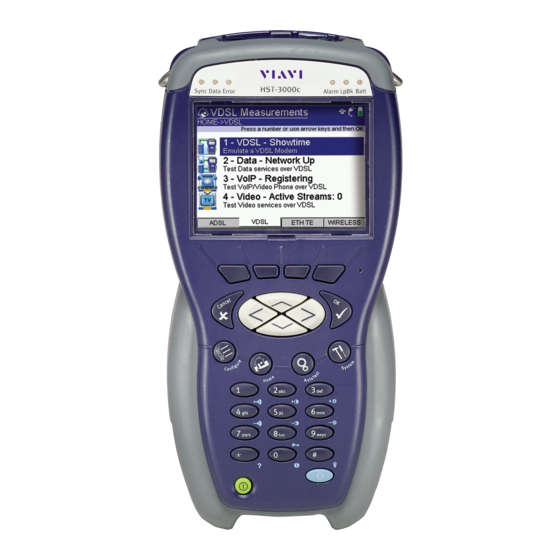
HST Ethernet Quick Card
The product comes in Ethernet only or Ethernet/T1/T3 variations and works in conjunction with
a fiber cleaning and inspection kit to help turn-up and maintain Ethernet backhaul links from the
cell site.
When connecting to an optical link first make sure the link is clean using the proper inspection
probes. Then connect the HST-3000 to the line under test using the proper SFP connector into
port 1 on the HST Ethernet SIM.
Advertisement

Subscribe to Our Youtube Channel
Related Manuals for Viavi HST-3000


Summary of Contents for Viavi HST-3000
- Page 1 When connecting to an optical link first make sure the link is clean using the proper inspection probes. Then connect the HST-3000 to the line under test using the proper SFP connector into port 1 on the HST Ethernet SIM.
- Page 2 1 Testing with the HST-3000 This section describes testing using the HST-3000 located in the field. The first two sections (Setting up an Electrical Link and Setting up an Optical Link) describe how one will connect the unit to the link under test. Technicians serving as the loop unit (tests will be run by a far end HST-3000, TB6000A, TB8000, or QT-600) can stop at this point.
- Page 3 Then select the restart key on the right side. If you cannot get to this step check the settings and the physical connection. The tester is now ready to receive loop commands or proceed to Quick Testing using the HST-3000 (Section 4.3)
- Page 4 1.2 Setup for Testing an Optical Link with the HST-3000 This section describes setup and testing when the location in the field is an optical drop. If there is instead an electrical RJ-45 handoff then the method detailed previously should be used.
- Page 5 You should see the screen turn green. If not, select the display key and then select the summary result pane. Then select the restart key on the right side. The tester is now ready to receive loop commands or proceed to Quick Testing using the HST-3000 (Section 4.3)
- Page 6 1.3 Quick Testing Using the HST-3000 This section describes how to quickly check an active link exists between two test sets. This test proves that the link exists and will detect if errors occur. After this section is complete one can safely run the RFC 2544 test to validate the pipe.
- Page 7 Tap right to select the Ethernet Filter Tab. Make sure that • Destination Type -> Don’t Care • Source Type -> Don’t Care • Encapsulation -> Don’t Care • Payload Analysis -> On • Rx Payload -> Acterna Next press the home key. Then select Restart. Now to Loop up the far end select the Action Key, then select #2 Loop and then Select #1 Loop Up.
- Page 8 Now press the left arrow to go back to the summary page. Check that the summary page remains green. Select the Action button and select Insert Single FCS Error. Check that the screen has turned red and a single error has appeared on the screen. Quick test is now complete.
- Page 9 1.4 RFC 2544 Testing Using the HST-3000 This section describes how to validate the link between two locations. The output of this test is a go or no go on the quality of the link and the results can be saved for further analysis. This section is expected to take approximately 25 minutes for testing.
- Page 10 Tap right to select the Frame Length Tab. Make sure that • The smallest possible Frame Length is selected (this will be either 64, 68, 70, or 72 depending on the settings). To do this go to Frame Length 1 and select the value.
- Page 11 Now select the Action key and then select Start Traffic. The RFC 2544 test will automatically run through all of its tests and save results to the unit. A bar at the top will diplay the minimum time remaining for the test to be completed. The link has now been fully tested.
- Page 12 1.5 Downloading Results on the HST-3000 (via USB) This section describes how to download results via USB from the HST-3000 Part 1: Connecting the USB Flash Drive to the HST-3000 Step Action Details Connect the USB Flash Drive to the HST-3000’s USB port on the Connect top of the mainframe.
- Page 13 Part 3: Ending File Transfer Step Action Details Shutdown HST-3000 Power cycle the HST-3000 by Pressing the green power button to turn the unit off. Disconnect the USB Flash Drive from the HST-3000’s USB port Disconnect on the top of the mainframe.
Need help?
Do you have a question about the HST-3000 and is the answer not in the manual?
Questions and answers