Advertisement
Safety instruction
· Please read this manual carefully, also with related manual for the machinery before use the controller.
· For installing and operating the controller properly and safely, qualified personnel are required.
· Please try to stay away from arc welding equipment, in order to avoid electromagnetic interference and
malfunction of the controller.
· Keep in room bellow 45 ° and above 0 °
· Do not humidity below 30% or above 95% or dew and mist of places.
· Install the control box and other components, turn off the power and unplug the power cord.
· To prevent interference or leakage accidents, please do the ground work, the power cord ground wire
must be securely connected to an effective way to earth..
· All parts for the repair, provided by the Company or approved before use.
· performing any maintenance action, you must turn off the power and unplug the power cord. There are
dangerous high voltage control box, you must turn the power off after one minute before opening the
control box.
· This manual marked with the symbol of the Department of Safety Precautions must be aware of and
strictly adhered to, so as not to cause unnecessary damage.
1 Product installation
1.1 Product specifications
Model
Frequency
1.2 Plug connection
Connecting plugs of the the pedal or machine head to the related socket on the control box. More
details please check the below map 1-1.
ZB-A2S Operation Manual
A2S
voltage
50Hz/60Hz
Max output power
①
②
pedal & upgrade socket;
1
AC 220±20% V
550W
control box
Figure 1-1 A2S series
②
E lectromagnet and Machine head button socket.
1 / 8
Advertisement
Table of Contents

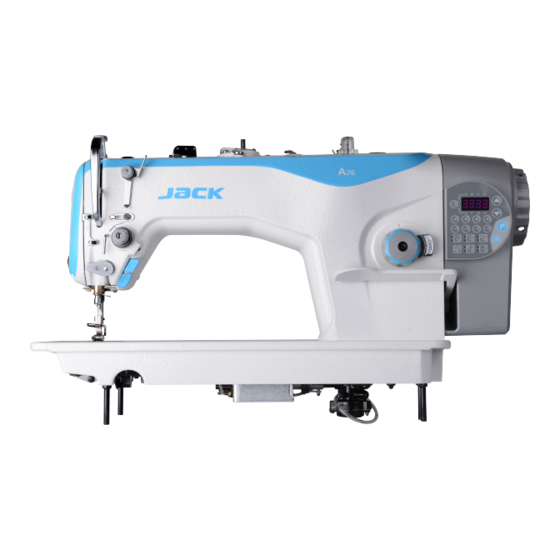
Summary of Contents for Jack ZB-A2S
- Page 1 ZB-A2S Operation Manual Safety instruction · Please read this manual carefully, also with related manual for the machinery before use the controller. · For installing and operating the controller properly and safely, qualified personnel are required. · Please try to stay away from arc welding equipment, in order to avoid electromagnetic interference and malfunction of the controller.
-
Page 2: Wiring And Grounding
Controller interface definition Note: please check if the plug and socket match or the direction of the plug is right when we can’t plug in under normal condition. 1.3 Wiring and grounding Please make qualified grounding system with professional technicians. Make sure the AC plug is grounded safely before power on. - Page 3 2.2The description of each key function number picture diagram Function description Enter the parameter Parameter function entry key area function key Parameter view save View and save the selected parameter number Speed plus Initial standby speed plus Speed reduction Initial standby speed reduction 、...
-
Page 4: Speed Adjustment
3.3 Speed adjustment Press to change the speed. 50 difference once a time and can press constantly. 3.4 Factory setting Press for factory setting. 3.5 Method to monitors mode Press shows monitors number, press to change the monitors number, press to enters into the related value of monitors number, press again to return the monitors reference number. - Page 5 Slow starting sewing Tread tension magnet period 1-10 stitches (from beginning to full energy) Slow starting sewing Multi-phase mode switch 0:off 1:on o ff : : W sewing stitch s ucking 1-120 Thread tension switch ( ) W sewing stich Angle of finishing testing the 1-120 1-360...
- Page 6 Automatic presser foot Motor direction function : o pposite 1 : c onverse m anual 1 a utomatic : : Closing time of presser 1-10 Tension post starting angle 10-359 foot every period(ms) Top thread testing switch Tension post finishing angle 0-359 Automatic top needle position...
-
Page 7: Error Code Table
4 Error code 4.1 Error code table If the system shows error or alarm, please first check the following items: 1. first, confirm if the machine's connection cable is intact; 2. Confirm whether the electronic control box and the machine is matched or not; 3. Confirm whether the factory reset is accurate or not. Error Code meaning Countermeasure... - Page 8 Err-16 Motor reversal Err-18 Motor overload 4.2Safety alarm table Error code Code meaning Solutions Means the number of pins has reached the set limit.Press P key ALR-2 Stitch number alarm to cancel the alarm and count again. Means the number of packages has reached the set limit.Press P Package number alarm ALR-3 key to cancel the alarm and count again.


Need help?
Do you have a question about the ZB-A2S and is the answer not in the manual?
Questions and answers
Добрый день!. Как опустить зубчатую рейку jack A2s
There is very little oil going into the viewing glass what does this mean?