Advertisement
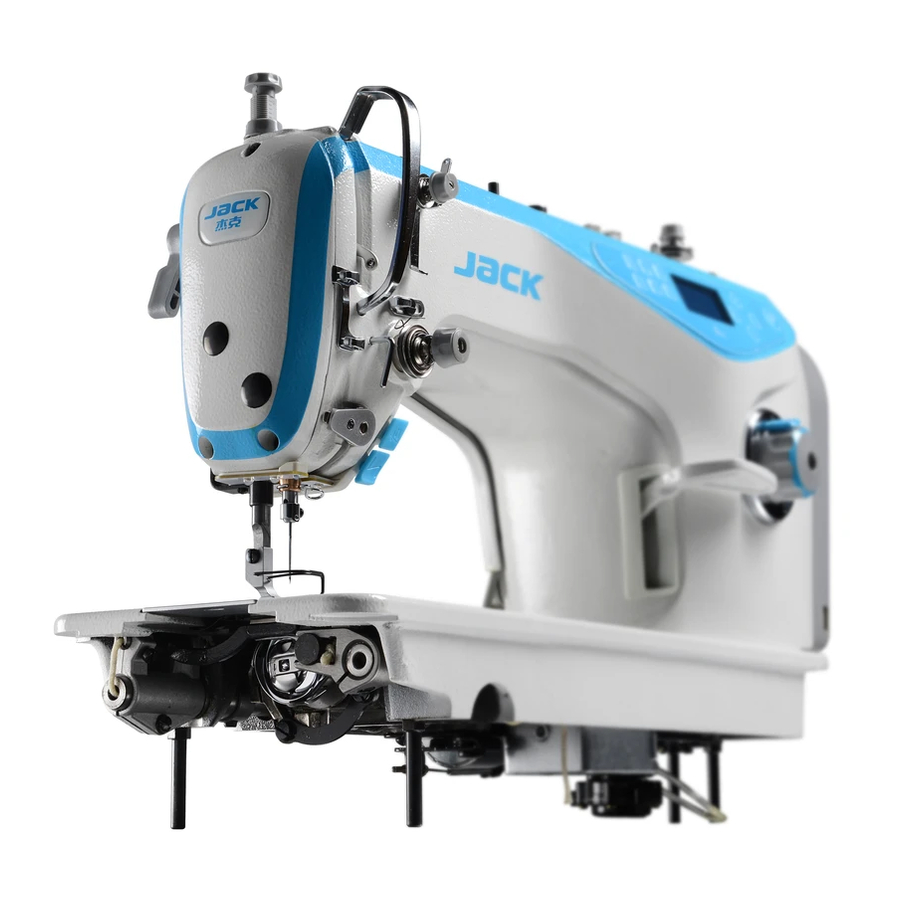
Jack A4 Computer Integrated Machine Operation Manual
Safely Instruction
· Please read this manual carefully, also with related manual for the machinery before use the
controller.
· For installing and operating the controller properly and safely, qualified personnel are required.
· Please try to stay away from arc welding equipment, in order to avoid electromagnetic interference
and malfunction of the controller.
· Keep in room bellow 45°c and above 0°c
· Do not use in humidity below 30% or above 95% or dew and mist of places.
· Install the control box and other components, turn off the power and unplug the power cord.
· To prevent interference or leakage accidents, please do the ground work; the power cord ground wire
must be securely connected to an effective way to earth..
· All parts for the repair provided by the Company or approved before use.
· Performing any maintenance action, you must turn off the power and unplug the power cord. There
are dangerous high voltage control box, you must turn the power off after one minute before opening
the control box.
· This manual marked with the symbol of the Department of Safety Precautions must be aware of and
strictly adhered to, so as not to cause unnecessary damage.
1 Installation Instructions
1.1 Product specifications
Product Type
Power frequency
1.2 Interface plug connections
The pedals and the machine head of the connector plug are mounted to the corresponding position in the controller back of
socket, as shown in Figure 1-2. Please check if the plug is inserted firmly.
①Pedals socket; ② Foot lifter solenoid socket ; ③ Machine head solenoid socket;
: The use of the normal force are not inserted into the plug and socket, please check whether the matching, direction or
needle insertion direction is correct!
AHE59
Supply Voltage
50Hz/60Hz
Maximum output power
Fig.1-1 Controller Socket Diagram
1/7
AC 220 ±20%V
550W
http://procapitalist.ru/sms
Advertisement
Table of Contents

Related Manuals for Jack A4


Summary of Contents for Jack A4
- Page 1 Jack A4 Computer Integrated Machine Operation Manual Safely Instruction · Please read this manual carefully, also with related manual for the machinery before use the controller. · For installing and operating the controller properly and safely, qualified personnel are required.
-
Page 2: Wiring And Grounding
Fig.1-2 Controller Interface Definition 1.3 Wiring and Grounding We must prepare the system grounding project, please a qualified electrical engineer to be construction. Product is energized and ready for use; you must ensure that the power outlet the AC input is securely grounded. The grounding wire is yellow and green lines, it must be connected to the grid and reliable security protection on the ground to ensure safe use, and prevent abnormal situation. -
Page 3: Key Functions
2.2 Key Functions Name Description In the boot state, long press key to enter the parameter modes. After modify the Parameter setting key parameters, press key to storage. Then long press key to exit this mode. In the normal sewing mode, press key, switch between cycle sewing midway parking Presser foot key presser foot and sewing after the end of automatic trimming presser foot. -
Page 4: Parameter Mode
3 System parameters setting list 3.1 Parameter mode 1、In the standby state,press key to enter the parameter modes. 2、Press corresponding to key and key,the parameter value is changed. 3、When the parameter values have increased and decreased, parameter interface flash.Short press key to save the modified parameters.Long press key to exit parameter interface,return to standby panel model. -
Page 5: Monitor Mode
P 5 4 1~10 Presser foot lifting electromagnet per cycle closing time (ms) Run to up needle position after Power on: P 5 6 0: no action 1: action P 5 7 0~600 Presser foot lifting electromagnet protection time 100ms P 6 0 200~5000 3000... -
Page 6: Error Mode
3.4 Error mode If the error code appears, please check the following items first: 1.Make sure the machine has been connected correctly; 2. Reload the factory setting and try again. Error Code Description Solution E r r - 0 1 Hardware overcurrent Turn off the power switch, and restart after 30 seconds. - Page 7 4 Pedal sensitivity adjustment Pedal starts moving from the initial position (p.136) where the motor stops, slowing forward to the low speed point (p.137) where the motor run as the minimum speed (p.100), continuing to the accelerated point (p.138) where the motor start to speed up, until the max speed point (p.139) where the motor run up to the maximum speed (p.101).
Need help?
Do you have a question about the A4 and is the answer not in the manual?
Questions and answers
Salve, vorrei sapere i comandi per escludere totalmente l' alza piedino automatico nella lineare jack A4s grazie
To disable the automatic presser foot lift on the Jack A4:
1. Press and hold the button for the presser foot lifter sensor until the icon on the LED screen disappears.
2. This indicates the presser foot lifter is off.
Repeat the same for the "press foot lifter after trimming" and "midway press foot lifter" if needed:
- Press the corresponding button; when the icon disappears, the function is off.
This answer is automatically generated
دليل المستخدم Jack A4f