Advertisement
Quick Links
Guide for Fluorescence Imaging
1.
Initial Set-up
~ Log in to NUCore and start a reservation.
~ Turn on Microscope Controller (A).
~ Turn on LED main power (B) and press control knob (C) to see a flashing
sign.
~ Wait the microscope initialization to complete and launch LASX
software. (Computer has no password).
~ Put slide on scope and set up image acquisition.
2.
Mount sample on microscope
~ Place slide on stage 'coverslip up'.
~ For transmitted light imaging:
Select BF button (D) and press TL-Shutter (F) on LED screen. Focus
on sample.
~ For fluorescent light imaging:
Select FLUO (E), then appropriate filter cube from buttons on LED
screen (DAP – Blue, L5 – Green, RHO – Red, Y5 – Far Red), open IL-
Shutter (F). Focus on sample.
~ Find cell/region of interest. Close shutter.
NOTE:
To switch light path from oculars to camera gently pull out slider
bar located in microscope head near oculars on the left side.
3.
Troubleshooting
~ No fluorescent emission by eye?
- Check the LED is ON. Control knob should show
- Check that light path is going to the oculars. The slider bar
~ No image displayed on a screen in LIVE mode?
- Check that light path is going to the camera. The slider bar
~ Still having problems?
- Contact BIF staff for assistance.
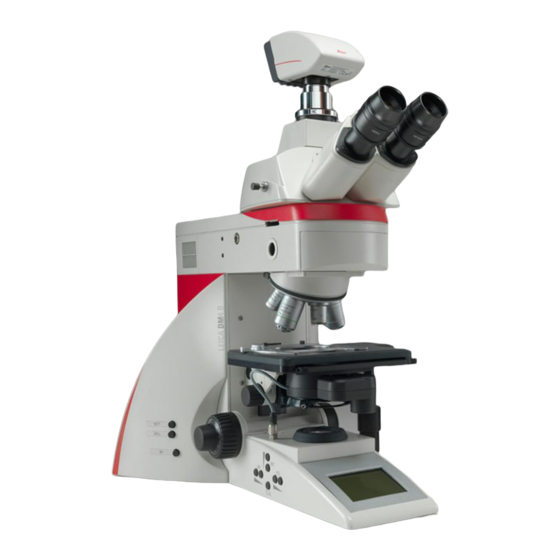
Leica DM6B Widefield
Quick Start Guide
microscope head should be inside.
microscope head should be taken out.
Advertisement

Subscribe to Our Youtube Channel
Summary of Contents for Leica DM6B
- Page 1 Leica DM6B Widefield Quick Start Guide Guide for Fluorescence Imaging Initial Set-up ~ Log in to NUCore and start a reservation. ~ Turn on Microscope Controller (A). ~ Turn on LED main power (B) and press control knob (C) to see a flashing sign.
- Page 2 Setting up Fluorescent light imaging ~ In software, navigate to “Acquisition” tab (G). Select required Image Format and Live Format (binning 1x1, 2x2 etc) and “Black & White mode” for the camera (H). ~ Then, on “Acquire” (I), set light path for imaging of fluorophores of interest (J).


Need help?
Do you have a question about the DM6B and is the answer not in the manual?
Questions and answers