Advertisement
Quick Links
Advertisement

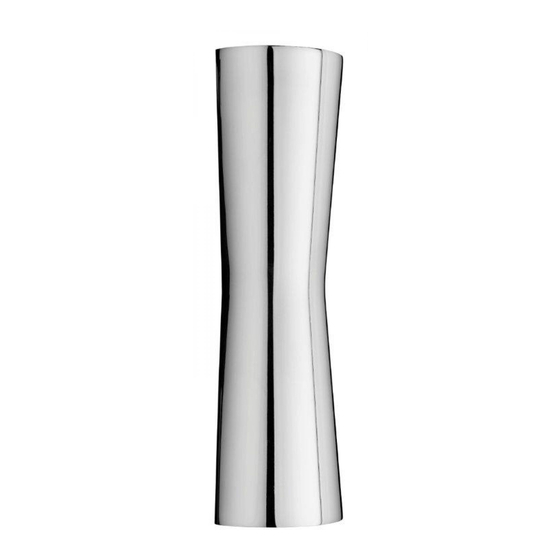
Summary of Contents for FLOS Clessidra
- Page 1 CLESSIDRA DESIGN BY ANTONIO CITTERIO...
- Page 2 Veraenderung sicurezza rendendo lo stesso pericoloso. FLOS declina la sécurité de celui-ci en le rendant dangereux. FLOS responsibility for products that are modified. desselben kann die Sicherheit in Frage stellen und somit ogni responsabilità per i prodotti modificati.
- Page 3 品に対しては、 FLOSは一切責任を負いません。 - El aparato no puede ser en ningún caso modificado o ou alterado, toda e qualquer modificação pode его опасным. FLOS не несёт ответственность за -安全に正しく ご使用いただく ため、 必ず適切な接 forzado, cualquier modificación puede comprometer la comprometer a segurança tornando o aparelho perigoso.
- Page 4 <IT> Fig.1 Smontare la copertura (A) svitando le viti (B) con la chiavetta fornita in dotazione. <GB> Fig.1 Dismantle the cover (A) unscrewing the screws (B) with the allen key included. <DE> Abb.1 Lösen Sie die Schrauben (B) mit dem beigepackten Schraubenschlüssel und nehmen Sie die Verkleidung (A) ab.
- Page 5 <IT> Fig.2 Separare l’attacco a parete (C) dal corpo (D) svitando le viti (E). <GB> Fig.2 Separate the wall attachment from the (C) body (D) unscrewing the screws (E). <DE> Abb.2 Lösen Sie die Schrauben (E), um den Wandanschluss (C) vom Korpus (D) zu trennen. <FR>...
- Page 6 <IT> Fig.3 Fissare l’attacco a parete (C) con viti e tasselli ad espansione avendo cura di rispettare il corretto orientamento indicato dalla freccia (F) e facendo passare i cavi di alimentazione attraverso l’apposito foro. NOTA BENE: Scegliere tasselli ad espansione idonei allla superficie di montaggio. <GB>...
- Page 7 <IT> Fig.4 Rimontare il corpo (D) all’attacco a parete avendo cura di far passare i cavi di alimentazione attraverso il passacavo (G), quindi effettuare i collegamenti elettrici nella morsettiera (H) e al morsetto di terra (I). <GB> Fig.4 Remount the body (D) onto the wall attachment taking care to pass the supply cables through the fairlead (G), then make the electrical connections in the terminal box(H) and to the earth terminal (I).
- Page 8 <GB> Fig.1b Separate the wall attachment (C) from the body (D) by unscrewing the screws(E); pass the power cables from the device through the central hole of the covering plate (Y) , then make the electrical connections in the Junction Box (White to white, black to black, green to earth); fix the covering plate (Y) to the Junction Box with the screws provided taking care to follow the direction of the arrow, then fix the attachment to the wall (C) with screws and rawl plugs;...
- Page 9 <IT> <IT> Fig.5 Rimontare la copertura (A); montare il corpo esterno (L) sul corpo interno (D) con le viti (M) in dotazione Fig.5 Rimontare la copertura (A); montare il corpo esterno (L) sul corpo interno (D) con le viti (M) in dotazione avendo cura di posizionare correttamente le rondelle (N) nelle apposite sedi (O).
- Page 10 <GB> Fig.5 Mount the external body (L) onto the internal body (D) with the screws (M) included taking care to put the washers (N) in the correct positions (O). <FR> Fig.5 Fixer le corps externe (L) sur le corps interne (D) avec les vis fournies (M) en prenant soin de placer correctement los tacos (N) dans leur emplacement (O).
- Page 11 www.flos.com...


Need help?
Do you have a question about the Clessidra and is the answer not in the manual?
Questions and answers