Table of Contents
Advertisement
Quick Links
EN
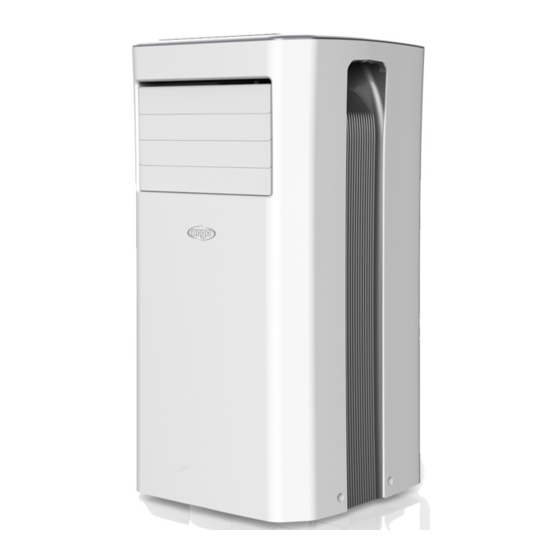
PORTABLE AIR CONDITIONER (LOCAL)
OPERATING INSTRUCTIONS
Read the instructions carefully before operating the appliance or carrying out maintenance work.
Observe all the safety instructions; failure to observe the instructions may lead to accidents and/or
damage. Store these instructions in a safe place for future reference.
V 12/16
15
Advertisement
Table of Contents

Subscribe to Our Youtube Channel
Related Manuals for Argo Glamour


Summary of Contents for Argo Glamour
- Page 1 PORTABLE AIR CONDITIONER (LOCAL) OPERATING INSTRUCTIONS Read the instructions carefully before operating the appliance or carrying out maintenance work. Observe all the safety instructions; failure to observe the instructions may lead to accidents and/or damage. Store these instructions in a safe place for future reference. V 12/16...
- Page 2 GENERAL OPERATING AND SAFETY INSTRUCTIONS This appliance is a portable air conditioner designed for domestic use. Only use this air conditioner as described in this manual. Ensure that the required voltage and frequency (220-240V / 50Hz) match the available power source. ...
- Page 3 Do not install the air conditioner in rooms that may be subject to water spray (e.g. laundries). This air conditioner can be used by children of 8 years or older and by persons with reduced physical, sensory and mental abilities, or lacking the necessary experience and knowledge, provided they are supervised or instructed on its use by a person responsible for their safety, so that they are fully aware of the attendant risks.
- Page 4 Please wait at least 3 minutes before starting the unit. This helps prevent the compressor from being damaged. WARNING! In the event of an anomaly, switch the appliance off and unplug it from the socket. Do not dismantle or attempt to repair or modify the product.
-
Page 5: Description Of The Appliance
DESCRIPTION OF THE APPLIANCE FRONT VIEW HANDLES AIR OUTLET CONTROL PANEL - BUTTONS FOR OPERATION WITHOUT REMOTE CONTROL SIGNAL RECEIVER FINS AND AIR FLOW OUTLET FRONT AIR INTAKE CORD WINDING HOOK DRAINAGE HOLE FOR DEHUMIDIFICATION FUNCTION 10) AIR INTAKE 11) DRAINAGE HOLE FOR COOLING FUNCTION 12) HANDLES 13) AIR OUTLET AND FITTING 14) POWER CORD OUTLET... -
Page 6: Appliance Start-Up
APPLIANCE START-UP Open the packaging and pull out the box. Remove the product and the other elements supplied (illustrated in the box below). Infrared remote control + button battery type (CR2032/3V) Fitting (1) for positioning between the air discharge outlet and the flexible Flexible pipe. - Page 7 The drainage tube can be compressed to minimum Rest the terminal connector against the fixed section 450 mm and extended to maximum 1500 mm. It is of the window and move the other section up towards advisable to keep the tube compressed to the minimum.
-
Page 8: How To Use The Appliance
HOW TO USE THE APPLIANCE This appliance can be used for cooling, dehumidifying and ventilation purposes. When switching between modes, the fan continues operating but the compressor stops: the compressor will start again 3 minutes later. This delay protects the compressor from potential damage. Dehumidification Cooling, Ventilation THE DRAINAGE TUBE MUST BE CONNECTED to the appliance AT ALL TIMES: the only exception is when the... - Page 9 During dehumidification, continuous drainage should be implemented (see the next chapter, “HOW TO ELIMINATE CONDENSATE”). 3. FAN ONLY MODE Press the MODE button until the Fan icon displays. In this mode, the fan speed can be set. The temperature cannot be regulated.
-
Page 10: Remote Control Operation
REMOTE CONTROL OPERATION Slide to open the cover according to the direction indicated by the arrowhead. Insert the batteries (CR2032/3V) into the remote control and make sure the poles match. Put back the cover. Aim the remote control towards the receiver on the air- conditioner. - Page 11 FOR OPTIMAL REMOTE CONTROL OPERATION, POINT THE TRANSMITTER HEAD TOWARDS THE RECEIVER ON THE AIR CONDITIONER. SPEED SWING TIMER ON OFF SLEEP ON/OFF BUTTON SPEED BUTTON COOL SWING BUTTON TIMER BUTTON (LCD ON/OFF) SLEEP BUTTON “+” AND “-“ BUTTON FAN BUTTON HEAT HEAT BUTTON COOL BUTTON...
-
Page 12: Care And Maintenance
(7) “FAN” BUTTON Press “FAN” to start the Ventilation mode. (8) “HEAT” BUTTON Press “HEAT” to start the heating mode. (9) “COOL” BUTTON Press “COOL” to start the refrigeration mode. (10) “DRY” BUTTON Press “DRY” to start the dehumidification mode. Note: Only when temperature reaches 16°C can we turn on the dehumidification mode, besides, the drain pipe must be installed. - Page 13 2. Cleaning the casing. Use a damp and soft cloth to clean the outer surface of the appliance. Do not use excessively hot water, solvents, petrol or other aggressive chemical compounds, talcum powder or brushes: these may damage the surface or colour of the casing. Remove any stains using lukewarm water with a little neutral detergent.
Need help?
Do you have a question about the Glamour and is the answer not in the manual?
Questions and answers