Advertisement
Hot Tub Decking Kit
Step 1
LAY YOUR FRAME
This is an example of a decking frame
Using the decking joists provided in the Kit (2" x 6") build the perimeter first then evenly
spread the remaining decking joists inside as shown in the example above
Using the 4" x 10g joist screws from the fixing kit
PLEASE NOTE you may also require Membrane, Fascias, Corner Dolly's, Stain & Additional Joists to strengthen (not provided in kit)
METHOD FOR SCREWING
X2 SCREWS
CORNER FASTENING
2" X 6"JOIST
Please make sure the frame fits the requirements for your chosen kit.
Don't forget to check your work with a level as you go!
ANGLE SCREW
JOISTS TOP VIEW
All images are for illustration only, Please see individual item listings for actual item specifications
www.eDecks.co.uk
FRAME TO BE LAID ONTO
PAVING SLABS, OR ONTO
300mm Centres
2" X 6"JOIST
GRASS OR SOIL
This may require
some cutting to fit your size
requirements
X2 SCREWS
STRAIGHT FASTENING
2" X 6"JOIST
Page 1 of 7
Advertisement
Table of Contents

Related Manuals for eDecks Hot Tub Decking Kit

Summary of Contents for eDecks Hot Tub Decking Kit
- Page 1 Hot Tub Decking Kit Step 1 FRAME TO BE LAID ONTO LAY YOUR FRAME PAVING SLABS, OR ONTO This is an example of a decking frame GRASS OR SOIL 300mm Centres This may require some cutting to fit your size requirements Using the decking joists provided in the Kit (2"...
- Page 2 Hot Tub Decking Kit Step 2 JOISTS TOP VIEW A. SECURE AT CORNER B. SECURE AT SIDE FITTING THE NEWELS (IF INCLUDED) If your kit includes handrails please 2” X 6”JOIST follow the instructions on this page, NEWEL else please proceed to next step.
- Page 3 Hot Tub Decking Kit Step 3 INSTALL DECKING BOARDS Decking boards should fit exactly to the frame, working in the opposite direction to the joist work, when laying the boards Cutting will be make sure you leave a 5mm gap between...
- Page 4 Queen Mary Fitting Instructions Hot Tub Decking Kit Step 3 cont’d INSTALL DECKING BOARDS Don’t forget to check your work with a level as you go! Page 4 of 7 All images are for illustration only, Please see individual item listings for actual item specifications...
- Page 5 Hot Tub Decking Kit Step 4 INSTALL HANDRAILS If your kit option has handrails please assemble these prior to attaching to your newel posts (next step) To fix the spindles you should screw into each spindle from under the baserail and through the top of the lower handrail, space the spindles so they are evenly spaced with approx 125mm gap between each.
- Page 6 Hot Tub Decking Kit Step 4 Cont’d INSTALL HANDRAILS Once your handrail sections are complete - using angle brackets please proceed to install each section to the kit Don’t forget to check your work with a level as you go! Page 6 of 7 All images are for illustration only, Please see individual item listings for actual item specifications...
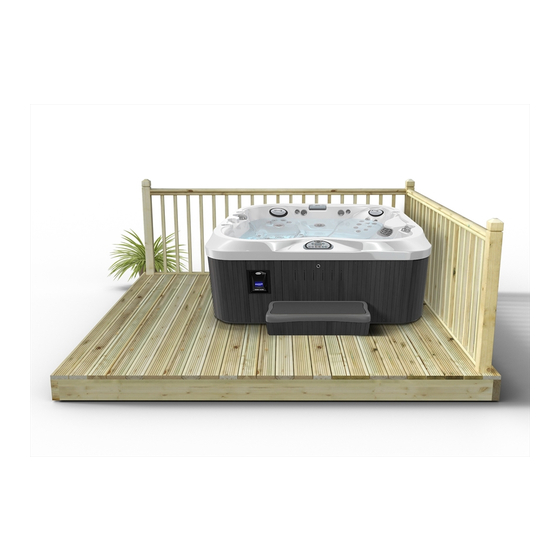
- Page 7 Hot Tub Decking Kit Step 5 FINISH! Once this is complete - Sit back and enjoy! Page 7 of 7 All images are for illustration only, Please see individual item listings for actual item specifications www.eDecks.co.uk...
Need help?
Do you have a question about the Hot Tub Decking Kit and is the answer not in the manual?
Questions and answers