
Subscribe to Our Youtube Channel
Related Manuals for VIBIA Tempo 5765


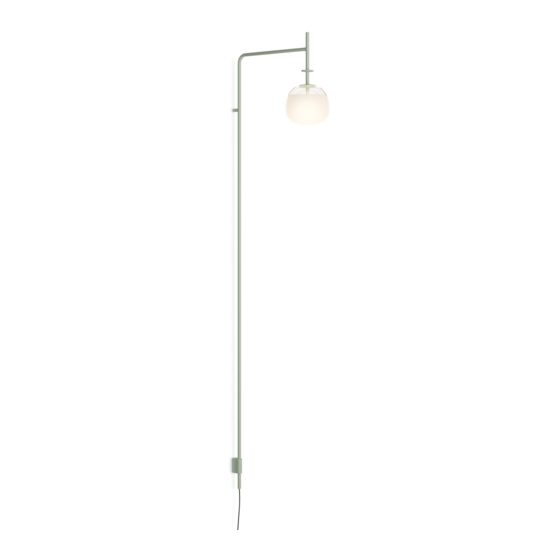
Summary of Contents for VIBIA Tempo 5765
- Page 1 Assembly instructions / Instructions de montage Tempo Design by Lievore, Altherr Version U01...
- Page 2 Supplied material / Matériel fourni 5765 1. Gloves / Gants 1 un. 2. Allen key / Clé Allen 1 un. 3. Ceiling rose / Pavillon 1 un. 1 un. 4. Lighting fixture / Structure du luminaire 5. Shade / Abat-jour 1 un.
- Page 3 - Do not disassemble, modify or try to repair this fitting. In order - Nous vous recommandons de lire le manuel avant de to get technical assistance contact VIBIA. Any change or commencer l'installation du luminaire. Sauvegardez ces modification to the light fitting can null the manufacturer’s instructions pour futures consultations.
-
Page 4: Très Important
Tempo Design by Lievore, Altherr IMPORTANT TRÈS IMPORTANT Use the gloves provided during the assembly pro- Lors du montage, utilisez les gants fournis pour évi- cess in order to avoid possible transfer of dirt from ter toute trace de doigts. Manipulé à mains nues, le hands to the glass. -
Page 5: Important Notice
IMPORTANT NOTICE: IMPORTANT: Switch of the mains before installing the lamp. Débrancher l'alimentation électrique avant d’effectuer l'installa- tion du luminaire. 1. Remove the screws with the Allen key provided and take out the wall fixing elements. 1. Dévissez les vis à pans creux à l'aide de la clé Allen qui vous est fournie et dégagez la pièce de fixation murale. - Page 6 1/4" 11/16" 2. Secure the mounting blocks to the wall, using suitable screws, 2. Fixez les pièces de fixation au plafond à l'aide de vis (S) adaptées they must be the most appropriated to the surface where it will be à...
- Page 7 3. Fix the lighting rail structure to the mounting blocks making sure 3. Assemblez la structure du luminaire aux pièces de fixation que to screw in place completely. vous avez déjà placées sur le mur et, à l'aide de la clé Allen, vissez Use the Allen key.
- Page 8 Ø6 1/2" Min. 13/16" Min. 6 1/8" Max. 1" 4. Mark the position in the wall and make a hole of Ø 6 1/2” in the 4. Marquez leur position sur le mur puis faites un trou de 6 1/2" Ø position of the ceiling rose.
- Page 9 DETAIL X Ø 1/2" -Conduit section Ø 7/8" -Section de conduit -Hole to pass cables -Trou pour passer les câbles -Fix the cables with the cable gland -Fixez les câbles à l'aide du serre-câble 6. Introduce the ceiling rose through the hole, with the springs (B) Encastrez le pavillon avec les ressorts (B) dans la position indi- in the position indicated in the diagram and push upwards until the quée sur le diagramme et poussez-le vers le haut jusqu'à...
- Page 10 CONNECT 0-10V INSTALLATION CONNEXION DU DIM 0-10V IMPORTANT: You have ordered a fixture with a driver specifica- IMPORTANT : vous avez commandé un luminaire avec un driver lly compatible with 0-10V DIMMING SYSTEM. This fixture will LED spécialement compatible avec un SYSTÈME DE VARIATEUR not be compatible with other types of dimming systems.
- Page 11 CONNECT DALI INSTALLATION CONNEXION DU DIM DALI IMPORTANT: You have ordered a fixture with a driver specifi- IMPORTANT : vous avez commandé un luminaire avec un driver cally compatible with DALI DIMMING SYSTEM. This fixture will LED spécialement compatible avec un SYSTÈME DE VARIATEUR not be compatible with other types of dimming systems.
- Page 12 CONNECT TRIAC INSTALLATION CONNEXION DU DIM TRIAC IMPORTANT: You have ordered a fixture with a driver specifica- IMPORTANT : vous avez commandé un luminaire avec un driver lly compatible with TRIAC DIMMING SYSTEM. This fixture will LED spécialement compatible avec un SYSTÈME DE VARIATEUR not be compatible with other types of dimming systems.
- Page 13 -VERY IMPORTANT: Make sure before con- necting that the mains supply is disconnec- ted from the light fitting. -TRÈS IMPORTANT: Assurez-vous que le courant électrique de votre luminaire est coupé avant de connecter. 8. Introduce the cable with the connectors into the plate central 8.
- Page 14 9. Attach the glass shade as indicated in the drawings. 9. Montez l'abat-jour en verre tel qu'il est indiqué sur les dessins. 14/15...
-
Page 15: Maintenance
Maintenance Entretien To clean the luminaire, use a dry cotton cloth. Avoid humidity. Pour nettoyer le luminaire, utilisez un chiffon en coton sec. Éviter l'humidité. In case of malfunction or damage, please contact the retailer who sold the lamp. En cas d’incident ou de non fonctionnement du luminaire, con- tactez directement l’établissement où...
Need help?
Do you have a question about the Tempo 5765 and is the answer not in the manual?
Questions and answers