Advertisement
Advertisement
Table of Contents

Summary of Contents for Opentrons OT-2
- Page 1 OT-2 Liquid Handling Robot User Manual / Quickstart Guide Opentrons Labworks Inc. Edition Revision OT-2R, June 2021...
-
Page 2: Table Of Contents
– Power and Connection – Software Interface Online Resources Cleaning and Maintenance Support Post sales service & contacting Opentrons If you have any questions about the use of the system, abnormal phenomena, special needs, please contact: support@opentrons.com. Also visit www.opentrons.com. -
Page 3: Product And Manufacturer Description
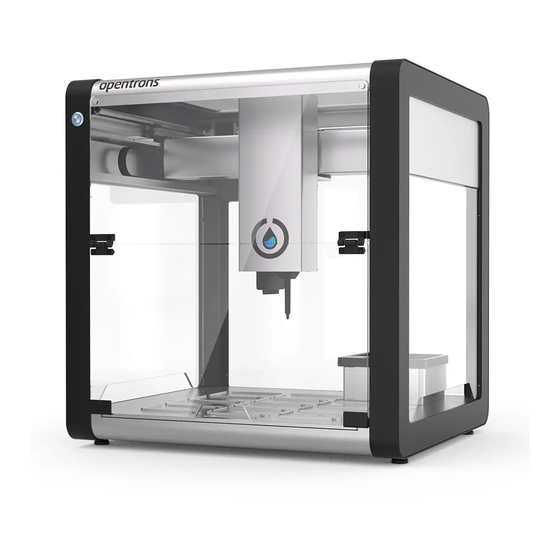
Description 2 interchangeable pipette heads PRODUCT DESCRIPTION The OT-2 is a liquid handling lab robot. It is open-source, highly 0.1mm resolution customizable, kit and reagent agnostic, and takes up half a lab bench. xyz gantry Its software and hardware modules are built by scientists for scientists OT-2 and don’t require coding knowledge to use. -
Page 4: Included Box Contents
IEC Cable EU ◾ IEC Cable Italy DECK OUTLINE ◾ (1) Ethernet Cable ◾ (1) Ethernet-to-USB dongle (connects the OT-2 to a laptop) Adapters allow for existing Modules snap into place ◾ (1) Tool Kit hardware to fit on deck ◾... - Page 5 Box C Included Box Contents / Parts & Accessories (1) Ethernet-to-USB dongle (Connects the OT-2 to a laptop) (1) Ethernet Cable ◾ Pipette Screws ◾ 4 pieces of M3x6mm socket head screws (2 are spares) ◾ Window Screws ◾ 4x top window screws (M4x12mm low profile socket screw, M4 thick washer, and rubber O-ring) ◾...
-
Page 6: Required For Operation
(1) Calibration Block Carefully cut open the plastic VCI bag. Be sure to avoid REQUIRED FOR OPERATION: cutting any machine components inside. ◾ A computer (self-provided), an open-end wrench (included) ◾ Space required by the machine: Space larger than 625mm*570mm*680mm OT-2 MANUAL... - Page 7 Place the machine on a secure and stable surface. The machine requires two people for lifting out of the packaging (the machine is over 30kg). Cut the zip ties supporting the customer kit and place aside. Pull upwards using the black steel frame. OT-2 MANUAL...
- Page 8 Instructions Remove the plastic cover completely. Pull the remaining zip tie ends and remove completely from the deck. Place the trash bin in place. Remove tape from the calibration switch cover. OT-2 MANUAL...
-
Page 9: Remove The Transport Fasteners
3. Unlock and remove the Z-axis locking bracket (red) and 4x locking screws using the 3mm Allen key. Note that after removing the rear screws, one can move the z-stage further left by hand, allowing more room for removing the screw. OT-2 MANUAL... -
Page 10: Check The Machine
Visually check the gantry, if it is uneven or slanted, contact Customer Support. Move the pipette head in the x and y direction, if it makes any loud/abnormal noises or requires a large thrust to move, contact Customer Support. OT-2 MANUAL... -
Page 11: Power And Connection
X, Y, and Z axes each return to the origin. Once the robot is turned on, follow instructions in the Opentrons App to connect to the OT-2, attach pipettes, and calibrate the robot. OT-2 MANUAL... -
Page 12: Online Resources
1 or 2 single or 8-channel pipettes. Pipettes are easily with any electronics. interchangeable. The OT-2 is not a sterile environment. Add your own UV lights, or the PIPETTE VOLUMES AND SPECS Opentrons HEPA Module Single channel: 1-1000 µl Note: When cleaning and maintaining the machine, be sure to turn off the 8-channel: 1-300 µl... - Page 13 Use common labware already in our Labware Library, or add your own. If your labware fits on the OT-2 but is not in the Labware Library, it can be added by you using our Labware Creator, or by our team.


Need help?
Do you have a question about the OT-2 and is the answer not in the manual?
Questions and answers