Opentrons Thermocycler Module GEN2 Quick Start Manual
Hide thumbs
Also See for Thermocycler Module GEN2:
- Instruction manual (23 pages) ,
- Instruction manual (25 pages)

Subscribe to Our Youtube Channel
Related Manuals for Opentrons Thermocycler Module GEN2


Summary of Contents for Opentrons Thermocycler Module GEN2
- Page 1 Thermocycler Module GEN2 Quickstart Guide Opentrons Labworks Inc. Edition GEN2, December 2022...
-
Page 2: Table Of Contents
– Support – App Download Product and Manufacturer Description – Product Description – Manufacturer Description Post-sales service & contacting Opentrons If you have any questions about the use of the module or your Opentrons platform, please contact: support@opentrons.com. Also visit www.opentrons.com. -
Page 3: Product Elements
Product Elements (1) Power Supply and (1) Thermocycler Power Supply Connector (1) Power Cable (1) USB Cable (5) Rubber Automation Seals (10) Opentrons Tough PCR Plates... -
Page 4: Setup Instructions
Setup Instructions VENTILATION REQUIREMENTS To allow for sufficient fan output from the Thermocyler, at least 20 cm / 8 inches of empty space is required between the unit and a wall. 20 cm FRONT 8” THERMOCYCLER MODULE GEN2... - Page 5 Setup Instructions Also for ventilation, and to provide enough space for the power and USB cables to connect to the module, Opentrons advises using the OT-2 side and rear panels shown below: 2x Side Panels 1x Rear Panel Note: These panels are included with newer models of the OT-2.
-
Page 6: Deck Placement And Connection
Setup Instructions DECK PLACEMENT AND CONNECTION Carefully place the Opentrons Thermocycler in deck slots 7, 8, 10, and 11. Lift the module care- fully, using two hands (the module weighs 8.4 kg, which is quite heavy for its size). PLACEMENT OF... - Page 7 Setup Instructions Connect the Thermocycler to the OT-2 and power supply by plugging in the USB cable and screwing the power cable into the unit as shown. Be sure to route the cables through the opening in the polycarbonate side panel. Connect the USB cable to the module and an open USB port at the back of the robot Connect the power supply connector to the...
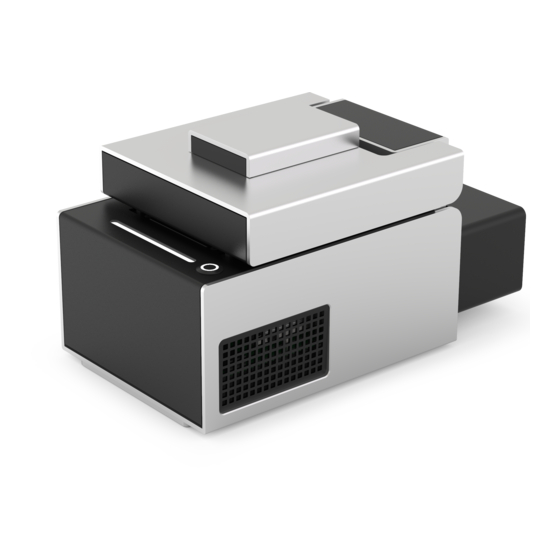
- Page 8 Once everything is connected, power on the OT-2 and the Thermocycler power supply. If you see a white light on the Thermocycler, it is powered on. You can open and close the lid of the Thermocycler by pressing the round button on the front. THERMOCYCLER MODULE GEN2...
-
Page 9: Rubber Automation Seals
Setup Instructions RUBBER AUTOMATION SEALS Your Opentrons Thermocycler comes with 5 rubber automation seals to help reduce evaporation. Each seal must be sterilized before use and can be used for several runs. You should check the state of the seal after each run and replace it if needed. -
Page 10: Resources
Opentrons’ published specifications. APP DOWNLOAD Control your liquid handling robot and module using the Opentrons App. Download the app for Windows, macOS, or Ubuntu at https://opentrons.com/ot-app/. THERMOCYCLER MODULE GEN2... -
Page 11: Product And Manufacturer Description
Product and Manufacturer Description PRODUCT DESCRIPTION The Opentrons Thermocycler Module GEN2 provides on- deck, fully automated thermocycling. The module enables automation of upstream and downstream workflow steps. Completed Certifications IEC/UL/CSA, EN/BSI, FCC, IC Recommended Operating Conditions Environmental temperature: 20–25 °C Environmental humidity: 30–80%, non-condensing... - Page 12 For a PDF of the complete Opentrons Thermocycler Module GEN2 Instruction Manual, scan this QR code:...
Need help?
Do you have a question about the Thermocycler Module GEN2 and is the answer not in the manual?
Questions and answers