
Related Manuals for Walker Edison BTOD


Summary of Contents for Walker Edison BTOD
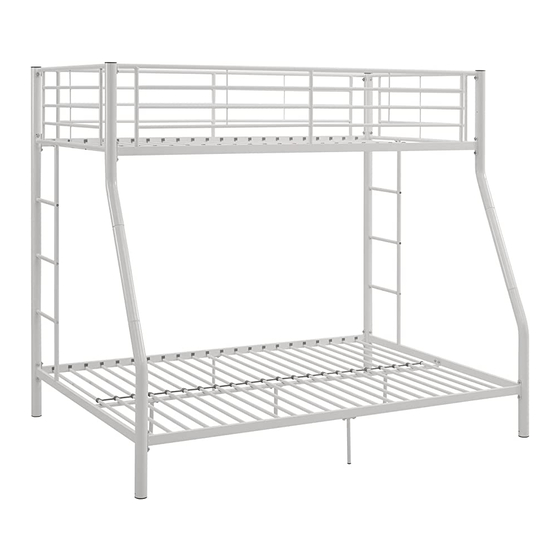
- Page 1 ITEM#: BTOD Assembly Instructions Please visit our website for the most current instructions, assembly tips, report damage, or request parts. www.walkeredison.com Revised 03/2017 Copyright © 2009, by Walker Edison Furniture Co., LLC. All rights reserved.
- Page 2 The use of a water or sleep flotation mattress is prohibited. Replacement parts, including additional guardrails, may be obtained from any of Walker Edison Furniture Company’s dealers or by contacting us online at www.walkeredison.com. DO NOT use substitute parts. Contact the manufacturer or dealer for replacement parts.
- Page 5 Slide curved post sections (C,K) and curved post sections (D,L) onto post sections (E). Secure the post sections together using medium bolts (1) with small washers (5). Tighten medium bolts (1) with small wrench (11). Screw double-sided screws (6) into post (A). Attach guardrail (P) to post (A) and curved post section (C) using medium bolts (1) with small washers (5).
- Page 6 Slide washers (8) onto double-sided screws (6). Screw ladder rungs (M) onto double-sided screws (6). Attach ladder rail (S) to ladder rungs (M) using bolts (7) with washers (8). Tighten bolts (7) with small wrench (11). Repeat this step on the opposite side of the bunk bed. Secure ladder rail (S) to guardrail (P) using medium bolt (1) with small washer (5).
- Page 7 Attach support legs (Q) to support bars (I) using small bolts (2) with small washers (5). Tighten small bolts (2) with small wrench (11). Attach support leg (N) to crossbar (G) using medium bolts (1) with small washers (5). Tighten medium bolts (1) with small wrench (11).
- Page 8 Attach crossbars (F,G) to post (B) and to curved post sections (D,L) using medium bolts (1) with small washers(5). Tighten medium bolts (1) with small wrench (11).
- Page 9 Attach crossbars (F,G) to post (A) and to curved post sections (C,K) using medium bolts (1) with small washers(5). Tighten medium bolts (1) with small wrench (11). Ensure that the Manufacturer and Safety Labels are positioned as shown above.
- Page 10 Attach support bars (I) to crossbars (H) using medium bolts (1) with small washers (5). Tighten medium bolts (1)with small wrench (11).
- Page 11 Insert mattress support bars (O) into the slots of crossbars (F). Insert mattress support bars (R) into the slots of crossbars (G). Secure mattress support bars (O,R) by snapping plastic tab locks (9) into the slots of crossbars (F,G). It may be necessary to apply more pressure to some plastic tab locks than others.
- Page 12 Attach guardrail (J) to the back of the bunk bed using medium bolts (1) with small washers (5) at posts (A,B), and large bolts (3) with large washers (4) at crossbar (F). Tighten all bolts with wrenches (11,12).
Need help?
Do you have a question about the BTOD and is the answer not in the manual?
Questions and answers