Table of Contents
Advertisement
Quick Links
Advertisement
Table of Contents

Related Manuals for Walker Edison BTSPIN


Summary of Contents for Walker Edison BTSPIN
- Page 1 BTSPIN...
- Page 3 Part 1: Spindle Part 2: Top rail Part 3: Botton Rail Part 4: Support Bean Part 5: Bracket Part 6: Right Side Rail Part 7: Left Side Rail Part 8: Feet Part 9 : Back Rail Part 10: Front Rail Part 11: Slats Part 12: Bottom Headboard Slat...
- Page 4 08 pcs 30 pcs 17 pcs 14 pcs 10x40mm 05 pcs 05 pcs 05 pcs 06 pcs 11 pcs...
- Page 5 Insert wooden dowels (E) into rails (5,9,10), dowels (F) into parts (4), Connect parts (9,10) to parts (7,6) Secure parts with screw (O)
- Page 6 Connect parts (9,10) to parts (6,7) With Bolt (A) for this use the Hex key (J) Attach Feet (8) to frame parts (7,6) using screw (M) and Union Screw (N). Union Screw (N) Should be on the inside of the bed frame, with screw (M),on the outside of the leg. Tighten by using with hex key(J) on both ends of the screw at the same time.
- Page 7 30mm 20mm Secure feet to frame using screw(C). Attach the metal connector plate (Q) to the 2 corners of the bed with screws (P). Take care to aligne the plate over the sean of the two parts, as shown in the drawing, before seguring in place. 40mm connect parts (5) and (3).
- Page 8 Connect parts (2) to parts (4) using bolt (D) and hex key (J). Connect parts (5) to parts (4) using bolt D and hex key (L)
- Page 9 Insert Spindles (1) in holes on part (3) 30mm Attach Spindles (1) in the part (2) using screw ( C )
- Page 10 20mm Insert Headboard slat (12) on part (3), with screw ( B), 30mm secure more 3 Screw (P) in Spindles (1) Insert Wood Dowel (E) in holes to part (12)
- Page 11 30mm Secure slat (11) Using Screw (B) and slat spacer (L) Align Wood Dowels Here Attach base Headboard (5,3) on holes of the frame (9) using Bolt (G), washer (H), and nut (I) Tighten using both the hex key (J) and wrench(K)
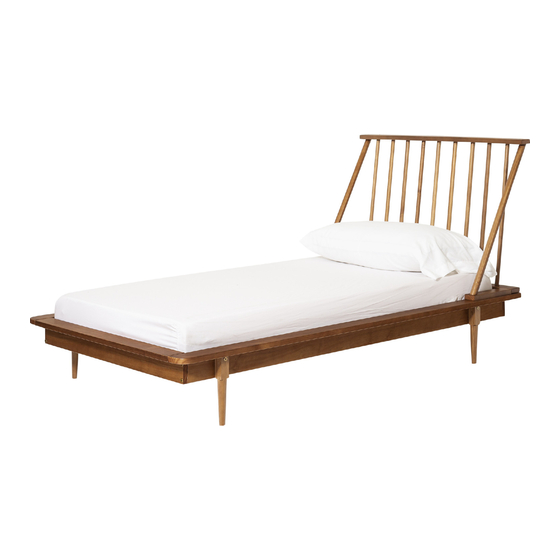
- Page 12 Final Assembly P.12...
Need help?
Do you have a question about the BTSPIN and is the answer not in the manual?
Questions and answers