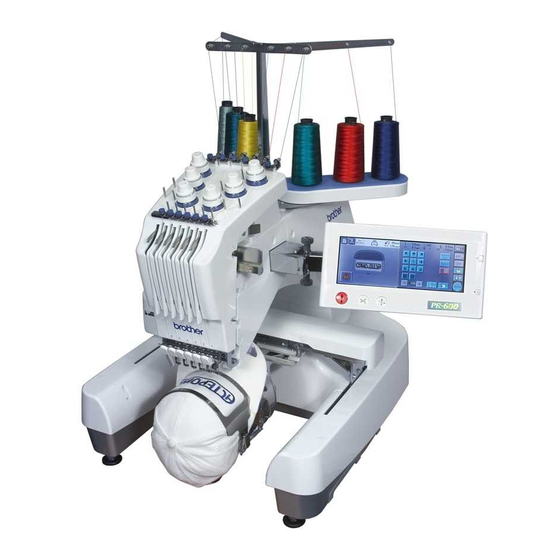
Brother PR-600 Supplementary Manual
Brother pr-600 sewing machines: supplementary guide
Hide thumbs
Also See for PR-600:
- Service manual (272 pages) ,
- Manual (227 pages) ,
- Quick reference manual (28 pages)
Advertisement
Quick Links
P
R
-
6
0
0
,
P
R
-
6
0
0
C
P
R
-
6
0
0
,
P
R
-
6
0
0
C
For Technical Assistance Please Call Toll Free
1-877-4BROTHER
Email:
tsupport@brother.com
Website:
http://www.brother-usa.com/industembroidery/tech_down.aspx
To program needle selection, a custom thread palette must be created. Start from the
main menu screen as
shown.
Press the Settings key in the upper left corner of the screen.
The screen should appear as such:
Press the key with the hand symbol in the lower right corner to advance to page 2.
1
Advertisement

Related Manuals for Brother PR-600


Summary of Contents for Brother PR-600
- Page 1 For Technical Assistance Please Call Toll Free 1-877-4BROTHER Email: tsupport@brother.com Website: http://www.brother-usa.com/industembroidery/tech_down.aspx To program needle selection, a custom thread palette must be created. Start from the main menu screen as shown. Press the Settings key in the upper left corner of the screen.
- Page 2 The screen should appear as such: Press the word “on” in the box, so that the word “on” is “grayed”. This will enable other thread tables to be displayed. You will notice that the arrows have now been enabled. Press the arrows until Is displayed.
- Page 3 NOTE: if you are programming for table 2, press the “2” in the box, as mentioned earlier. If Madeira does not appear in the box, press the arrows until Madeira appears. Press the 4 way arrows to move enlarged “cursor” box to the leftmost box, second from the bottom as shown.
- Page 4 Press the right arrow of the 4-way arrow pad. The screen should appear as such: Enter the number 1622 and press . Repeat the last steps of pressing the right arrow, entering numbers, and pressing set, until six colors have been programmed. Program the number for the third box as 1833, the fourth box as 1944, the fifth box as 1955, and the sixth box as 1866.
- Page 5 The screen should appear as such: Press the box with the “1” Press the up arrow to select the dark gray box. Press the “Set” key . You will notice that image of an “anchor” appeared over the #1 spool Press the box with the “2”...
- Page 6 When this has been completed, the screen should appear as such: You will notice that only five “anchors” appear over the spools. The earlier versions of software would only allow five needles to be anchored. Latest versions allow all six to be anchored.
- Page 7 Use the “page turn” key, and advance to page two. The screen should appear as such: The design displayed is contained in the software of the machine. This is the tension test design, which contains six vertical satin columns, as shown. Select the design.
- Page 8 Select the design set key, once all desired programming has been completed. The screen should appear as such: Select the Color Programming key. The screen should appear as such: The Custom Thread Palette that you created should be the available palette. The names of the colors shown are the default colors of the Madeira color palette.
- Page 9 software where certain colors of spools are placed. If the design were to be programmed with the order of the needle bars 4-1-6-2-5-3, select the fourth color from the left, #1944, use the arrow keys, then press the "set key" .
- Page 10 The change thread screen should appear as such: Click on the “Close” key You are now ready to begin sewing. If you have any questions, please contact Brother Technical Service.
Need help?
Do you have a question about the PR-600 and is the answer not in the manual?
Questions and answers
Knowing that my Brother PR600 is old, how do I find a part for it
To find a part for your Brother PR-600 sewing machine, follow these steps:
1. Search by Machine Model: Enter your machine model number (PR-600) into the search bar on the relevant parts website.
2. View the Parts Book: Access the Brother PR-600 Parts Book, which is available as a downloadable file (1.95 MB).
3. Browse Available Parts: Explore the range of spare parts listed for the PR-600 on the website.
4. Contact Support: If you cannot find the required part, you can contact the supplier directly at (+44) 0161 763 6969 or use the provided contact link on their website.
This answer is automatically generated