Advertisement
Quick Links
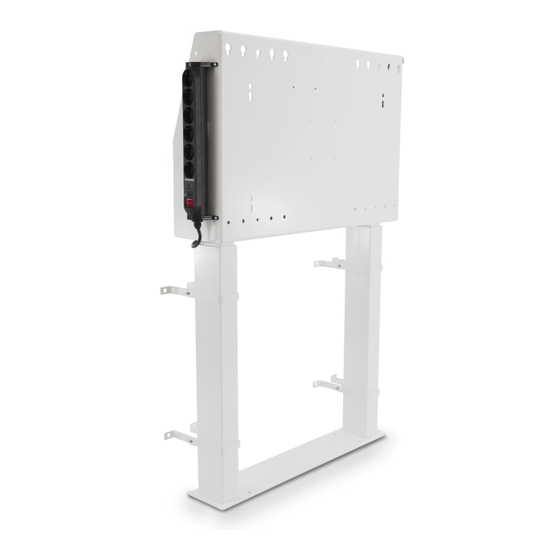
SMART Electric Height-Adjustable Wall Stand
WSE-410 (Model S410-2) and WSE-420 (Model S420-2)
1
A (×8)
S5
4×
3
Printed in: NL
(×4)
(×4)
A (×8)
(×4)
E (×8)
F (×8)
S3
(×8)
–
10
11
(×2)
L (×4)
τ
88 in-lb
(10 Nm)
B
A
2×
B (×8)
C (×8)
G (×8)
J (×8)
S4
S5
SBID-6000S & SBID-7000R
M (×4)
N (×4)
2
B (×8)
C (×8)
C
D (×8)
S5
τ
88 in-lb
(10 Nm)
PN: 1034170
1/4"
(6 mm)
D (×8)
#2
K ×4)
65" £ X £ 86"
(163 cm £ X £ 219 cm)
92.4 lb. – 200 lb.
S4
(×4)
(×4)
8×
(×8)
(×8)
Max 6"
(15 cm)
X
(42 kg – 91 kg)
Rev 02
Advertisement

Related Manuals for SMART WSE-410


Summary of Contents for SMART WSE-410
- Page 1 SMART Electric Height-Adjustable Wall Stand WSE-410 (Model S410-2) and WSE-420 (Model S420-2) (×4) 1/4" (×4) (6 mm) A (×8) B (×8) C (×8) D (×8) (×8) (×8) Max 6" (15 cm) (×4) E (×8) F (×8) G (×8) J (×8) K ×4)
- Page 2 E (×4) E (×2) 2× 2× 2× (×2) (×4) 1034170 Rev 02...
- Page 3 3 1/2" (90 mm) 23 5/8") (600 mm) 3/16" (4.5 mm) 20 7/8" (530 mm) 2 3/4" (70 mm) Cinder Block wall / Mur en parpaing 1/2" 2 1/4" (×8) (13 mm) (58 mm) F (×8) G (×8) Solid Concrete wall / Mur en beton plein 1/4"...
- Page 4 – SBID-6000S & SBID-7000R – SBID-XXXX WM-SBID-200 SBID-6000S SBID-7000R τ τ 88 in-lb (10 Nm) 88 in-lb (10 Nm) L (×4) M (×4) N (×4) Use corresponding holes as shown. Utilisez les trous correspondants comme indiqué. 4× Use corresponding slots as shown. Utilisez les emplacements correspondants comme indiqué.
- Page 5 F (×8) G (×8) 8× Center display on bracket as shown. Center l'ecran sur le support mural comme indique. Secure the display to the wall plate by tightening the locking screws with a Phillips No. 2 screw driver until the screws contact the wall plate. Fixez l'écran à...
- Page 6 SBID-XXXX J (×2) K (×2) 65" £ X £ 86" (163 cm £ X £ 219 cm) J (×2) K (×2) 92.4 lb. 200 lb. (42 kg) (91 kg) Max 6" (15 cm) 2× Use corresponding holes as shown. Utilisez les trous correspondants comme indiqué. 4×...
- Page 7 3/8" (10 mm) 5 sec < 1 sec < 1 sec Press and hold the control switch for 5 seconds. The stand moves up and down 3/8" (1 cm). Press the , and buttons The stand is ready for use or has been reset. in sequence.
- Page 8 © 2020 SMART Technologies ULC. All rights reserved. SMART Board, smarttech, the SMART logo and all SMART taglines are trademarks or registered trademarks of SMART Technologies ULC in the U.S. and/or other countries. All third-party products and company names may be trademarks of their respective owners.