Table of Contents
Advertisement
Advertisement
Table of Contents

Related Manuals for AVM A 30.3


Summary of Contents for AVM A 30.3
- Page 1 Operating Instructions A 30.3...
- Page 3 Declaration of conformity (for EU only) We herewith confirm, that the unit to which this manual belongs fulfils the EU rules necessary to obtain the sign the necessary measurements were taken with positive results. AVM Audio Video Manufaktur GmbH Daimlerstraße 8 D-76316 Malsch Germany www.avm.audio...
- Page 4 In the following, we would like to explain the use of your A 30.3 in a comprehensive way and therefore ask you to take a little time to study this manual in detail.
-
Page 5: Table Of Contents
Table of contents Getting started ........................6 What’s in the box? ......................6 Control and operating elements ................... 6 Pin assignments ......................7 Installation and cooling ....................8 Connection to mains ....................8 Connecting analogue signal sources ................8 Connecting digital signal sources ................9 Connecting a power amplifier .................. -
Page 6: Getting Started
1 Getting started 1.1 What’s in the box? • A 30.3 integrated amplifier • Bluetooth antenna • Power cable • RC 3 remote control NOTE: After unpacking, please check the scope of delivery to ensure that all parts have been supplied and are undamaged. -
Page 7: Pin Assignments
11 Configuration port (Firmware) 18 Trigger outputs (TRIGGER OUT) 12 Bluetooth antenna socket 19 Analog recorder output (FIX) 13 High-level analogue inputs CINCH 20 Analog preamplifier output (VARIABLE) 14 USB B input 21 Speaker terminals 15 High-level analogue input XLR 22 Mains switch 16 Digital inputs (COAX, OPTO) 23 Mains connector... -
Page 8: Installation And Cooling
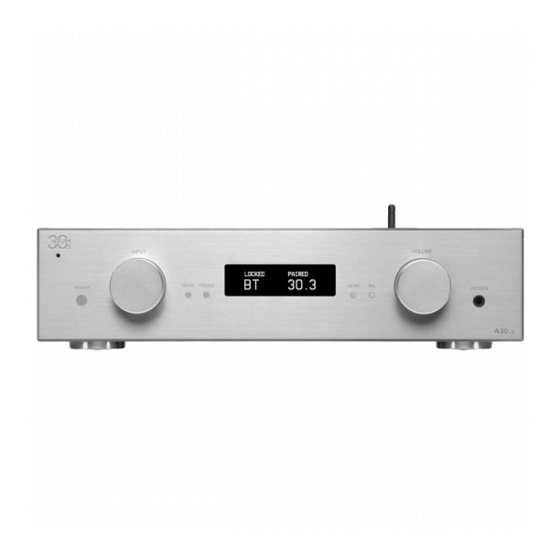
Make sure that mains voltage is according to the value printed on the rear panel of the A 30.3 near the mains connector (23). The blue control LED (1) starts to light up and turns off as soon as the unit is switched on with the on/off button (2) and the display (6) lights up. -
Page 9: Connecting Digital Signal Sources
1.11 AV Pass Through (Home Theater Loop) For integration of the A 30.3 into a home cinema system, the A 30.3 offers an AV Pass Through function for the high-level inputs RCA2, RCA3 (13) and XLR (15). If this function is activated, the input signal is reproduced at a fixed level. -
Page 10: Connecting Speakers
To connect loudspeakers, cables with corresponding connectors are needed. These are connected to the speaker outputs (21) of the A 30.3. Only use speaker cables of good quality and sufficient cross-section for connecting the speakers. Ask your dealer... -
Page 11: Connection Of Switching Voltages
If you have connected a compatible AVM power amplifier model of the MA or SA series as a separate power amplifier, it can be switched on and off from your A 30.3 using the RCA or XLR cable connected to one of the two analog outputs (FIX or VARIABLE). You do not need a separate control cable for this. - Page 12 CD when pressed several times. The buttons < SKIP > switch to the next / previous track on a CD when pressed briefly - when pressed longer, the search is accelerated through the current track. Please note the following if the remote control does not work properly: Always hold the remote control with the front end facing the device you want to operate.
-
Page 13: Operation
2 Operation 2.1 First power on / self-test When the A 30.3 is switched on for the first time, a self-test is performed first, provided that the unit was previously completely disconnected from the mains using the mains switch (22). -
Page 14: Volume Settings
Now select the A 30.3 ("AVM-30.3") as the device for audio playback and wait a short moment until the connection is established. The display CONNECTED on the lower left side of the display (6) indicates a successful connection of both devices. In this state the device is locked for further playback devices so that the already started music playback cannot be interrupted by another Bluetooth playback device. -
Page 15: Sound Settings (Bass/Treble)
(SET AUTO OFF FUNCTION). If no music is played for a period of 20 minutes or no function is activated on the unit, the A 30.3 automatically switches to standby mode. By pressing the on/off button (2) the unit can of course be switched on again at any time. -
Page 16: Demo Mode
2.11 Demo Mode The A 30.3 integrated amplifier is equipped with a so-called Demo Mode. This demo mode is primarily intended for specialist dealers to show the respective features of the unit in the form of a 'slide show' on the display (6) while the unit is presented, for example, in a store or exhibition. -
Page 17: Appendix
3 Appendix 3.1 Care of the housing The surface and the printing on the housing are largely scratch-resistant. The A 30.3 can be cleaned with mild soapy water or a gentle glass cleaner and a soft duster. ATTENTION: Do not allow any liquid to enter the inside of the housing during cleaning. In addition, for safety reasons, the power cord should be disconnected before damp wiping. -
Page 18: Conditions Of Warranty (Eu Only)
3.3 Conditions of warranty (EU only) If despite expectations a defect occurs that cannot be repaired by yourself or your dealer, we undertake the repair of your unit free of charge for up to three years from date of purchase. The warranty covers the costs of material and working time, transport costs are to be borne by the owner. -
Page 19: Specifications
3.4 Specifications 3.4.1 Analog inputs & outputs Input sensitivity RCA 42 mV +/-9,5 dB, adjustable Input sensitivity XLR 84 mV +/-9,5 dB, adjustable Signal-to-noise ratio RCA (500 mV) 87dB / 93dB (A) Signal-to-noise ratio XLR (1 V) 90dB / 93dB (A) Input impedance RCA 6,8 kΩ... - Page 20 Bluetooth Standard v4.2 Codecs: SBC, MP3, AAC, FastStream, aptX Samplerate (adaptive): Max 96 kHz/16Bit Frequency Response: 30 Hz – 20 kHz Signal-to-noise ratio: 96 dB 3.4.3 Miscellaneous Supply voltage 230 V / 50 Hz Power consumption Power consumption max. (4 Ω) 500 W Power consumption stand-by 0,3 W...
Need help?
Do you have a question about the A 30.3 and is the answer not in the manual?
Questions and answers