Table of Contents
Advertisement
Quick Links
Advertisement
Table of Contents

Related Manuals for AVM A 30.3


Summary of Contents for AVM A 30.3
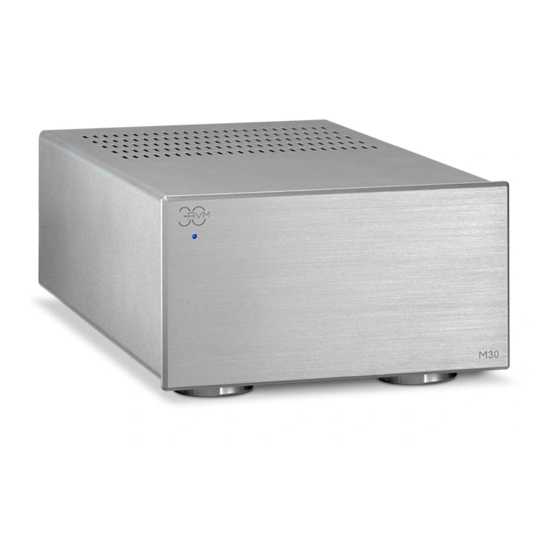
- Page 1 Operating Instructions A 30.3...
- Page 3 Declaration of conformity (for EC only) We herewith confirm, that the unit to which this manual belongs fulfils the EC rules necessary to obtain the sign the necessary measurements were taken with positive results. AVM Audio Video Manufaktur GmbH Daimlerstraße 8 D-76316 Malsch Germany www.avm.audio...
- Page 4 Should you have any questions which we have not been able to answer with this manual, please contact your dealer or distributor who will be able to configure the unit according to your needs and personal requirements and also give you instructions for daily use. Udo Besser – AVM Owner & General Manager...
-
Page 5: Table Of Contents
Table of contents Getting started ........................6 What’s in the box? ......................6 Control and operating elements ................... 6 Pin assignments ......................7 Installation and cooling ....................8 Connection to mains ....................8 Connecting a preamplifier .................... 8 Connection of a switching voltage ................8 Connecting speakers .................... -
Page 6: Getting Started
1 Getting started 1.1 What’s in the box? • 2 x MA 30.3 mono power amplifier • 2 x Power cord NOTE: After unpacking, please check the scope of delivery to ensure that all parts have been supplied and are undamaged. In case the original packing has already been opened, please contact your local dealer. -
Page 7: Pin Assignments
Control LED Operating mode selector switch Balanced input (XLR) Diagnosis LED (OVERHEAT) Unbalanced input (RCA) Diagnosis LED (OVERLOAD) TRIGGER input Power supply connection Speaker connections 10 Power switch 1.3 Pin assignments 1.3.1 Assignment XLR and TRIGGER inputs XLR input TRIGGER input 1) Ground (GND) a) Ground (GND 2) Non-inverting input... -
Page 8: Installation And Cooling
Preamplifiers from AVM such as the PA 30.3 preamplifier from the AVM30 series are always low impedance, 1.7 Connection of a switching voltage... -
Page 9: Connecting Speakers
1.8 Connecting speakers To connect the loudspeakers to the output sockets (5) of the MA 30.3, use only loudspeaker cables of good quality and sufficient cross-section. If in doubt, ask your dealer to recommend the optimal cable for your speaker. When connecting the loudspeakers, also ensure that the polarity is correct. - Page 10 When the preamplifier is switched off again, the MA 30.3 goes into standby mode as well. If you have a recent AVM preamplifier equipped with AIR technology (AVM Intelligent Remote), this will send a signal to the MA 30.3 when it is switched on. If the preamplifier is switched off, it sends the switch-off signal to the MA 30.3 beforehand and the MA 30.3...
-
Page 11: Appendix
3 Appendix 3.1 Cleaning Surface and pressure of the housing are largely scratch-resistant. It can be cleaned with mild soapy water or a glass cleaner and a soft duster. ATTENTION: Do not allow any liquid to enter the inside of the housing during cleaning. In addition, for safety reasons, the power cord should be disconnected before damp wiping. -
Page 12: Conditions Of Warranty (Ec Only)
Device does not switch on, or switches off during operation and the blue power indicator LED flashes In this case one of the protection circuits has responded. The underlying error is diagnosed by the integrated processor and indicated by the diagnosis LEDs (7, 8) on the rear panel. •... -
Page 13: Specifications
If you have purchased your unit from a dealer outside Germany, please refer to him or the relevant importing firm to process the warranty. 3.4 Specifications Input sensitivity RCA/XLR 332 mV (25 W / 4 Ω) Input impedance RCA 33 kΩ Input impedance XLR 66 kΩ...
Need help?
Do you have a question about the A 30.3 and is the answer not in the manual?
Questions and answers