
Related Manuals for Foscam BM1


Summary of Contents for Foscam BM1
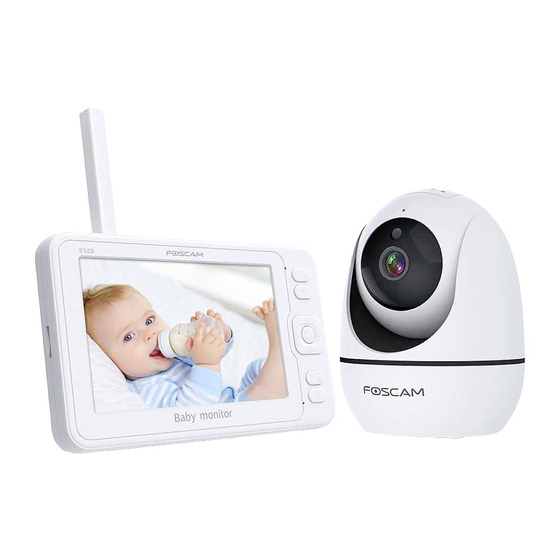
- Page 1 5 INCH 1080P FULL HD Baby Monitor User Manual Please read this manual thoroughly before use and keep it well for future reference.
-
Page 2: Safety Cautions
SAFETY CAUTIONS Incorrect operation of the product may lead to safety risks. Therefore, we STRONGLY recommend you read the instructions carefully before the first use. Please ensure that the proper power supply is used before using the camera. Please install the camera and bracket securely using the screws provided. Please use this product within the temperature range. -
Page 3: Product Overview
PRODUCT OVERVIEW Camera Reset Button Micro SD Card Slot Microphone Antenna Night Vision Sensor Camera Leins Speaker Temperature Sensor Micro USB Port... - Page 4 Monitor Screen: Before the first use, please remove the protective film on the screen. Power/Sleep Button: Long press to power on/off the monitor; short press to turn on/off the screen. VOX: When you watch the live video, press it to turn on/off the sound detection. Power Indicator: It is green when the battery is fully charged, and will turn red when the battery is low.
-
Page 5: Getting Started
Memory Card Slot Antenna Speaker Stand Type-C Port GETTING STARTED Step 1: Charge the monitor by connecting the Power Adapter to the monitor and a socket. It takes about 4 hours for the monitor to be fully charged, and the battery lasts about 8 hours. - Page 6 Step 2: Connect the Power Adapter to the camera and a socket to power on the camera. There will be a beep from the camera after it is powered on. Step 3: Place the camera at least 3ft/1m away from your baby. Step 4: Gently press and hold the Power Button for 3s to turn on the monitor, then you can see the live view.
-
Page 7: Function Overview
FUNCTION OVERVIEW Monitoring Interface Signal Battery Power Status Sound Temperature Feeding Reminder Enabled Music Enabled Sound Detection: it will turn up if you enable VOX function. Live Video Loop Enabled Camera Channel Date and Time Other icons will be displayed on the monitoring interface when an alarm or noti cation for abnormality is issued. - Page 8 Step 2: Select an unpaired channel (e.g. Channel 2) and press OK, the monitor will start searching for a camera. Tip: A grey icon indicates that no camera is paired with this channel, while a green icon indicates that a camera has been paired with this channel.
- Page 9 Step 3: Keep the camera powered on and it will automatically pair with the monitor. You will see a prompt Paired after a success. Paired! Pairing, please wait... Notes: If the pairing fails, you will see the prompt Pairing failed on the screen. Please repeat the steps above and try to pair again.
- Page 10 Feeding This function aims to remind you of feeding your baby. Step 1: Select Feeding on the menu page. Step 2: Set the Time Interval and Repeat Mode; press OK to con rm. When you set the time interval as 2.5H, if you select , the alarm will be triggered only once in 2.5 hours;...
-
Page 11: Sound Alarm
Tip: The monitor will beep and display an icon when it is the feeding time. Press any button to stop the alarm. Sound Alarm This monitor has a voice operated switch, also known as VOX. It will send alarms when the sound over a certain threshold is detected. -
Page 12: Temp. Alarm
There are four options to adjust the sensitivity of sound detection: OFF, LOW, MEDIUM and HIGH. OFF means to disable sound detection. If you set the sensetivity to LOW, you will receive alarms only when your baby is crying loudly; if MEDIUM, you will receive alarms when your baby's voice is loud; if High, you will receive alarms just when your baby speaks normally. - Page 13 Step 2: Enable the Temp. Alarm and select the Temp. Unit; press OK to con rm. Tip: When the alarm is triggered, the monitor will screen on with an icon and make a sound alarm. Press any button to stop the sound alarm.
- Page 14 Music This function is to comfort your baby when needed. The volume and type of each song are distinctive, please select the best one for your baby. Step 1: Select Music on the menu page. Step 2: Select a song and set the playing mode; press OK to con rm. If you select one song, the song will be played repeatedly;...
- Page 15 Display This function is to prolong your monitor's runtime by shutting down the screen. Step 1: Select Display on the menu page. Step 2: Set the time duration to enter sleep mode and press OK to con rm. If you select 1 Min, your monitor will enter sleep mode in 1 minute if there is no any operation; the same for 10 Min and 30 Min.
- Page 16 Recording This function is to record videos for your baby. The maximum video length is 1 hour by default. Step 1: Select Recording on the menu page. Step 2: Enable it to record videos to the monitor or camera according to the memory card installation; press OK to con rm.
- Page 17 Tips: After installed, your memory card will be formatted once you power on the monitor or camera. Please set the date and time before you enable the function of recording videos so that you can search precisely for video playback. Playback Step 1: Select Playback on the menu page, it will play the latest recorded videos on channel 1 by default.
- Page 18 Tip: Videos recorded in the monitor can only be watched through your monitor, and cannot be read via a computer. If you would like to watch videos recorded in the camera, please remove the card and watch videos on your computer via a card reader. System This function is to set Date&Time, change language, restore factory settings and check the software version.
- Page 19 Step 2: Set the date/time according to your local region, select your language, and check the remaining storage of the memory card. You can restore the monitor to factory settings as needed. Language Step 1: Select Language on the menu page.
- Page 20 Step 2: Select the language you need. After con rm the monitor will restart automatically. Tip: When change the language please make sure the monitor is with enough battery (The camera broadcast will sync to monitor language)
-
Page 21: Installation Steps
Installation Steps... - Page 22 Q: Why did I fail to connect the camera to the monitor? A: Make sure to plug the power adapter into the camera and socket rmly. Make sure the camera and the monitor are within the e ective distance. Q: Why is the live video so blurry? A: Make sure there is no obstacle on the lens of the camera.
- Page 23 SPECIFICATIONS Camera Monitor Frequency Range 2410.0~2469.5MHz 2410.0~2469.5MHz Transmit Power(EIRP) < 16dBm < 17dBm IMPORTANT 1. Power supply of 5V is recommended. 2. Do not over charge the battery. 3. Please use and store the product in dry place. Do not submerge it in water. 4.
- Page 24 Support email: support@foscam.com Due to product upgrades and other reasons, this guide may be slow to update, resulting in slight inconsistencies with the o cial website information. Please take the o cial website (www.foscam.com) information as the current standard.
Need help?
Do you have a question about the BM1 and is the answer not in the manual?
Questions and answers