Sign In
Upload
Download
Table of Contents
Contents
Add to my manuals
Delete from my manuals
Share
URL of this page:
HTML Link:
Bookmark this page
Add
Manual will be automatically added to "My Manuals"
Print this page
×
Bookmark added
×
Added to my manuals
Manuals
Brands
Tesla Manuals
Air Cleaner
TSL-AC-AP3006
User manual
Tesla TSL-AC-AP3006 User Manual
Smart air purifier pro
Hide thumbs
1
Table Of Contents
2
3
4
5
6
7
8
9
10
11
12
13
14
15
16
17
18
19
20
page
of
20
Go
/
20
Contents
Table of Contents
Bookmarks
Table of Contents
Table of Contents
1 Security Note
2 Product Introduction
Clean Air Quality Sensors
Control Panel
Other Items in the Package
Time for Replacement of Filters
3 Before Use
Record the Beginning Use Date in the Label
Learning Air Quality Indicator
Method of Dismounting and Installation
Placement Sites of Air Purifier
Install Filters
Filters and Functions
4 How to Use
The Control Panel
Starting Air Purifier
Auto Mode
Sleep Mode
Wind Speed Adjustment
Timing Function
Wifi Function
Uv Function (Negative Ion Function)
Reset
Air Quality Indicator
5 Cleaning and Maintenance Clean Pre-Filter
Clean Pre-Filter
Clean Air Purifiers
Replace Filters
Fault Handling
To Order Parts or Accessories Accessories
Warranty and Service
7 Additional Information
8 Wifi Use Guide
Advertisement
Quick Links
Download this manual
TSL-AC-AP3006/TSL-AC-AP2006/TSL-AC-AP6006
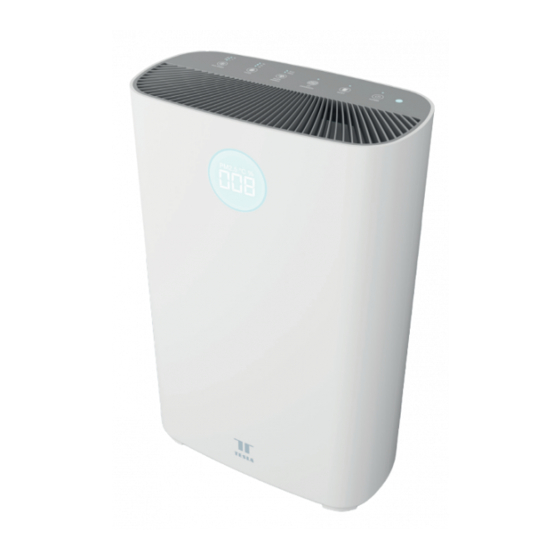
TESLA SMART AIR
PURIFIER PRO
USER MANUAL
1
EN
DE
CZ
SK
PL
HU
SL
HR
Table of
Contents
Previous
Page
Next
Page
1
2
3
4
5
Advertisement
Table of Contents
Need help?
Do you have a question about the TSL-AC-AP3006 and is the answer not in the manual?
Ask a question
Questions and answers
Related Manuals for Tesla TSL-AC-AP3006
Air Cleaner Tesla TSL-AC-AP2006 User Manual
Smart air purifier pro (20 pages)
Air Cleaner Tesla TSL-AC-PUFA User Manual
Smart air purifier and fan (109 pages)
Air Cleaner Tesla Smart TSL-AC-UVBULBL-ACC Manual
(8 pages)
Air Cleaner Tesla Air 6 User Manual
(72 pages)
Air Cleaner Tesla S200 User Manual
(85 pages)
Air Cleaner Tesla AIR Mini User Manual
Portable personal air purifier (75 pages)
Air Cleaner Tesla Air 6 Max User Manual
(68 pages)
Air Cleaner Tesla Air 9 User Manual
(91 pages)
Air Cleaner Tesla 3 Series User Manual
(96 pages)
Air Cleaner Tesla Air 3 Lite User Manual
(57 pages)
Air Cleaner Tesla AP1207 Manual
(67 pages)
Air Cleaner Tesla S100W User Manual
Smart air purifier (83 pages)
This manual is also suitable for:
Tsl-ac-ap2006
Tsl-ac-ap6006
Table of Contents
Print
Rename the bookmark
Delete bookmark?
Delete from my manuals?
Login
Sign In
OR
Sign in with Facebook
Sign in with Google
Upload manual
Upload from disk
Upload from URL


Need help?
Do you have a question about the TSL-AC-AP3006 and is the answer not in the manual?
Questions and answers