Advertisement
Quick Links
sauder.com
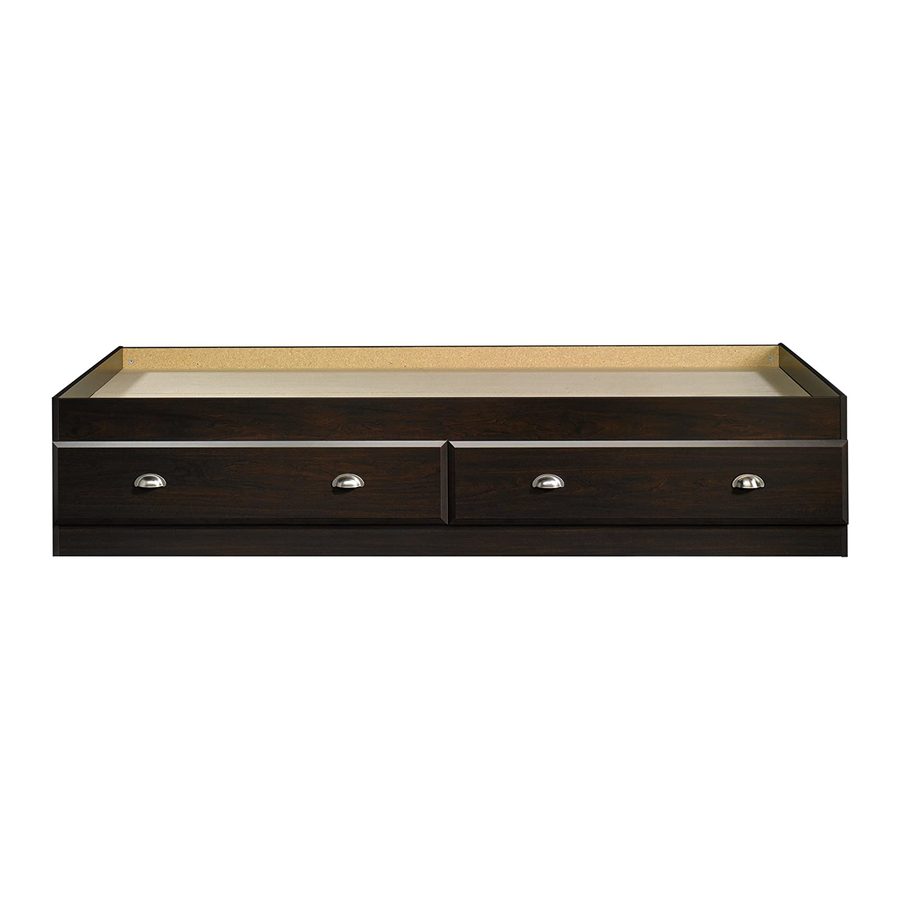
Mates Bed
Shoal Creek Collection | Model 412093
Need help? Visit Sauder.com to view video assembly tips or chat with a live rep.
Prefer the phone? Call 1-800-523-3987.
Share your journey!
You won't just fall in
love with it. You'll fall
asleep in it.
NOTE: THIS INSTRUCTION
BOOKLET CONTAINS IMPORTANT
SAFETY INFORMATION.
PLEASE READ AND KEEP FOR
FUTURE REFERENCE.
English pg 1-20
Français pg 21-23
Español pg 24-26
Lot # 385515
11/05/15
Purchased: __________________
Be sure to give us a ring before
making any returns. 1-800-523-3987
Advertisement

Related Manuals for Sauder Shoal Creek 412093


Summary of Contents for Sauder Shoal Creek 412093
- Page 1 Shoal Creek Collection | Model 412093 NOTE: THIS INSTRUCTION BOOKLET CONTAINS IMPORTANT SAFETY INFORMATION. Need help? Visit Sauder.com to view video assembly tips or chat with a live rep. PLEASE READ AND KEEP FOR FUTURE REFERENCE. Prefer the phone? Call 1-800-523-3987.
- Page 2 DRAWER BOTTOM (2) END (2) RIGHT DRAWER FRONT (1) UPRIGHT (1) UPPER FRONT PANEL (1) LEFT DRAWER FRONT (1) D212 RIGHT DRAWER SIDE (2) LOWER FRONT PANEL (1) D213 LEFT DRAWER SIDE (2) BACK PANEL (1) Page 2 412093 www.sauder.com/services...
- Page 3 Part Identifi cation D212 D477 D476 D213 D212 D477 D476 D213 www.sauder.com/services 412093 Page 3...
- Page 4 3S GOLD 5/16" FLAT HEAD SCREW - 16 15S SILVER 5/8" MACHINE SCREW - 8 SILVER 1-1/8" FLAT HEAD SCREW - 20 30S BLACK 1-9/16" FLAT HEAD SCREW - 10 BROWN 1-5/8" FLAT HEAD SCREW - 10 Page 4 412093 www.sauder.com/services...
- Page 5 Look for this icon. It means a Step 1 video assembly tip is available at www.sauder.com/services/tips Assemble your unit on a carpeted fl oor or on the empty å carton to avoid scratching your unit or the fl oor. Scan this QR code or go to this address: http://qr.sauder.com/?ID=1719...
- Page 6 This END (E3) will now be called the RIGHT END (E3). Roller end Roller end Rounded edge Rounded edge GOLD 5/16" FLAT HEAD SCREW (4 used in this step) This END (E3) will now be called the LEFT END (E3). Page 6 412093 www.sauder.com/services...
- Page 7 CABINET LEFT (40CB) to the UPRIGHT (C3). Use four GOLD 5/16" FLAT HEAD SCREWS (3S) through holes #1 and #3. Roller end Finished edge GOLD 5/16" FLAT HEAD SCREW (4 used in this step) Roller end www.sauder.com/services 412093 Page 7...
- Page 8 If the BOTTOM SUPPORTS (B3) or SMALL SLATS (J2) have a fi nished surface, it should be facing up. Finished edge Finished edge Edge with no holes Edge with no holes SILVER 1-1/8" FLAT HEAD SCREW (20 used in this step) Page 8 412093 www.sauder.com/services...
- Page 9 Tighten Risk of damage or Arrow injury. HIDDEN CAMS must be completely Arrow Maximum tightened. HIDDEN 210 degrees CAMS that are not completely tightened may loosen, and parts may separate. To Minimum completely tighten: 190 degrees www.sauder.com/services 412093 Page 9...
- Page 10 BACK PANEL. Wipe away the excess glue. parts is extremely diffi cult. These holes must be here. S u r f a c H I D D E N i t h Roller end Maximum Arrow 210 degrees Minimum 190 degrees Page 10 412093 www.sauder.com/services...
- Page 11 Maximum Arrow f a c S u r 210 degrees I D D u t H i t h o Minimum Unfi nished edge f a c 190 degrees S u r www.sauder.com/services 412093 Page 11...
- Page 12 Inspect the parts thoroughly before assembling. Disassembly of glued parts is extremely diffi cult. Rounded edge L e f t E n Roller end Fill the holes 1/4 to 1/2 full with GLUE. Rounded edge Roller end Page 12 412093 www.sauder.com/services...
- Page 13 Fasten the SUPPORT BRACKET (11B) to the UPRIGHT (C3). å in a day. Use two BLACK 9/16" LARGE HEAD SCREWS (1S). BLACK 9/16" LARGE HEAD SCREW (2 used in this step) VIEW FROM THE BACK SIDE OF THE BED www.sauder.com/services 412093 Page 13...
- Page 14 Step 10 Using your hammer, gently tap twelve SUPPORT PINS (4R) å into the center holes in the DRAWER FRONTS (S and T) and DRAWER BACKS (D476). (12 used) D476 D476 Page 14 412093 www.sauder.com/services...
- Page 15 Fasten the DRAWER BRACE (M65) to the DRAWER å SIDES (D212 and D213) and DRAWER BRACE (M65). FRONT (T). Tighten one HIDDEN CAM. Use fi ve BLACK 1-9/16" FLAT HEAD SCREWS (30S). Repeat this step for the other drawer. www.sauder.com/services 412093 Page 15...
- Page 16 FLAT HEAD SCREWS (3S) through holes #1 and #4. Repeat this step for the other drawer. å Roller end D213 Roller end D212 (4 screws per drawer) GOLD 5/16" FLAT HEAD SCREW (8 used in this step) Page 16 412093 www.sauder.com/services...
- Page 17 Fasten two PULLS (7K) to the LEFT DRAWER FRONT (T). å hardware kits available Use four SILVER 5/8" MACHINE SCREWS (15S). on sauder.com. Repeat this step for the other drawer. å Finished edge SILVER 5/8" MACHINE SCREW...
- Page 18 The Headboard attachment will be shown in the 412091 Headboard instruction book. NOTE: The diagrams are shown below for the 412091 å Headboard on the left or right of your Mates Bed. 412091 HEADBOARD on the right 412091 HEADBOARD on the left Page 18 412093 www.sauder.com/services...
- Page 19 Fasten the BOTTOMS (A2) to the BOTTOM SUPPORTS (B3), å UPRIGHT (C3), and SMALL SLATS (J2). Use ten BROWN Hey! It's starting to look 1-5/8" FLAT HEAD SCREWS (55S). like something! BROWN 1-5/8" FLAT HEAD SCREW (10 used in this step) www.sauder.com/services 412093 Page 19...
- Page 20 This completes assembly. Clean with your favorite furniture polish or a damp cloth. Wipe dry. å And to celebrate, why not share your success story? 30 lbs. total 30 lbs. total Place the roller on the SLIDE behing the roller on the RAIL. Page 20 412093 www.sauder.com/services...
- Page 21 élément et conserver le livret pour future référence. DESSOUS ..............2 40CA ÉLÉMENT DROITE ..........2 Pour contacter Sauder SUPPORT DE DESSOUS .........2 40CB ÉLÉMENT GAUCHE ..........2 en ce qui concerne cet FOND DE TIROIR ...........2 40CC TIROIR DROIT ............2 élément, faire référence...
- Page 22 Fixer l'EXTRÉMITÉ DROITE (E3) au PANNEAU ARRIÈRE (I3). Serrer deux EXCENTRIQUES ESCAMOTABLES. REMARQUE : S’ a ssurer de bien insérer les CHEVILLES EN BOIS du PANNEAU ARRIÈRE dans les trous de l'EXTRÉMITÉ DROITE. Nettoyer l'excès de colle. Page 22 412093 www.sauder.com/services...
- Page 23 4. Fixer l'ARRIÈRE DE TIROIR (D476) aux CÔTÉS DE pour meubles ou d’un chiff on humide. Essuyer. TIROIR (D212 et D213) et à l’ENTRETOISE DE TIROIR (M65). Utiliser cinq VIS TÊTE PLATE 40 mm NOIRES (30S). Répéter cette étape pour l'autre tiroir. www.sauder.com/services 412093 Page 23...
- Page 24 40CA GABINETE DERECHO ........2 et conserver le livret pour future référence. SOPORTE DE FONDO .........2 40CB GABINETE IZQUIERDO ........2 Pour contacter Sauder FONDO DE CAJÓN ..........2 40CC CAJÓN DERECHO ..........2 en ce qui concerne cet PARAL ................1 40CD CAJÓN IZQUIERDO ..........2 élément, faire référence...
- Page 25 A continuación, inserte dos PASADORES DE MADERA (15F) dentro de estos agujeros. Quite el exceso de PEGAMENTO. NOTA: Asegúrese de insertar los PASADORES DE MADERA del PANEL POSTERIOR en los agujeros del EXTREMO DERECHO. Quite el exceso de pegamento. www.sauder.com/services 412093 Page 25...
- Page 26 Seque con un paño. y D213) y a la RIOSTRA DE CAJÓN (M65). Utilice cinco TORNILLOS NEGROS DE CABEZA PERDIDA de 40 mm (30S). Repita este paso para el otro cajón. Page 26 412093 www.sauder.com/services...
- Page 27 à compter de la date d'achat la première fois et qui sont signalés à Sauder dans les limites de couverture de la contre tout défaut de matériaux ou de fabrication des composantes de mobilier Sauder.
- Page 28 Dear Valued Customer: So, how did it go? Thanks so much for choosing Sauder® furniture. I hope the Set a world record for speed? purchase and assembly process was a positive experience Feeling good about yourself? and you feel good about the furniture you just built. If you Nice.
Need help?
Do you have a question about the Shoal Creek 412093 and is the answer not in the manual?
Questions and answers