Advertisement
Table of Contents
- 1 Important Safeguards
- 2 For Your Safety
- 3 Getting to Know Your Air Conditioner
- 4 Performance Parameters
- 5 Operation Panel
- 6 Air Conditioner Features
- 7 Exhaust Hose Installation
- 8 Service and Maintenance
- 9 Cleaning the Air Filter
- 10 Warning Display
- 11 Troubleshooting
- 12 Warranty Exclusions
- Download this manual
Advertisement
Table of Contents

Related Manuals for Mistral MA02016KRY30


Summary of Contents for Mistral MA02016KRY30
- Page 1 Portable Air Conditioner Instruction Manual Model: MA02016KRY30...
-
Page 2: Important Safeguards
Important Safeguards • Do not plug this appliance into or use with Extension cords , Double adaptors or Power Boards. It should only ever be plugged When using electrical appliances, in directly into Domestic Power outlet. order to reduce the risk of fire, electric •... - Page 3 • The refrigerant used in air conditioner is the • The air conditioner must be used, stored and environmentally friendly hydrocarbon R32.This transported in an upright position, otherwise refrigerant is odorless, and compared to the the compressor could be damaged. alternative refrigerant, the R32 is an ozone- free refrigerant, and its effect is very low.
-
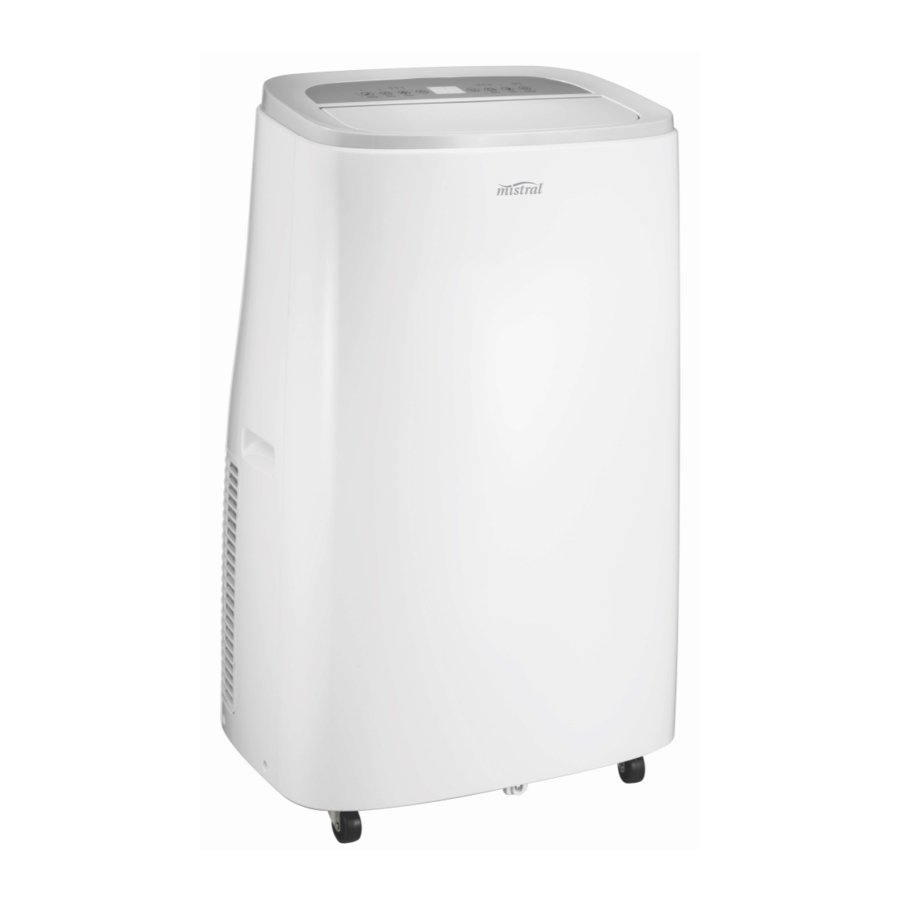
Page 4: Getting To Know Your Air Conditioner
Warning Getting to Know Your Air Conditioner If the supply power cord is damaged, the power cord must be replaced by the manufacturer, Congratulations on the purchase of your new its service agent or similarly qualified persons in Portable Air Conditioner. order to avoid a hazard. -
Page 5: Performance Parameters
Parameters • Try to create a uniform circulation of room air. Adjust air flow direction for even circulation of room air. Model MA02016KRY30 Power 220-240V • To ensure optimal efficiency of the product, 50Hz a.c. keep doors and windows closed when it is used as an air conditioner or dehumidifier. - Page 6 Features of Your Portable Air Conditioner 7. Air Filter with Cover 1. Control Panel 8. Handle 2. Top cover 9. Continuous Drain Port 3. Air Outlet / Swing air deflector 10. Exhaust Connector with Air Outlet 4. Front Housing 11. Air Filter with Cover 5.
-
Page 7: Operation Panel
Operation Panel Power Down/Up Timer Mode Swing Speed 1. POWER: press this key to turn ON/OFF Sleep machine. After machine turns ON, default setting is cooling mode with low fan speed. 2. SLEEP: In cooling mode, press this key to turn ON/OFF sleeping function. - Page 8 Operation Mode Dehumidifying mode Adjustment Dehumidifying mode is used to remove humidity from the room without additional cooling. In this mode, you do not need to use the exhaust hose, Plug appliance in, the buzzer will make a “beep” but the water collected must be discharged sound, and the appliance goes to Standby regularly.
- Page 9 will flash and the machine enters into standby Auto Stop: mode, buzzer sounds, compressor stops and • all keys are invalid till machine recovers to be While the air conditioner is running, normal. At this point, you need to empty the press the Timer button to activate the Auto water tank as per below steps.
- Page 10 Installation Guide Location Requirements In the cooling mode, the appliance must be placed close to a window or opening so that the warm exhaust air can be ducted outside. Drain hose The unit must be stood upright at all times. Position the unit on a flat floor where it is within reach of a switched power outlet and make sure there is a minimum of 50cm clearance around the unit.
- Page 11 Using the Remote Control to operate Assemble the slide kit. the appliance For the best results, aim the remote control directly at the Remote Sensor on the front panel of the appliance. Adjust the length of window slider kit Do not put any objects between as per your window and tighten the washer and the remote control and the appliance while nut.
-
Page 12: Exhaust Hose Installation
Exhaust Hose Installation Important Note • Ensure that there are no obstructions Move air conditioner to desired , kinks in flexible exhaust hose that impedes the location. See “Location Requirements.” exhaust airflow as this will affect the performance of the Portable Air Conditioner and may Screw one end of flexible exhaust damage the appliance. -
Page 13: Cleaning The Air Filter
Cleaning the Air Filter After a Long Idle period and before next use If the air filter becomes clogged Remove the drain plug and drain with dust/dirt, the air filter should be water completely. cleaned every two weeks. Depending on indoor air quality, more frequent Set the fan going for a few hours to cleaning may be needed. -
Page 14: Troubleshooting
Trouble Shooting 7. Ventilated area Ensure that the area is in the open or that it is adequately ventilated before breaking into the 1.Information on servicing system or conducting any hot work. A degree of ventilation shall continue during the period 1. - Page 15 4. Cabling Initial safety checks shall include: • That capacitors are discharged: this shall be Check that cabling will not be subject to wear, done in a safe manner to avoid possibility of corrosion, excessive pressure, vibration, sharp sparking; edges or any other adverse environmental effects.
- Page 16 6. Removal and evacuation 7. Charging procedures When breaking into the refrigerant circuit In addition to conventional charging procedures, to make repairs – or for any other purpose the following requirements shall be followed. – conventional procedures shall be used. However, it is important that best practice is –...
- Page 17 10. Recovery f) Make sure that cylinder is situated on the scales before recovery takes place. When removing refrigerant from a system, g) Start the recovery machine and operate in either for servicing or decommissioning, it accordance with instructions. is recommended good practice that all refrigerants are removed safely.
- Page 18 PROBLEM POSSIBLE CAUSES SUGGEST REMEDIES Water full indicator lamp Drain the water collection tank blinks, water tank is full. and reset your settings. UNIT DOES NOT START Room temperature is lower Adjust the temperature setting. than the setting temperature. The windows or doors in the Make sure all the windows and room are not closed.
-
Page 19: Warranty Exclusions
Warranty Conditions for purchase in Australia & New Zealand Any claim under this warranty must be made within 2 years of the date of purchase of the product. To make a claim under the warranty in Australia, take the product (with proof of purchase) to any Bunnings store (see www.bunnings.com.au in Australia or www.bunnings.co.nz in New Zealand for store locations). - Page 20 Cat. No. MA02016KRY30 June 2020...
Need help?
Do you have a question about the MA02016KRY30 and is the answer not in the manual?
Questions and answers