Advertisement
USER MANUAL
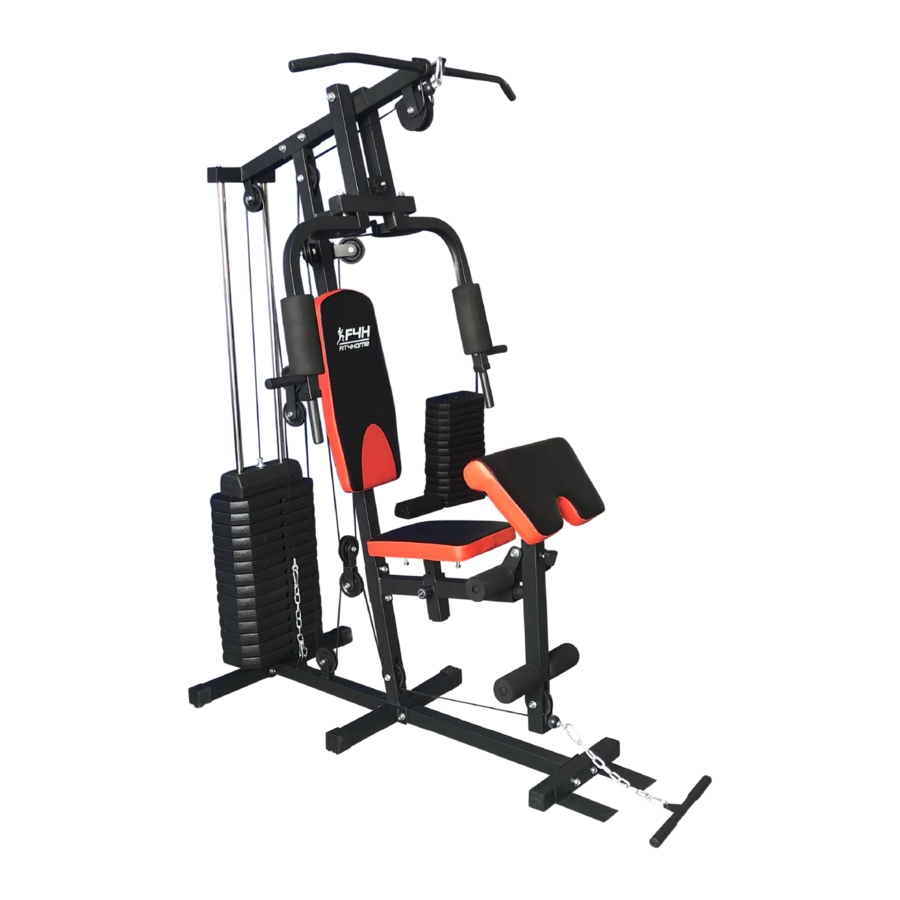
TF-7001 HOME GYM
Please Keep For Future Reference
F4H-HG-TF7001
IMPORTANT - Please Read Instructions Fully Before Assembly Or Use
These instructions contain important information which will help you get the best
from your equipment and ensure safe and correct assembly, use and maintenance.
If you need help or have damaged or missing parts,
call the Customer Helpline: 0330 124 0718 (Opening hours: Mon-Fri 9:00am-3:00pm)
or Email: customerservices@fit4home.co.uk
1
Advertisement

Related Manuals for Fit4Home TF-7001


Summary of Contents for Fit4Home TF-7001
- Page 1 USER MANUAL TF-7001 HOME GYM Please Keep For Future Reference F4H-HG-TF7001 IMPORTANT - Please Read Instructions Fully Before Assembly Or Use These instructions contain important information which will help you get the best from your equipment and ensure safe and correct assembly, use and maintenance.
-
Page 2: Table Of Contents
Parts List Exploded Diagram Parts Chart 06,07 Assembly Instructions Step 1 Step 2 Step 3 Step 4 Step 5 Step 6 Step 7 Step 6 Step 8 Step 9 Step 10 Step 11 Warm Up and Cool Down 20,21 Fit4Home Declaration... -
Page 3: Safety Information
IMPORTANT SAFETY INFORMATION IMPORTANT SAFETY INFORMATION BE SURE TO READ THE ENTIRE MANUAL BEFORE YOU ASSEMBLE OR OPERATE YOUR MACHINE. IN PARTICULAR, NOTE THE FOLLOWING SAFETY PRECAUTIONS: 1. Read all instructions and follow it carefully before using this equipment. Make sure the equipment is properly assembled and tightened before use. -
Page 4: Parts List
PARTS LIST... -
Page 5: Exploded Diagram
EXPLODED DIAGRAM... - Page 6 PARTS TABLE...
- Page 7 PARTS TABLE...
-
Page 8: Assembly Instructions
ASSEMBLY INSTRUCTIONS STEP 1 1. Assemble main support tube(A5) & side base tube(A2) at both side of main base tube(A1).fit them in the property hole with bolt(C3) & washer(C14) & nut(C15). 2. Put middle base tube(A3) by main base tube(A1).then fix if by bolf(C4).washer(C14) and nut(C15). - Page 9 ASSEMBLY INSTRUCTIONS STEP 2 1. Slide weight plate(F1) over weight slider tube(A4). Equip weight pick up pole(A6) with tube housing(C24), then equip pin(C22) into the holes.Insert weight pick up pole(A6) into weight plate(F1),then slide weight stack top plate(F2) on top.
-
Page 10: Step 3
ASSEMBLY INSTRUCTIONS STEP 3 1. Equip top brace tube(A7) on weight slider tube(A4) & main support tube(A5),fix bolt(C4),washer(C14) & nut(C15),fix bolt(C8) & washer(C12). 2. Equip pulley housing(D2) with main support tube(A5) and fix it by bolt(C9),washer(C14) & nut(C15). 3. Put screw(D5) at middle of U plate,then equip it by bolt(C10),washer(C12) & nut(C13).Fix washer(C21) &... - Page 11 ASSEMBLY INSTRUCTIONS STEP 4 1. Equip seat tube(A8) with main support tube(A5),then fix if by bolt(C4),washer(C14) & nut(C15.) 2. Equip roller pad tube(A9) with seat tube(A8),then insert sponge(F5) from both sides. 3. Assemble backrest pad(F3) onto main support tube(A5)with bolt(C5) & washer(C14)
- Page 12 ASSEMBLY INSTRUCTIONS STEP 5 1. Assemble leg developer(A10) at the middle of seat tube(A8) with bolt(C2),washer(C16) & nut(C17). 2. Assemble roll pad tube(A9) info leg developer (A10) then insert sponge(F5). 3. Install the T-connection plate (D10) on the cushion (F4) with the bolt (C11) and washer (C12) 4.
- Page 13 ASSEMBLY INSTRUCTIONS STEP 6 1. Connect the elbow pad (F7) to the elbow pad support pipe (A18) and fix it with bolts (C25) and washers (C14). 2. Put the elbow pad support tube (A18) into the kicking tube (A10) and fix it with a knob (D12).
- Page 14 ASSEMBLY INSTRUCTIONS STEP 7 1. Insert bushing(C19) into support tube for butterfly arm(A11),fit top brace tube(A7) at middle position. Insert bolt(C1) into top brace tube(A7) & (A11) and fix it by washer(C16) & nut(C17). 2. Insert metal bushing(C20) into butterfly arm(A11). Equip butterfly arm(A12) with support tube for butterfly arm(A11),fix with washer(C16) &...
- Page 15 ASSEMBLY INSTRUCTIONS...
- Page 16 ASSEMBLY INSTRUCTIONS STEP 8 1. Equip weight cable(B1) onto top brace tube(A7) & pulley (B6),then fix it by bolt(C7) & pulley housing(E3),through (A7)/(B7),fix it by(E3)/nut(C15). 2. Insert weight cable(B1) into main support tube(A5),then equip pulley(B6).Put metal bushing(C18) at both side of main support tube(A5),then fix by bolt(C4) & washer(C14), through(C18)/(A5)/(B6)/(C18),fix it by(C14)/nut(C15).
- Page 17 ASSEMBLY INSTRUCTIONS STEP 9 1. Insert the screw of butterfly cable(B2) through butterfly arm(A12) and fix it by bolt(C8) nut (C13). 2. Put butterfly cable(B2) into pulley housing(D2). Then equip pulley(B6),then fix it by nut(C15) & bolt(C6). 3. Equip butterfly cable(B2) into pulley bracket(D8). Insert it into pulley(B6) & pulley bracket(D8),then fix it by bolt(C6) and nut(C15).
- Page 18 ASSEMBLY INSTRUCTIONS STEP 10 1. Equip main cabe(B3) into leg developer(A10).Insert it into pulley(B6) & leg developer(A10).Put metal bushing (C18) at both side of leg developer(A10),then fix it by bolt(C4),washer(C14) & nut(C15). 2. Equip main cable(B3) into main support tube(A5).Insert it into pulley(B6) & main support tube(A5).Put metal bushing(C18) at both side of main support tube(A5),then fix it by bolt(C4),washer(C14) &...
- Page 19 ASSEMBLY INSTRUCTIONS STEP 11 1. Connect hook(D7) on both side between weight cable (B1) & lat pull bar(A14). 2. Connect chain(B5) with hook(D7) on both side between main cable(B3) & lat pull T-Bar(A15).
-
Page 20: Fit4Home
FIT4HOME LTD Fit4Home is essentially an online business which aims to provide high quality Exercise and Fitness products to ensure all customers maintain a healthy lifestyle. At Fit4Home we stock various different types of fitness and exercise equipment such as Treadmills, Cross Trainers, Weights, Exercise Bikes etc and aim to provide an excellent service to each and every one of our valued customers. -
Page 21: Declaration
We, Importer Fit4home Ltd Unit A, Perseverance Mills, Olive Lane, Darwen BB3 3DQ United Kingdom Declare that the product TF-7001 Home Gym Complies with the essential health and safety requirements of the following directive: Direction for 2014/357/EU for Stationery training equipment...
Need help?
Do you have a question about the TF-7001 and is the answer not in the manual?
Questions and answers