
Related Manuals for AquaScape AquaBasin Small


Summary of Contents for AquaScape AquaBasin Small
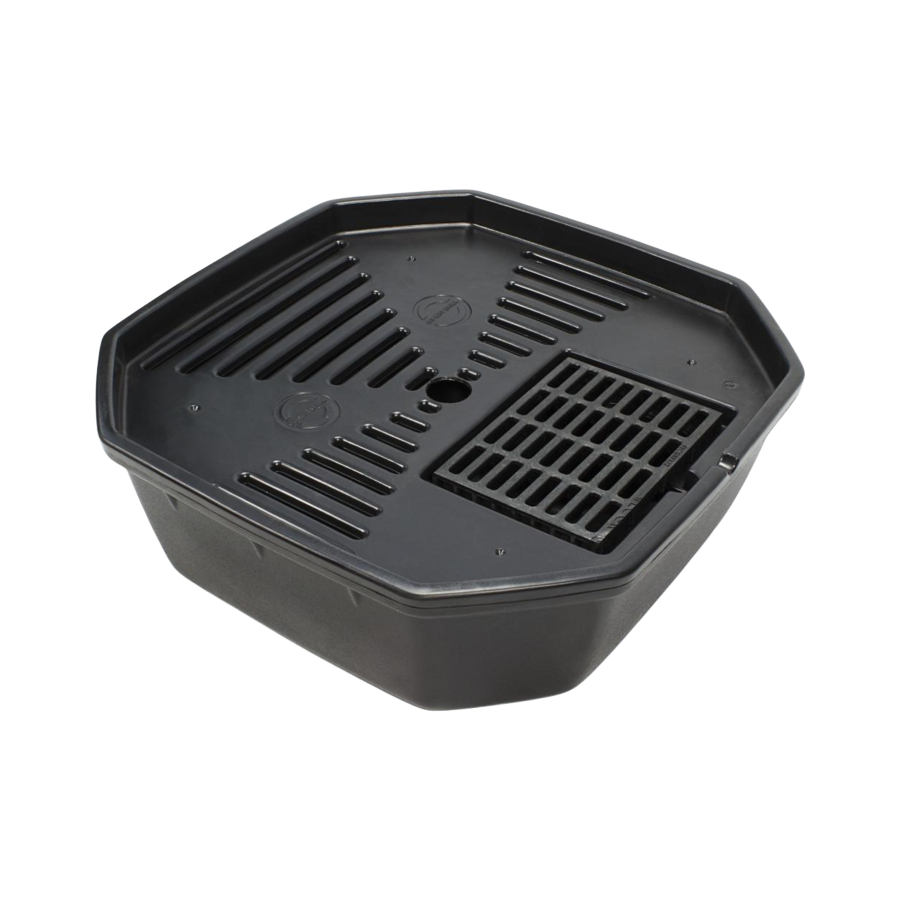
- Page 1 Small ™ AquaBasin Step-by-Step Installation Instructions ™ Small AquaBasin (Item #98525) One 9” x 12” removable grate (Item #41113) Made in U.S.A. for: Aquascape, Inc. www.aquascapeinc.com...
- Page 2 Small AquaBasin ™ Installation Instructions Instructions ™ 1) Set the AquaBasin in the desired location and trace out the area that will be excavated. (Fig. 1) 2) Using the marked area as your guide, dig your hole for the AquaBasin ™...
- Page 3 Please see ™ AquaBasin Ultra Pump Kit Instructions for assembly steps of pump and plumbing. Installing a Stone Fountain ™ 1) The Small AquaBasin is designed with one removable grate for easy pump access. Connect the tubing to the Ultra ™...
- Page 4 Installing a Decorative Spitter ™ 1) The Small AquaBasin is designed with one removable grate for easy pump access. ™ Connect the tubing to the Ultra Pump and ball valve using the plumbing supplies from ™ ™ the AquaBasin Ultra Pump Kit (items #98136, #98138, or #98463 sold separately) ™...
- Page 5 How to Assemble the AquaBasin ™ Ceramic Bubbler Plumbing Assembly PVC Extension Tube MPT x Slip Fitting Bulkhead MPT x Barb Fitting 90° Barbed Tubing Elbow Fig. 11 Installing a Ceramic Bubbler ™ 1) The Small AquaBasin is designed with one removable grate for easy pump access. Connect the Ceramic Bubbler Plumbing Assembly, as shown in the Figure 11 (Item ™...
- Page 6 The Small AquaBasin ™ is designed with four underside supports to help support the ™ heavier pieces. If you decide to modify or drill into your AquaBasin , be sure to locate and identify these four supports and DO NOT DRILL or puncture through the supports. Doing so will cause the unit to leak.
Need help?
Do you have a question about the AquaBasin Small and is the answer not in the manual?
Questions and answers