Advertisement
Quick Links
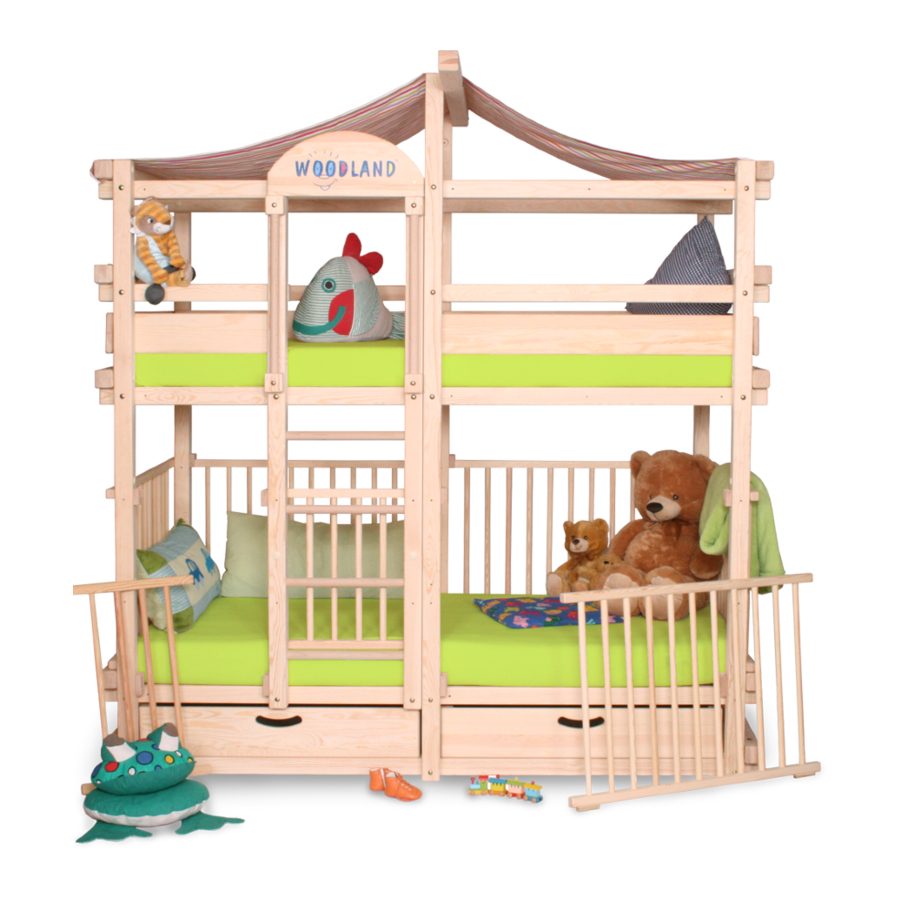
Assembly Instructions for CALGARY pos. 502
Diagram 1.1
Diagram 1.1
The upper surface of the
mattress may not go over the
marking on beam S1
S1
W17
W7
W16
W5
W15
W3
Beam sides of S1,S5,
S6 and S8 with the
round indentations face
the middle of the bed!
F2
Z30
W13
W9
F3
W14
W8
1. 1.
S8
S1
W20
W19
W9
W8
W2
Z32
W13
W1
W14
To begin:
1. Before you begin please take a look at the diagrams above. Every important assembly parts are labeled with a sticker so that
you will recognize them immediately. Additional beam list will also help you to identify the beam parts. Each beams are shown
vertically or horizontally depending on how they are assembled. Also you will find labels on the boxes with a description of what is
2. Wooden parts (if necessary) should be treated with the natural wax or oil before the assembly.
Our Tip: The untreated bed is better for the environment of children's room (regulating humidity in the air!). Also you could save treatment cost and makes it easier
to wipe off crayon and color pencil marks with tissues and cloth. Other advantage is that untreated wood is easier for children's hands to grip on and the natural
colour of the wood would last longer.
3. The following working tools are necessary for assembly: a ratchet with size 10 socket and cross-end screwdriver (better yet a
cordless screwdriver with exchangable size 10 socket and cross-end attachment) and hammer. An assistance is necessary
only when putting together the corner posts.
Beam side of horizontal
beams with the most round
indentations face the inside of
the bed!
S8
S11
Safety rail Z23
screwed from inside
B17-B32
F1
B1-B16
W2
W1
Z31
S7
2. 2.
S8
S1
S11
W19
W9
W8
W2
Z32
W13
W1
W14
S7
W18
S5
Safety rail
P1
Z26
Z1
Z2
W20
W19
Z7
Z32
W18
W12
W23
S7
S6
W7
S1
S5
W20
W13
W14
Predrilled holes
for wall attachment
S6
Safety rail
Z26
W6
Safety rail Z25
screwed from outside
W3
110mm flathead bolt
W18
W12
W17
S8
W23
S7
W11
W7
W16
S5
W10
W6
S11
W5
W15
W21
W3
W20
W19
W9
W8
W2
Z32
W1
3. 3.
Not all specifications are guaranteed. © Copyrights by WOODLAND 1998
R
W23
W12
W22
W11
W21
W10
S5
W21
flange
nut M6
S6
W22
Advertisement

Related Manuals for Woodland CALGARY

Summary of Contents for Woodland CALGARY
- Page 1 3. The following working tools are necessary for assembly: a ratchet with size 10 socket and cross-end screwdriver (better yet a cordless screwdriver with exchangable size 10 socket and cross-end attachment) and hammer. An assistance is necessary only when putting together the corner posts. Not all specifications are guaranteed. © Copyrights by WOODLAND 1998...
- Page 2 If a frame set or back and arm rest set inner side of the bed are combined with the WOODLAND bed, please read assembly instructions for these sets before you begin to assemble Not all specifications are guaranteed. © Copyrights by WOODLAND 1998 the bed!
- Page 3 WARNING! First screw the bracket on the side board and than it would be easier to fix the other end to the beam. WOODLAND reserves the right for printing errors © Copyrights by WOODLAND 1998...
- Page 4 Important TIP: According to Euorpean Standard EN 747 children under the age of six are in danger of falling off the normal bunk bed. Therefore WOODLAND bunk beds have guard rails that are more than double the European Standard. If you have any technical questions about wall attachment with a assembly please contact us at (02133) 2482 - 19.
Need help?
Do you have a question about the CALGARY and is the answer not in the manual?
Questions and answers