Advertisement
Aria 7X User Guide
Contents
The Aria 7X is supplied with the correct power adapter for your
local system. The package may also contain optional accessories
shown below, depending on your service provider.
Optional accessories
HDMI cable
Ethernet cable
3.5 mm jack to
3 x RCA cable
Remote control
and batteries
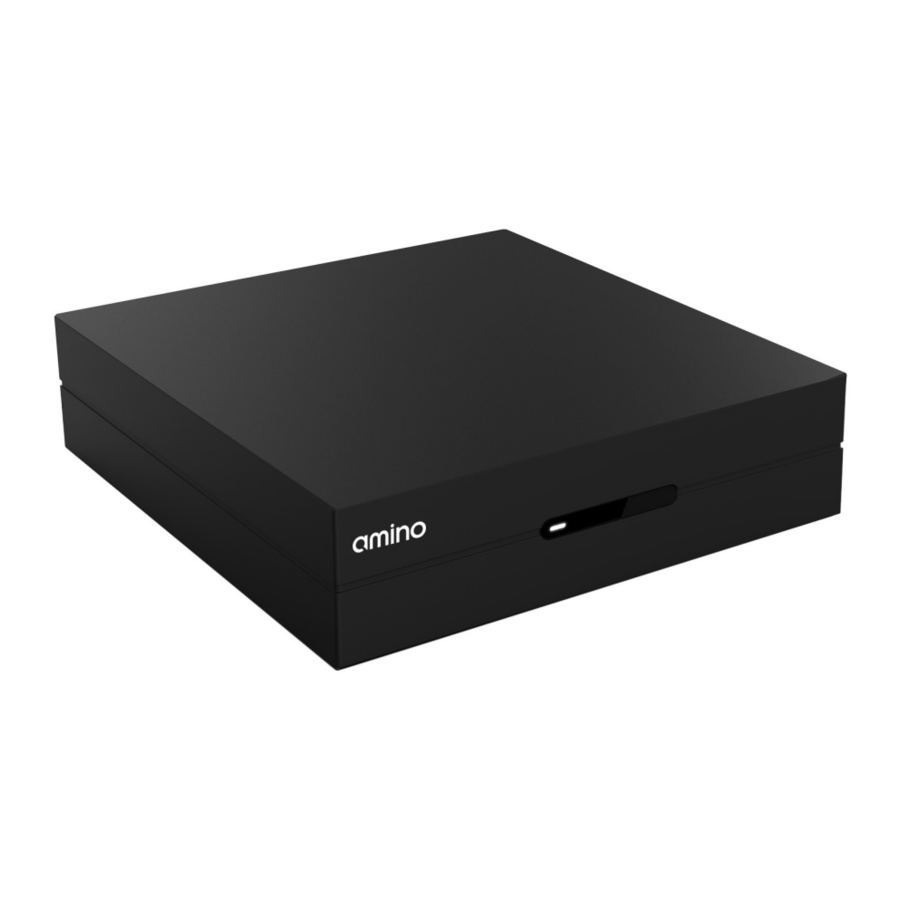
1. Overview of the Aria 7X
1.
Power/Activity LED:
Blue = on.
Blue flashing = infra-red (IR) command received.
Red = standby.
The window is protected with a clear plastic film. This should
be removed before use.
1.
Analogue A/V output.
2.
HDMI output.
3.
Ethernet port.
4.
Reset button. No function in normal use. Only use under
guidance from your service provider.
5.
USB port.
6.
DC power input 12 V 1 A.
Important - Safety instructions
Read these instructions carefully and keep for future reference. Note all
warnings.
The product contains no user-serviceable parts. Refer all servicing to qualified
service personnel.
Handle the product with care and do not attempt to dismantle the product.
Do not expose the product or its accessories to any liquids, rain or moisture.
Do not locate the product near a heat source and do not block ventilation
holes: the product will become warm during operation. Allow at least 10 cm
(4") around the product for air circulation.
Do not locate the product where it may be subject to physical shock, vibration
or where the product may fall over.
Do not place the product on soft furnishings or carpets.
Only use the power supply provided by the manufacturer. The use of any
other type of power supply may invalidate any approval or warranty applying
to the product and may be dangerous. If the power supply does not match
your local system, contact your product supplier.
Protect the power supply cord from damage.
The disconnect device is the power supply cord. Removing the power supply
cord from the mains supply isolates the product from the mains.
Disconnect the product from the mains supply if left unused for long periods
of time or during electrical storms.
Disconnect the product before cleaning, and use a dry cloth only.
Only use attachments and accessories specified by the manufacturer.
The product is for indoor use only.
2. Connecting the Aria 7X to a TV
Warning! Before connecting or disconnecting any cable switch
off all system devices (TV, A/V Amplifier, etc.) and disconnect
from the mains electrical supply. The Aria 7X provides options
for connecting audio and video to your TV:
HDMI (recommended): best quality. Connect an HDMI cable
to the HDMI output of the Aria 7X and to the HDMI input of
your TV.
Analogue A/V: good quality. SD only, composite video with
analogue audio left/right. Connect the 3.5 mm jack to the
analogue A/V output on the Aria 7X and connect the yellow RCA
plug to the yellow video port on your TV. Connect the red and
white RCA plugs to the red and white audio ports on your TV.
Connecting via Wi-Fi
Internal 2.4 GHz Wi-Fi is an option for the Aria 7X. If your Aria
7X has Wi-Fi, please contact your service provider for detailed
instructions about wireless network configuration.
Advertisement
Table of Contents

Related Manuals for Amino Aria 7X


Summary of Contents for Amino Aria 7X
- Page 1 TV: be removed before use. HDMI (recommended): best quality. Connect an HDMI cable to the HDMI output of the Aria 7X and to the HDMI input of your TV. Analogue A/V: good quality. SD only, composite video with analogue audio left/right.
- Page 2 D symbol are trademarks of Dolby Laboratories. This product incorporates copyright protection technology that is Connect an HDMI cable to the HDMI output of the Aria 7X protected by U.S. patents and other intellectual property rights of Rovi Corporation.
Need help?
Do you have a question about the Aria 7X and is the answer not in the manual?
Questions and answers