Table of Contents
Advertisement
Quick Links
Advertisement
Table of Contents

Related Manuals for Pulse fitness 224B-AAB


Summary of Contents for Pulse fitness 224B-AAB
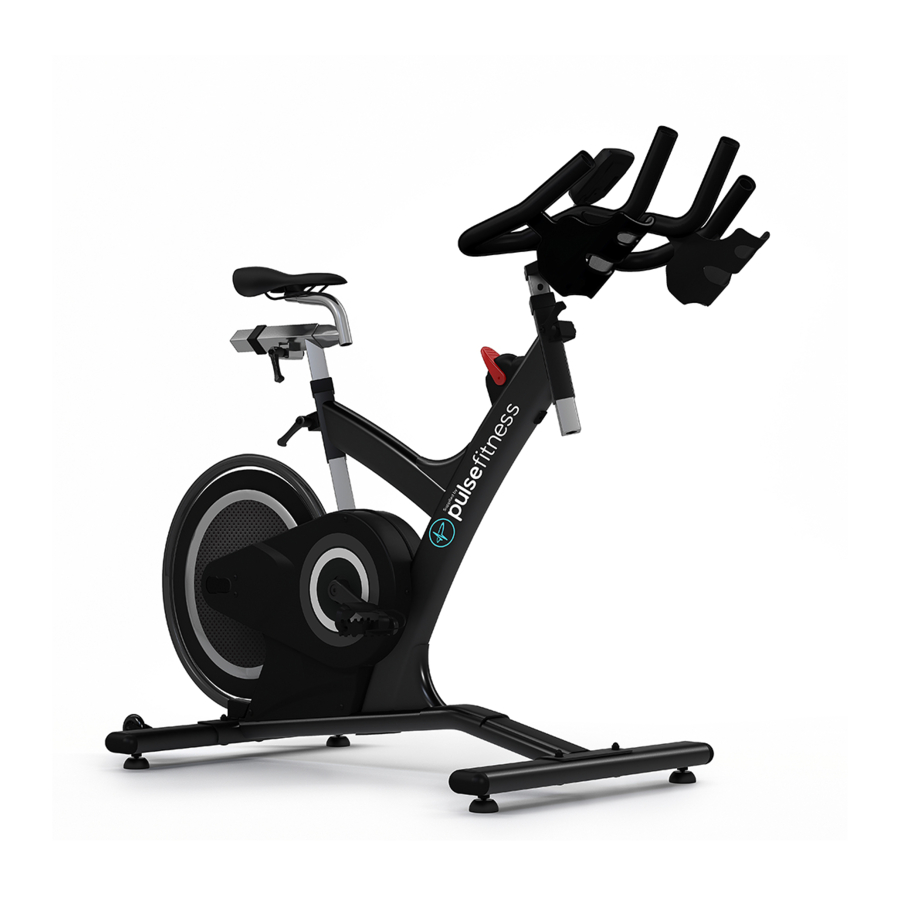
- Page 1 Group Cycle STUDIO/CIRCUIT User Manual 224B-AAB...
- Page 3 ATTENTION: Read instructions carefully, failure to do so may cause permanent damage to your bike. Please verify that all parts associated with this product are in good condition and accounted for. During the assembly process please be sure to follow each step accordingly as it has been explained within the manual.
- Page 4 SAFETY INFORMATION: 1. Keep children and pets away from this equipment at all times. DO NOT leave them unsupervised in the room where the machine is kept. 2. If you experience dizziness, nausea, chest pains or any other symptom while using this machine STOP the exercise.
- Page 5 CAUTION: During assembly it is recommended that all bolts be tightened by hand, upon completing assembly, bolts should then be properly secured using the wrench provided. To avoid injury, check bolts carefully before use. Assembly Step one Attach the rear foot tube (14) first by lifting up the rear of the frame and sliding the rear foot tub under the frame.
- Page 6 Step three Attach the saddle (1) onto seat slider (42), and secure the saddle by tightening the nuts on both sides of the saddle clamp on the underside of the saddle, use wrench. Slide the seat slider (42) into the seat post (43) adjust to desired position and secure with the release lever (6) on the bottom of the seat post (43).
-
Page 7: Right Pedal
Right Pedal Please make sure pedal in your hand is the right pedal before Installation. Please refer to the figure. Align the right pedal with right crank at 90 degree. Gently insert the pedal in the crank arm. Turn the pedals clockwise as tightly as you can with your hand. Use the wrench to ensure it is tightened securely. - Page 8 Adjusting the resistance Adjust the exercise resistance on the spinning bike which using the RED LEVER (54) of the Tension knob (24) to work with Level 1-16 (loosen to tighten). The flywheel should rotate freely without resistance when you loosen the Tension knob fully (Level 1).
-
Page 9: Exploded Drawing
Exploded Drawing... -
Page 10: Part List
Part list Name Unit No. Name Unit Saddle BB Axle with plate Alloy bind clamp ( L ) Flywheel axle Spring for release lever Fixed wheel nut Alloy bind clamp ( R ) Flywheel bearing Washer for release lever Flywheel security nut (7t) Release lever Rubber cover for flywheel Crank bolt... - Page 11 Name Unit No. Name Unit Rubber cover for flywheel Magnetic holder w/magnetic set Adjuster cable guide Instruction Handlebar and seat adjustment. It is important that the handlebar and seat are set at the correct height for your body. Ask your instructor for assistance. Adjusting the handlebar height-Undo the release lever that is located where the handlebar post fits into the frame.
-
Page 12: Maintenance Chart
Maintenance Chart DESCRIPTION Daily Weekly Monthly Quarterly Annually Keep machine clean: Wipe machine down with clean & dry fabric to clear dirt & sweat. Wipe Anti-rusty cream or similar on the seat post set, handlebar set Visual check Check security of handle bar post & seat post Check security of saddle Remove handlebar post and clean... - Page 13 MODE THE MAIN SCREEN DISPLAY: RPM, HEART RATE, KCAL, WATT, SPEED, DIST, TIME, Clock, LOAD OPERATING SYSTEM: MODE Button ● Press MODE key to change screen display, A) Watt- B) Kcal- SPEED DIST TIME CLOCK ● Press and hold MODE Key for 6 sec to clean all the numbers to Zero (Except CLOCK function). SET Button ●...
-
Page 14: Limited Warranty
Limited Warranty This product carries the following guarantee against manufacturing defects: * Frame is warranted for 2 years from the date of purchase. * Components are warranted for 1 year. * Warranty is only valid for the original purchaser. * Labor and freight charges are not included. * Normal wear, neglect, abuse, accidents, improper assembly or maintenance, or the installation of parts or accessories not compatible with the original intended use of the bike, as sold, are not covered by the... - Page 16 135-2044-1...
Need help?
Do you have a question about the 224B-AAB and is the answer not in the manual?
Questions and answers