Sign In
Upload
Download
Table of Contents
Contents
Add to my manuals
Delete from my manuals
Share
URL of this page:
HTML Link:
Bookmark this page
Add
Manual will be automatically added to "My Manuals"
Print this page
×
Bookmark added
×
Added to my manuals
Manuals
Brands
CDA Manuals
Freezer
FW952
Installation, use and maintenance manual
CDA FW952 Installation, Use And Maintenance Manual
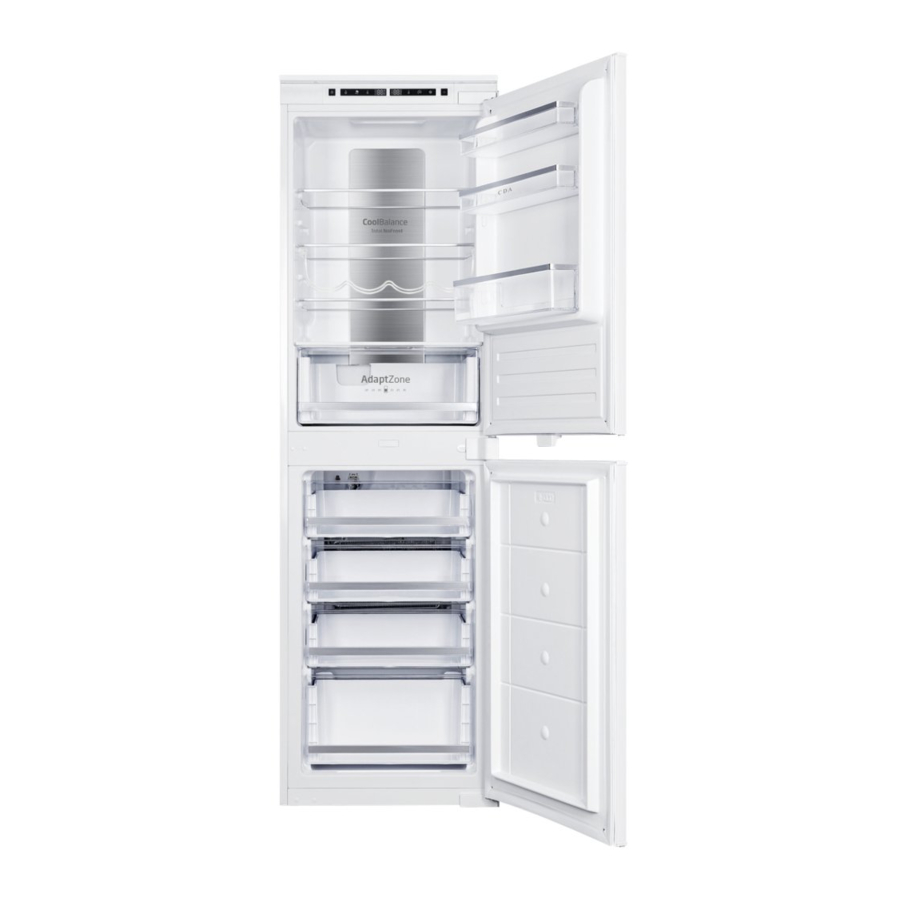
Integrated fridge freezer
Hide thumbs
1
Table Of Contents
2
3
4
5
6
7
8
9
10
11
12
13
14
15
16
17
18
19
20
21
22
23
24
25
26
27
28
page
of
28
Go
/
28
Contents
Table of Contents
Troubleshooting
Bookmarks
Table of Contents
Table of Contents
Important Information
Before First Use
Crisper Drawer Humidity Adjustment
Storage
Control Panel
Defrosting the Freezer
Defrosting the Fridge
Care and Cleaning
Troubleshooting
Installation Preparation
Cabinet Dimensions
Installation into the Cabinet
Mounting the Fascia Doors
Reversing the Appliance Doors
Electrical Information
Climate Range
Practical Tips
Warranty and Service
Advertisement
Quick Links
1
Control Panel
2
Troubleshooting
Download this manual
FW952
FW972
Integrated fridge freezer
Installation, use and maintenance
Table of
Contents
Previous
Page
Next
Page
1
2
3
4
5
Advertisement
Table of Contents
Need help?
Do you have a question about the FW952 and is the answer not in the manual?
Ask a question
Questions and answers
Related Manuals for CDA FW952
Freezer CDA FW927 Installation, Use And Maintenance Manual
Integrated fridge freezer (28 pages)
Freezer CDA FW972 Installation, Use And Maintenance Manual
Integrated fridge freezer (28 pages)
Freezer CDA FW281 Manual For Installation, Use And Maintenance
Integrated under counter freezer (13 pages)
Freezer CDA FW880 Manual For Installation, Use And Maintenance
Extra large integrated freezer (13 pages)
Freezer CDA FW380 Manual For Installation, Use And Maintenance
Integrated under counter freezer (30 pages)
Freezer CDA FW282 Manual For Installation, Use And Maintenance
Integrated under counter freezer (17 pages)
Freezer CDA FW482 Manual For Installation, Use And Maintenance
Integrated under counter freezer (17 pages)
Freezer CDA FW482 Manual For Installation
Integrated in column freezer (21 pages)
Freezer CDA FW482 Installation, Use And Maintenance Manual
Integrated in column freezer (16 pages)
Freezer CDA FW381 Use And Maintenance
Integrated under counter freezer (25 pages)
Freezer CDA FW881 Manual For Installation, Use And Maintenance
Extra large integrated freezer (21 pages)
Freezer CDA FW881 Instructions For Installation, Use And Maintenance Manual
Integrated freezer (28 pages)
Freezer CDA FW872 Instructions For Installation, Use And Maintenance Manual
Integrated fridge freezer (25 pages)
Freezer CDA FW284 Use And Maintenance
Integrated/under counter freezer (25 pages)
Freezer CDA FW882 Installation, Use And Maintenance Manual
Integrated freezer (24 pages)
Freezer CDA FW582 Installation, Use And Maintenance Manual
Integrated freezer (25 pages)
This manual is also suitable for:
Fw972
Table of Contents
Print
Rename the bookmark
Delete bookmark?
Delete from my manuals?
Login
Sign In
OR
Sign in with Facebook
Sign in with Google
Upload manual
Upload from disk
Upload from URL


Need help?
Do you have a question about the FW952 and is the answer not in the manual?
Questions and answers