Table of Contents
Advertisement
Quick Links
Advertisement
Table of Contents

Related Manuals for CDA FW880


Summary of Contents for CDA FW880
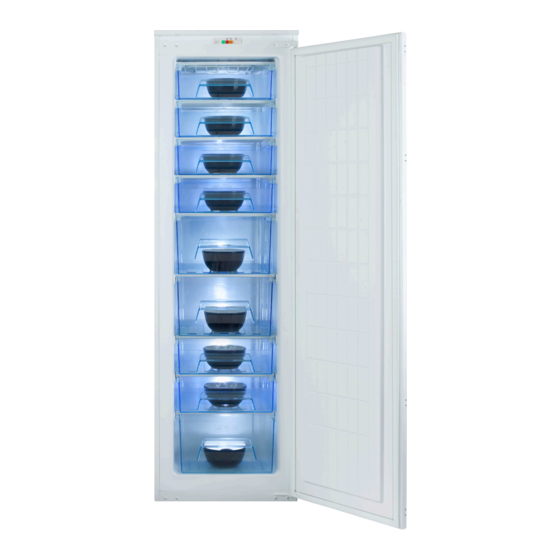
- Page 1 Manual for Installation, Use and Maintenance Passionate about style Customer Care Department • The Group Ltd. • Harby Road • Langar • Nottinghamshire • NG13 9HY T : 01949 862 012 F : 01949 862 003 E : service@cda.eu W : www.cda.eu...
- Page 2 Appliance information: Please enter the details on the appliance rating plate below for reference, to assist CDA Customer Care in the event of a fault with your appliance and to register your appliance for guarantee purposes. Appliance Model...
-
Page 3: Before First Use
Before first use You must allow the freezer to settle for at least twenty four hours prior to switching the power on. It is recommended that you clean the interior of the appliance prior to first use, using a solution of bicarbonate of soda and warm water and then thoroughly drying the interior. -
Page 4: Controls And Use
4. Over temperature indicator light This red light will illuminate when the temperature inside the freezer is too high. This may illuminate after the door has been opened, or when fresh food is added and should switch off again once the temperature within the freezer has stabilised. -
Page 5: Defrosting The Freezer
To speed up the process, place a bowl of warm water in the base of the freezer compartment. Once defrosting is complete, dry the inside of the freezer compartment with a sponge or clean cloth thoroughly. Then re-connect the mains power supply. -
Page 6: Troubleshooting
Troubleshooting If you have any problems with your appliance, you should check the troubleshooting prior to calling CDA Customer Care to prevent unnecessary service calls and potential cost. If the appliance is not working • Check there is power to the appliance. -
Page 7: Installation And Ventilation
Installation And Ventilation This appliance must never be installed close to heat sources i.e. heating elements, cookers or in damp places The diagram shows the ventilation requirements for your product. Failure to provide adequate ventilation can lead to increased running costs and premature failure and may invalidate the warranty provided with the product. -
Page 8: Reversing The Door
Reversing the door It is possible to reverse the door on this appliance, if required. To do so, follow the steps below: 1. Loosen the top hinge fixing screws and remove the top hinge, taking care to support the weight of the door. 2. - Page 9 Mounting the Fascia Door • Using a screwdriver, fix the mounting brackets to the appliance door, as shown in figure 4. • Position the appliance within the unit. Ensure that there is a gap of 3 to 4 mm between the non-hinged side and the cabinet wall.
-
Page 10: Electrical Information
Electrical information Warning! This appliance must be earthed. The mains lead of this appliance has been fitted with a BS 1363A 13 amp fused plug. To change a fuse in this type of plug, follow the steps below: 1. Remove the fuse cover and fuse. 2. - Page 12 Passionate about style Customer Care Department • The Group Ltd. • Harby Road • Langar • Nottinghamshire • NG13 9HY T : 01949 862 012 F : 01949 862 003 E : service@cda.eu W : www.cda.eu...
Need help?
Do you have a question about the FW880 and is the answer not in the manual?
Questions and answers