Table of Contents
Advertisement
Quick Links
Advertisement
Table of Contents

Subscribe to Our Youtube Channel
Related Manuals for CDA FW281


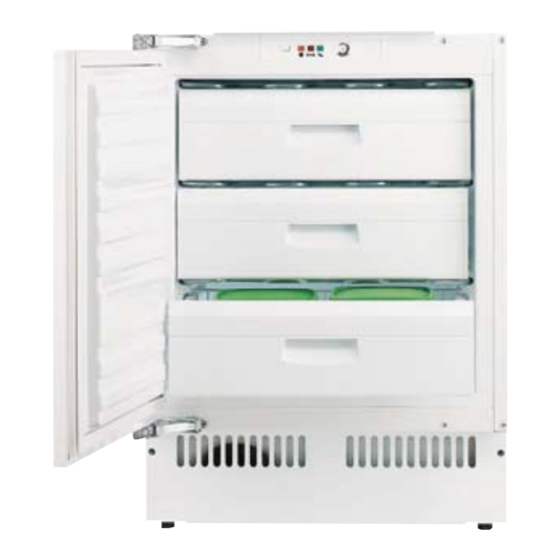
Summary of Contents for CDA FW281
- Page 1 Manual for Installation, Use and Maintenance Passionate about style Customer Care Department • The Group Ltd. • Harby Road • Langar • Nottinghamshire • NG13 9HY T : 01949 862 012 F : 01949 862 003 E : service@cda.eu W : www.cda.eu...
- Page 2 Appliance information: Please enter the details on the appliance rating plate below for reference, to assist CDA Customer Care in the event of a fault with your appliance and to register your appliance for guarantee purposes. Appliance Model...
-
Page 3: Before First Use
Before first use You must allow the freezer to settle for at least twenty four hours prior to switching the power on. It is recommended that you clean the interior of the appliance prior to first use, using a solution of bicarbonate of soda and warm water and then thoroughly drying the interior. -
Page 4: Controls And Use
4. Over temperature indicator light This red light will illuminate when the temperature inside the freezer is too high. This may illuminate after the door has been opened, or when fresh food is added and should switch off again once the temperature within the freezer has stabilised. -
Page 5: Care And Cleaning
First remove the freezer drawers. • To speed up the process, place a bowl of warm water in the base of the freezer compartment. Once defrosting is complete, dry the inside of the freezer compartment with a sponge or clean cloth. -
Page 6: Troubleshooting
Troubleshooting If you have any problems with your appliance, you should check the troubleshooting prior to calling CDA Customer Care to prevent unnecessary service calls and potential cost. If the appliance is not working • Check there is power to the appliance: •... -
Page 7: Installation
Installation This appliance must never be installed close to heat sources i.e. heating elements, cookers or in damp places The appliance should be mounted on a piece of wood (for example a section of worktop or kitchen carcass) if a raised floor is to be fitted, if the kitchen floor is to be tiled after installation, or if the installation height of the appliance is greater than 850 mm. -
Page 8: Reversing The Door
Reversing the door It is possible to reverse the door on this appliance, if required. To do so, follow the steps below: • Loosen the hinge fixing screws (1). • Open the door. • Lever off the corner caps (3) with a knife blade. •... - Page 9 Installing the decor door • Screw mounting bracket (1) onto decor door using the screws supplied (as show in figure 4). • Fit the correct side towards the hinges. • Ensure there is a 5mm clearance between the underside of the worktop and upper edge (X) of the decor panel.
- Page 10 Installing under a worktop • Adjust the feet to the required height. • Push the appliance into the niche until the decor door is flush with the adjacent furniture items, adjust the feet if necessary. • Pre-adjust the appliance at slots (4) as shown in figure 8, into the mounting plate on the worktop.
-
Page 11: Electrical Information
Electrical information Warning! This appliance must be earthed. The mains lead of this appliance has been fitted with a BS 1363A 13 amp fused plug. To change a fuse in this type of plug, follow the steps below: 1. Remove the fuse cover and fuse. 2. - Page 12 Passionate about style Customer Care Department • The Group Ltd. • Harby Road • Langar • Nottinghamshire • NG13 9HY T : 01949 862 012 F : 01949 862 003 E : service@cda.eu W : www.cda.eu...
Need help?
Do you have a question about the FW281 and is the answer not in the manual?
Questions and answers