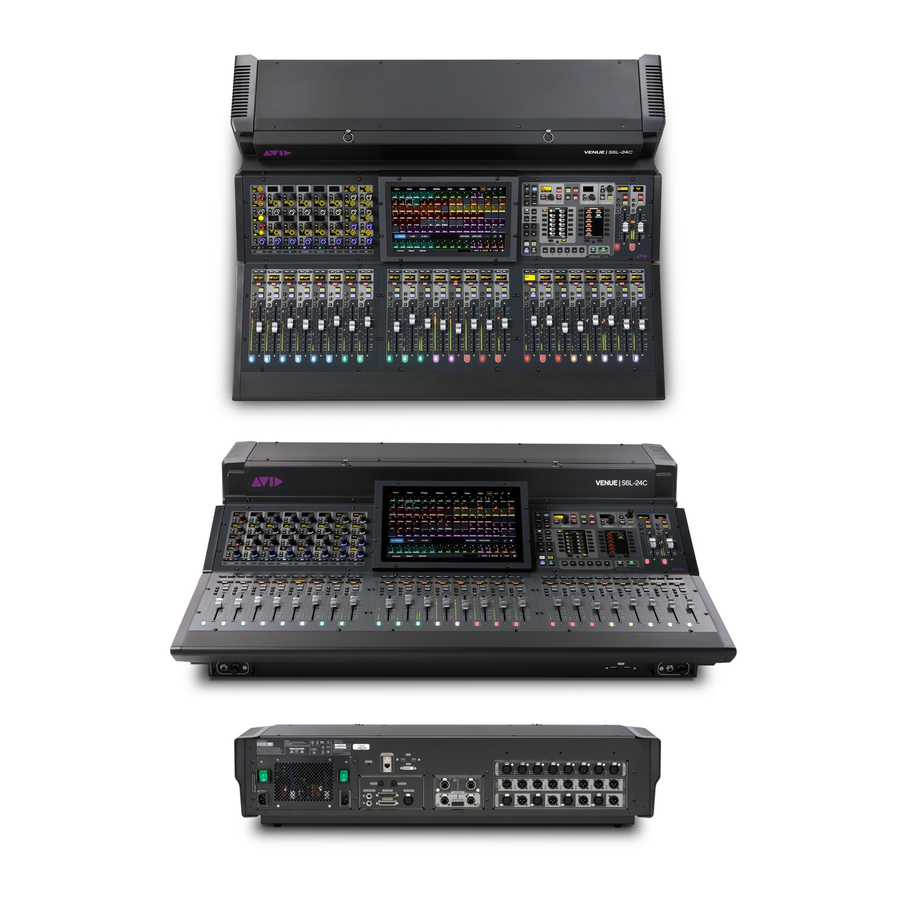
Avid Technology S6L Control Surface Installing
Ram expansion
Hide thumbs
Also See for S6L Control Surface:
- Replacing (31 pages) ,
- Replacement (9 pages) ,
- Replacing (13 pages)
Table of Contents
Advertisement
Quick Links
S6L Control Surface RAM Expansion
This document provides instructions for installing more RAM in original, older S6L control surfaces (2019 and earlier). This op-
tional upgrade can provide better system performance when using very large plug-in configurations with Waves SoundGrid or
other third-party plug-ins. While most workflows will not require this upgrade, you should consider expanding the RAM if you in-
tend to use numerous instances of memory-intensive plug-ins and have an older S6L-16C, -24C, -24D, or -32D with the original
Emerson SBC motherboard that only includes 4 GB of RAM. Control surfaces with the new Congatec motherboard include 8 GB
of RAM and do not need any upgrade. See below for instructions to identify your motherboard type and the amount of RAM that
is currently installed.
To determine the currently installed amount of RAM:
Power on the S6L system and wait for it to fully launch.
1
Go to Options > System .
2
Click once on the VENUE software version number displayed in the lower right-hand corner. VENUE displays system infor-
3
mation in the banner area at the lower left-hand corner of the external screen.
System information in Options > System
If your system displays Motherboard: Congatec , you do not need to install additional RAM.
4
If your system displays Motherboard: Emerson , and 3936 MB RAM , shut down the system and then follow the instructions in
5
this guide to add more memory.
Images shown in this guide (such as cable colors or hardware configuration) may not exactly match your S6L.
Required Materials
Be sure to gather the following before proceeding:
• Replacement RAM. Install 2x 4 GB or 2x 8 GB RAM modules (maximum). Do not install more than 16 GB total.
• Make sure to only use high-quality RAM
• Make sure the two sticks are matched (same manufacturer, same size, same speed). For S6L RAM specifications, refer to this
article:
https://avid.secure.force.com/pkb/articles/faq/S6L-and-E6L-RAM-and-Hard-Drive-Specifications
• Anti-Static wrist strap (not included)
• Access to the back of the S6L control surface and enough room to remove the back cover
S6L Control Surface RAM Expansion
© 2021 Avid Technology, Inc
Click
Currently installed RAM
9329-66261-00
1
Advertisement
Table of Contents

Related Manuals for Avid Technology S6L Control Surface


Summary of Contents for Avid Technology S6L Control Surface
- Page 1 • Make sure the two sticks are matched (same manufacturer, same size, same speed). For S6L RAM specifications, refer to this article: https://avid.secure.force.com/pkb/articles/faq/S6L-and-E6L-RAM-and-Hard-Drive-Specifications • Anti-Static wrist strap (not included) • Access to the back of the S6L control surface and enough room to remove the back cover S6L Control Surface RAM Expansion 9329-66261-00 © 2021 Avid Technology, Inc...
- Page 2 Prepare the S6L Control Surface Prepare the S6L control surface by removing the lower and upper back covers. The steps required to remove the back cover vary depending on the model of S6L control surface. S6L-24D, S6L-32D To remove the lower back cover from S6L-24D or 32D: Make sure you have shut down the system and that all components are powered off.
- Page 3 If you remove either (or both) of the End Caps completely, carefully disconnect the LED power cable before moving the cap away from the chassis. Fasteners: M4x8mm BHCS Tool: 2.5mm Hex driver Figure 4. End Cap fasteners S6L Control Surface RAM Expansion...
- Page 4 After removing the fasteners try sliding the back cover off the chassis by pushing it down with your hands and simultaneously pulling the cover away from the chassis. Slide the panel away from the control surface and set the panel aside. S6L Control Surface RAM Expansion...
- Page 5 Carefully lift the top cover off the chassis and set it face down on the towel you placed on the surface, being careful to not stretch or stress the cables connected to the light sockets. Proceed to Disconnect Light Cables S6L Control Surface RAM Expansion...
- Page 6 Figure 7. Light cables (rear view of S6L-16C shown) • On S6L-16C, disconnect the cables at the connectors shown below. Figure 8. Light cables (front view of S6L-16C shown) Proceed to Remove the SBC Tray S6L Control Surface RAM Expansion...
- Page 7 Figure 9. Shroud with stopper removed, showing captive screw below With the stopper removed, use a #2 Phillips screwdriver to loosen the captive screw below the stopper hole. Figure 10. Loosening the captive screw below the shroud S6L Control Surface RAM Expansion...
- Page 8 S6L-24D, 32D, and 48D have four captive screws to loosen, shown below: Figure 12. Fasteners securing the SBC Tray to the chassis on S6L-48D, 32D, 24D, and 24C Using a #2 Phillips screwdriver, loosen the captive screws. Figure 13. Loosening one of the captive screws S6L Control Surface RAM Expansion...
- Page 9 Align the edge of the Tray with the edge of the chassis and hook the Tray on the edge as shown in Figure 16 so that the Tray hangs off the chassis. Figure 16. SBC Tray hung off the back edge of the chassis Proceed to Install RAM S6L Control Surface RAM Expansion...
- Page 10 Figure 18. Loosening the captive screw below the shroud Using a #2 Phillips screwdriver, remove the two fasteners securing the top edge of the purple shroud to the top of the chassis. Figure 19. Fasteners to remove from the top of the shroud S6L Control Surface RAM Expansion...
- Page 11 Figure 22. Fasteners securing the SBC Tray to the chassis on S6L-48D, 32D, 24D, and 24C • S6L-16C has two captive screws to loosen (at the far left and far right in the image, above). S6L Control Surface RAM Expansion...
- Page 12 • From inside the chassis, push the PSU assembly out far enough to be able to grab the flanges then carefully pull the PSU as- sembly almost all the way out of the chassis (you do not need to remove it). Use a block or similar to support the PSU assembly. S6L Control Surface RAM Expansion...
- Page 13 If any SBC cables are too short to let you position the SBC or its cables out of the way, photograph and/or label and then dis- connect those cables (labeling the cables ensures you will be able to re-connect them to their correct ports after completing the procedure). Proceed to Install RAM S6L Control Surface RAM Expansion...
- Page 14 Figure 30. RAM modules on an original (Emerson) SBC Push the retaining clips outward to free the upper RAM module from its connector and mount. Figure 31. Side view of opening the RAM retention clips S6L Control Surface RAM Expansion...
- Page 15 Using a #2 Phillips screwdriver, secure the Tray to the chassis by tightening the captive screws you loosened earlier (including the one accessible through the hole in the shroud). Using a #2 Phillips screwdriver, re-install the two screws that secure the top of the shroud to the chassis. Proceed to Complete the Installation S6L Control Surface RAM Expansion...
- Page 16 • Status LED lights green. • The System LED begins to flash amber while the E6L is waiting to connect to the S6L control surface. Power on the S6L control surface by pressing the power switch on the back panel to the on (1) position.
- Page 17 On touch screens, touch in a field and slide your finger up or down on the screen to increase or decrease the value in the field. Select each available field and enter the appropriate data to set the time and date. Select Apply. The new System Clock settings are applied. Your S6L control surface is now ready for use. S6L Control Surface RAM Expansion...
Need help?
Do you have a question about the S6L Control Surface and is the answer not in the manual?
Questions and answers