Advertisement
Quick Links
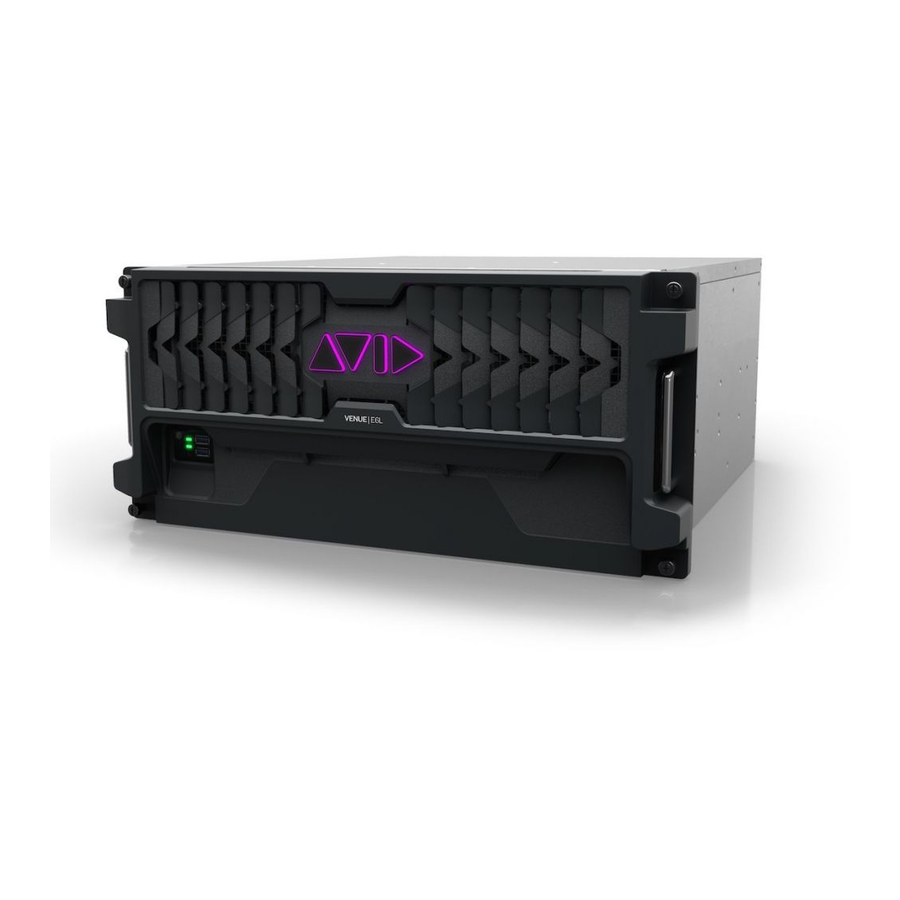
E6L RAM Reseating and Cable Rework
Some early revision E6L Engines can have difficulty booting up because internal cabling is pushing on the innermost RAM modules or
because RAM has become unseated. Although the cable routing has been corrected in manufacturing for some time, some E6L Engines
may have shipped before the corrective action. Follow the procedures in this document to check cable routing and to reseat RAM, if nec-
essary.
• All users should check and, if necessary, adjust incorrect cabling.
• Any users experiencing difficulty booting their E6L Engine should also check and, if necessary, reseat RAM (see "Troubleshoot-
ing" on page 10 to determine if you should reseat RAM).
Required Materials
• Anti-Static wrist strap (not included)
• Cutters (for cutting cable ties)
• Replacement cable ties
• 12-inch long Phillips #2 screwdriver (not included). Magnetic tip recommended.
• Table or other clean, flat work surface
• Recommended: E6L Engine System Restore USB drive (not included)
Removing the E6L Engine Core
To remove the E6L engine core
Put on your anti-static wrist band and configure according to its instructions.
1
Shut down your system, and disconnect any cables connected to your E6L engine.
2
Place your E6L on a table or other flat surface that provides enough room for the E6L engine core to be removed comfortably. Make
3
sure your surface is clear of any debris.
On the back of the E6L, loosen the four thumbscrews that secure the core to the engine chassis.
4
Figure 1. Four thumbscrews on the back of the E6L
© 2018 Avid Technology, Inc
9329-65996-00 REV A
E6L RAM Reseating and Cable Rework 1
Advertisement

Related Manuals for Avid Technology E6L


Summary of Contents for Avid Technology E6L
- Page 1 Shut down your system, and disconnect any cables connected to your E6L engine. Place your E6L on a table or other flat surface that provides enough room for the E6L engine core to be removed comfortably. Make sure your surface is clear of any debris.
- Page 2 Slowly slide the core out of the E6L chassis completely, and place it on your work surface. The core will not slide out of the E6L chassis until the latches are fully extended and the catch has been released. If you experience any resistance, make sure the latches are fully extended before pulling.
- Page 3 Reposition the Cable Some early production E6L engines can benefit from a quick repositioning of cables in the E6L engine core. Does the Engine Need Cable Rework? Remove the Engine Core and inspect the cable routing at the front of the core.
- Page 4 Unplug the larger molex connector and move the longer cable from the outside to the inside of the molex connector, then reconnect the molex connector. Figure 8. Unplugging the molex connector (shown at left) and the molex connector re-connected with cable correctly routed (shown at right) E6L RAM Reseating and Cable Rework...
- Page 5 After securing the cables with cable ties check that the two inner RAM cards are centered in the RAM sockets. Gently try to move the two inner RAM cards side-to-side to recenter them in their sockets. E6L RAM Reseating and Cable Rework 5...
- Page 6 To access and reseat the E6L RAM: After removing the core from the E6L chassis, disconnect and remove any and all AVB-192 Network cards and WSG-HD Waves SoundGrid Option cards, and set them aside in a safe place. For card removal and re-installation instructions, see the AVB-192 Network Card Installation guide, MADI-192 Card Installation guide, and/or the WSG-HD Card Installation guide.
- Page 7 Figure 13. Loosening the exposed captive screws (shown at left) and the recessed screws (shown at right) Carefully remove the heatsink and set it aside (avoid touching any thermal grease on the bottom). Figure 14. Lifting the large heatsink out of the core E6L RAM Reseating and Cable Rework 7...
- Page 8 If there is any hot glue on the latches, just peel it off (you do not need to re-apply any glue). If the glue won’t peel off, apply a very small amount of Isopropyl alcohol, let it dry, then peel the glue off. E6L RAM Reseating and Cable Rework...
- Page 9 • Re-install AVB-192 cards and any WSG-HD and MLN-192 option cards. Proceed to “Re-install the E6L Engine Core” on page 10. If engine still does not boot: There may be a bad RAM module. Remove one module at a time (starting with the outer modules) until the culprit is found.
-
Page 10: Troubleshooting
• If after 30 to 60 seconds no USB LEDs light on a keyboard and mouse connected to the engine, then the engine has not booted. • Similarly, the engine will not respond to holding F5 during boot (for VGA mode) or F10 to boot from a connected E6L Engine USB System Restore key (assuming you have one available).
Need help?
Do you have a question about the E6L and is the answer not in the manual?
Questions and answers