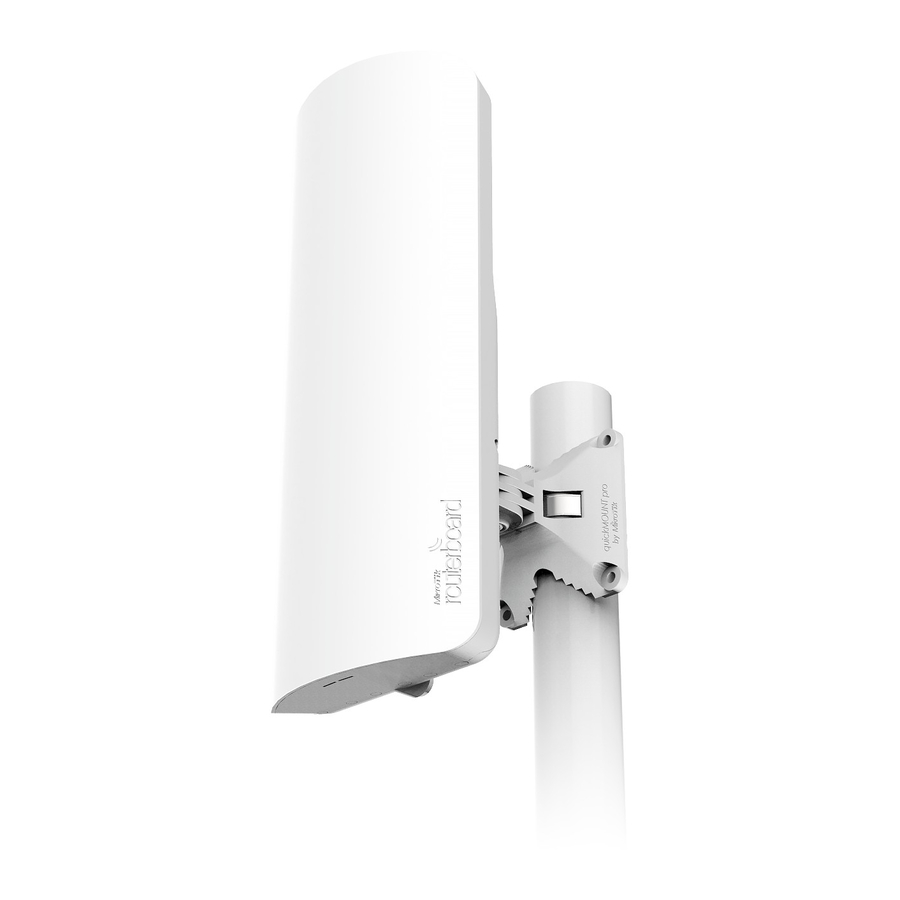
MikroTik MANTBox 52 15s Quick Start Manual
Hide thumbs
Also See for MANTBox 52 15s:
- Quick manual (22 pages) ,
- User manual (11 pages) ,
- Quick manual (64 pages)
Table of Contents
Advertisement
Quick Links
MANTBox 52 15s
mANTBox 52 15s
Safety Warnings
Before you work on any equipment, be aware of the hazards involved with electrical circuitry, and be familiar with standard practices for preventing
accidents.
Read the installation instructions before connecting the system to the power source.
This equipment is to be installed by trained and qualified personnel, as per these installation instructions. The installer is responsible for obtaining any
required local or national safety inspections of the structural integrity of the installation by the local authority/inspection department.
All installation methods for mounting an access point on any wall surface is subject to the acceptance of local jurisdiction.
The Installation of the equipment must comply with local and national electrical codes.
This unit is intended to be mounted outdoors on a pole. Please read the mounting instructions carefully before beginning installation.
Failure to use the correct hardware and configuration or to follow the correct procedures could result in a hazardous situation to people and damage to the
system.
We cannot guarantee that no accidents or damage will occur due to the improper use of the device. Please use this product with care and operate at your
own risk.
This device needs to be upgraded to RouterOS v6.46 or the latest version to ensure compliance with local authority regulations.
It is the customer's responsibility to follow local country regulations, including operation within legal frequency channels, output power, cabling
requirements, and Dynamic Frequency Selection (DFS) requirements. All Mikrotik radio devices must be professionally installed.
First use
1.
Open cover (see Opening cover).
2.
Connect the Ethernet cable from your PC to the Ethernet port.
3.
Plug the device into the power source (see Powering).
4.
Download the Winbox (see Configuration).
5.
Open and search the MAC address in the Neighbors tab.
6.
Click on the MAC address and connect.
7.
Username is admin and there is no password. The default IP address from the Ethernet port is 192.168.88.1 for configuration if connecting
without WinBox, then set the IP address of your computer to 19.168.88.2.
8.
Update the device to the latest RouterOS version,
9.
Set a Country, to make sure local regulations are observed.
10.
Set the antenna gain, depending on the antenna used.
11.
Set up your password.
12.
To manually update the device, please go
13.
Choose (ARM) packages for this device and download it to your PC.
14.
Upload downloaded packages to the (Winbox) (Files) menu and reboot the device.
15.
Updating your RouterOS software to the latest version will ensure the best performance, stability, and security updates,
Powering
The device accepts power in the following ways:
The Ethernet port accepts
make sure that the device has an internet connection
https://mikrotik.com/download
802.3af/at
PoE 12-57 V DC .
.
https://mt.lv/configuration
.
https://mt.lv/upgrade
.
Advertisement
Table of Contents

Summary of Contents for MikroTik MANTBox 52 15s
- Page 1 This device needs to be upgraded to RouterOS v6.46 or the latest version to ensure compliance with local authority regulations. It is the customer's responsibility to follow local country regulations, including operation within legal frequency channels, output power, cabling requirements, and Dynamic Frequency Selection (DFS) requirements. All Mikrotik radio devices must be professionally installed. First use Open cover (see Opening cover).
- Page 2 Direct-input power jack (5.5 mm outside and 2 mm inside, female, pin positive plug) accepts 12-57 V DC. The power consumption under maximum load can reach 21 W. Connecting to a PoE Adapter: Connect the Ethernet cable from the device to the PoE+DATA port of the PoE adapter; Connect an Ethernet cable from your local network (LAN) to the PoE adapter;...
- Page 3 Grounding The installation infrastructure (towers and masts), as well as the router itself, must be properly grounded. The device includes a grounding wire attachment screw behind the case door. Attach your grounding wire to the grounding screw, then attach the other end of the grounding wire to the grounded mast. This is to substantially reduce the risk of ESD and lightning damage.
- Page 4 Fastening set K-41; Gigabit POE injector cable with shielded connector; Mounting bracket. Please visit wiki pages for the MikroTik SFP module compatibility table: https://wiki.mikrotik.com/wiki/MikroTik_SFP_module_compatibility_table Operating system support The device supports RouterOS software version 6.46. The specific factory-installed version number is indicated in the RouterOS menu /system resource.
- Page 5 BG С настоящото Mikrotīkls SIA декларира, че този тип радиосъоръжение RBD22UGS-5HPacD2HnD-15S е в съответствие с Директива 2014/53 /ЕС. Цялостният текст на ЕС декларацията за съответствие може да се намери на следния интернет адрес: https://mikrotik.com/products CS Tímto Mikrotīkls SIA prohlašuje, že typ rádiového zařízení RBD22UGS-5HPacD2HnD-15S je v souladu se směrnicí 2014/53/EU. Úplné znění EU prohlášení...
- Page 6 FR Le soussigné, Mikrotīkls SIA , déclare que l'équipement radioélectrique du type RBD22UGS-5HPacD2HnD-15S est conforme à la directive 2014/53 /UE. Le texte complet de la déclaration UE de conformité est disponible à l'adresse internet suivante: https://mikrotik.com/products HR Mikrotīkls SIA ovime izjavljuje da je radijska oprema tipa RBD22UGS-5HPacD2HnD-15S u skladu s Direktivom 2014/53/EU. Cjeloviti tekst EU izjave o sukladnosti dostupan je na sljedećoj internetskoj...
- Page 7 WLAN e LTE in conformità con le normative ETSI. Per ulteriori informazioni, consultare la dichiarazione di conformità sopra / Este dispositivo MikroTik cumple con los límites máximos de potencia de transmisión WLAN y LTE de acuerdo con las regulaciones ETSI.


Need help?
Do you have a question about the MANTBox 52 15s and is the answer not in the manual?
Questions and answers