
Related Manuals for aFe Power Momentum GT


Summary of Contents for aFe Power Momentum GT
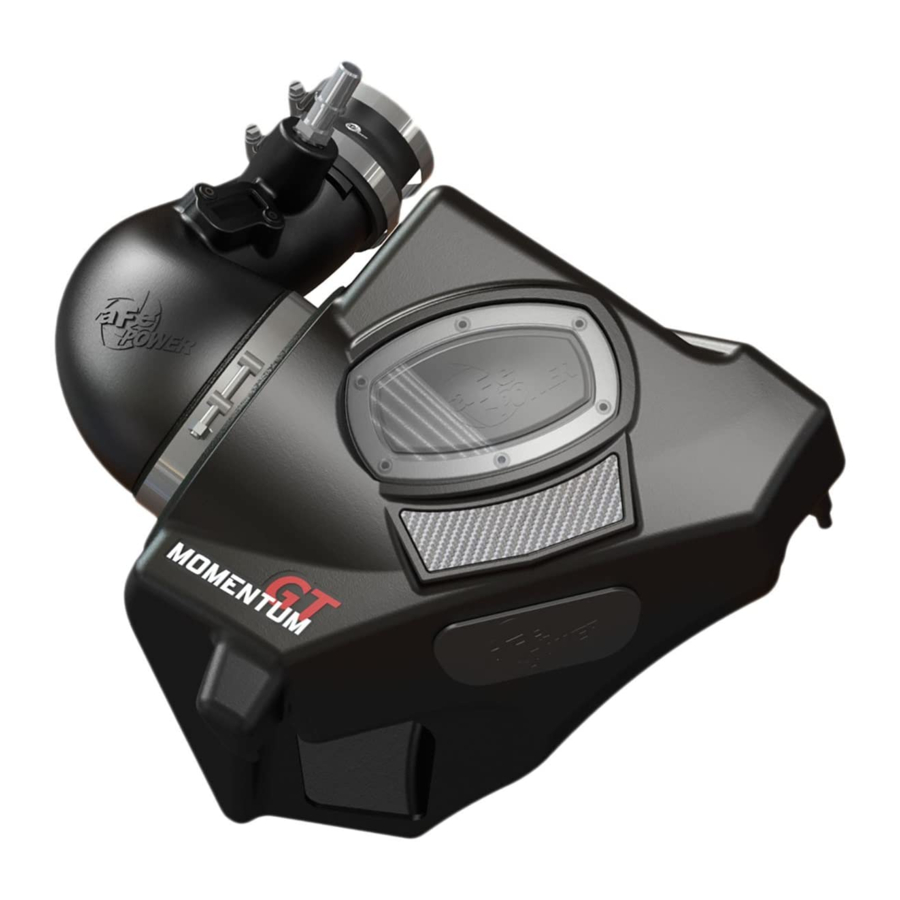
- Page 1 ® advanced FLOW engineering Momentum GT Cold Air Intake System Instruction Manual P/N: 51-74209 / 54-74209 Make: Cadillac Model: ATS Year: 2013-2019 Engine: L4-2.0L Turbo...
- Page 2 ® • Please read the entire instruction manual before proceeding. • Ensure all components listed are present. • If you are missing any of the components, call customer support at 951-493-7100. • Ensure you have all necessary tools before proceeding. •...
- Page 3 A1/A2 aFepower.com Page 3...
- Page 4 ® REMOVAL Figure A Refer to Figure A for Step 1 Step 1: Disconnect the braided hose 1 from the intake tube. Disconnect the MAF 2 sensor and pull off the wire harness clip 3 from the intake tube. Page 4...
- Page 5 REMOVAL Figure B Refer to Figure B for Step 2 Step 2: Use an 8mm nut driver to loosen the factory clamps 4 at the turbo and the air box. Remove the factory intake tube. aFepower.com Page 5...
- Page 6 ® REMOVAL Figure C Refer to Figure C for Step 3 Step 3: Remove the air box by pulling up to release air box from its mounting grommets 5 . Make sure the mounting grommets 5 are still in the chassis mounting tabs. If they pulled out and are stuck in the lower half of the air box, remove them from the air box and insert them back on the chassis mounting tabs.
- Page 7 REMOVAL Figure D Refer to Figure D for Step 4 Step 4: Using a Torx 20 driver remove the mass air flow sensor 6 from the upper half of the air box and set it aside. aFepower.com Page 7...
- Page 8 ® ® INSTALL Figure E Refer to Figure E for Step 5 Step 5: Remove the plastic air inlet scoop 7 from the lower half of the air box and install into aFe air box. Page 8 Page...
- Page 9 INSTALL Figure F Refer to Figure F for Step 6 Step 6: Install the supplied aFe plug 8 into the air box. Page 9...
- Page 10 ® INSTALL Figure I Figure G Refer to Figure G for Steps 7-8 Step 7: Slide the aFe filter and clamp into the aFe housing and push it in until it locks into place. Do not tighten clamp at this time. Step 8: Install the housing assembly into the vehicle by pushing down air box pins into the rubber grommets.
- Page 11 INSTALL Figure H Refer to Figure H for Step 9 Step 9: Install the supplied aluminum vent fitting 9 into the aFe intake tube using a 20mm wrench or adjustable wrench. Install the mass air flow sensor 10 on the aFe intake tube using the two supplied M4 screws. Page 11...
- Page 12 ® INSTALL Figure I Refer to Figure I for Step 10 Step 10: Install the supplied silicone coupler 11 with the supplied small clamp onto the turbo and tighten clamp. Install the supplied large clamp on the coupler. aFepower.com aFepower.com Page 12...
- Page 13 INSTALL Page left blank intentionally Figure J Refer to Figure J for Steps 11-12 Step 11: Slide the aFe intake tube into the coupler and then the air filter. Tighten all clamps. Step 12: Connect the mass air flow sensor 12 and the braided hose 13 . Page 13...
- Page 14 ® INSTALL Figure K Step 12: Use the provided plug 14 to close additional air inlet if you want to completely seal the air box. Best performance gain is obtained by having the more flow (no plug). Check all the components are tight and secure.
- Page 15 Page left blank intentionally Page 15...
- Page 16 ® Page left blank intentionally Page 16...
- Page 17 Page left blank intentionally Page 17...
- Page 18 Pro DRY S Air Filter Pro 5R Air Filter Pro DRY S Restore Kit Blue Squeeze Restore Kit P/N: 21-91104 P/N: 24-91104 P/N: 90-59999 P/N: 90-50501 Twisted Steel Header aFe T-Shirt P/N: 48-34126-HC (Street) P/N: 40-30382 (M) 48-34126-HN (Race) 40-30383 (L) 40-30384 (XL) 40-30384 (2XL) To purchase any of the items above, view airflow charts, dyno graphs, photos, and video;...
-
Page 19: Warranty
® Warranty General Terms: • aFe warrants their products to be free from manufacturer’s defects due to workmanship and material. • This warranty applies only to the original purchaser of the product and is non-transferrable. • Proof of purchase of the aFe product is required for all warranty claims. •... - Page 20 ® advanced FLOW engineering, inc. 252 Granite Street Corona, CA 92879 TEL: 951.493.7100 TECH: 951.493.7134 E-Mail:Tech@aFepower.com P/N: 06-80855...
Need help?
Do you have a question about the Momentum GT and is the answer not in the manual?
Questions and answers